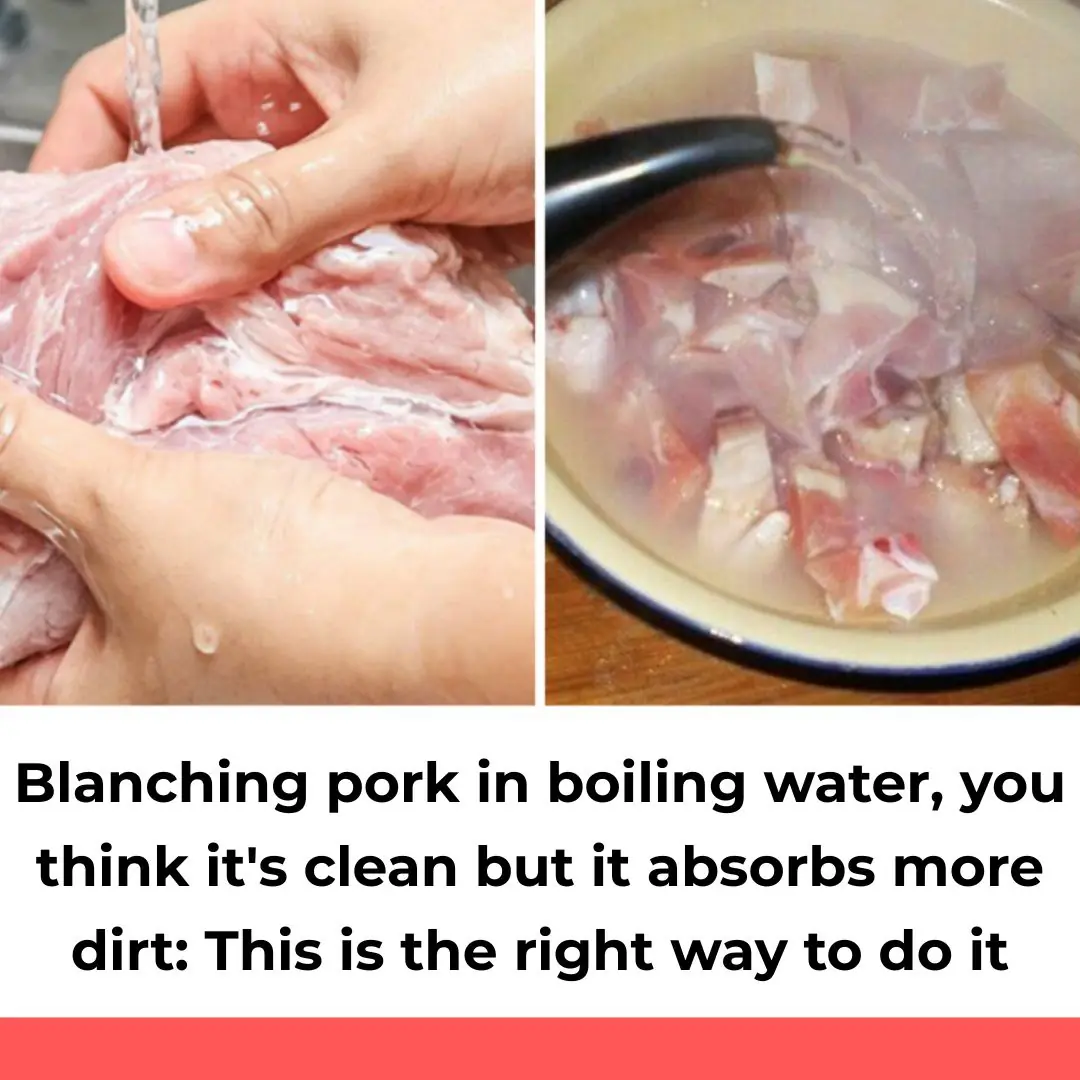
Blanching pork in boiling water, you think it's clean but it absorbs more dirt: This is the right way to do it
Tips 09/10/2025 10:42
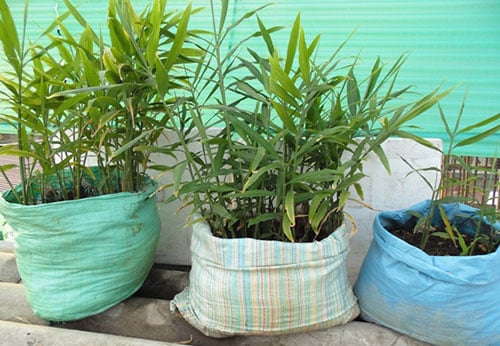
Ginger is a familiar spice that not only adds flavor and aroma to our daily meals but also holds significant medicinal value. In traditional medicine, ginger is used to treat colds, nausea, inflammation, and many other ailments. In recent years, growing ginger has become a profitable venture thanks to its high market demand and relatively simple care process. Many households now grow ginger at home using containers such as cement bags, plastic barrels, or foam boxes. This method saves space, minimizes pest problems, and produces impressive yields when done correctly.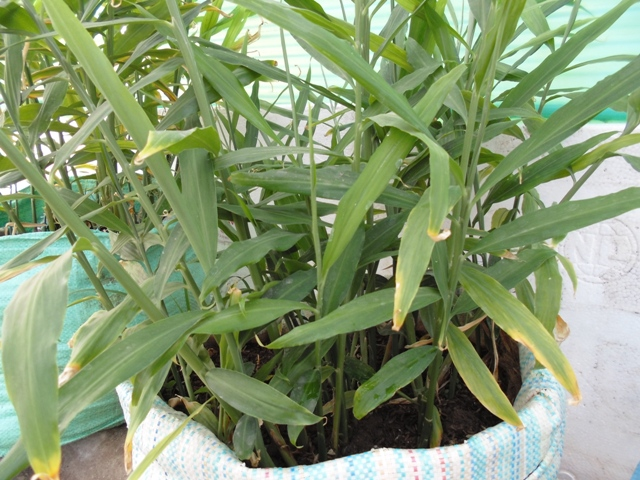
Ginger thrives best in warm, humid, tropical climates. The most suitable planting season is during early spring, from February to March, when the weather is slightly drizzly and humidity is high. Since ginger is cultivated for its rhizomes, it needs light, loose, well-drained soil that retains moisture but doesn’t stay waterlogged. Sandy loam or soil mixed with organic matter is ideal.
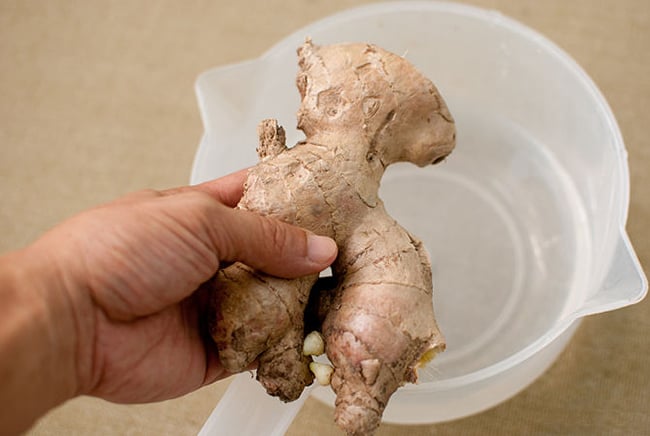
Choose mature, disease-free ginger rhizomes. You can plant the whole rhizome or cut it into smaller pieces to save seed material. Each piece (called a “seed piece” or “set”) should have at least three to four buds or eyes. After cutting, dip the cut surfaces in wood ash to dry the sap and prevent rot.
Lay the pieces evenly on trays in a dry, shaded, and well-ventilated area. After two to three days, cover them with clean straw and keep the moisture level stable by misting lightly. Within one to two weeks, the buds will sprout. Once the shoots are about 3–5 cm long and have one or two growing tips, they’re ready to be planted.
If planting in cement bags, foam boxes, or pots, prepare the growing medium by mixing garden soil with decomposed manure, rice husk ash, and a small amount of superphosphate fertilizer. Fill the container about two-thirds full, then place the seed piece in the center and lightly cover it with 2 cm of soil. Finally, spread a thin layer of rice husk on top to maintain moisture.
If you prefer planting directly in the ground, form raised beds about 20–25 cm high and 1 m wide for better drainage. Add compost or decomposed animal manure along the planting rows. Dig furrows about 10 cm deep, placing each ginger piece 30–40 cm apart, with rows spaced 40–50 cm from each other. Cover the rhizomes with soil mixed with organic fertilizer, water thoroughly, and cover the surface with straw or dry leaves to retain moisture.
Tip: Since ginger sprouts horizontally, align the seed pieces along the rows so that the shoots can grow evenly and freely.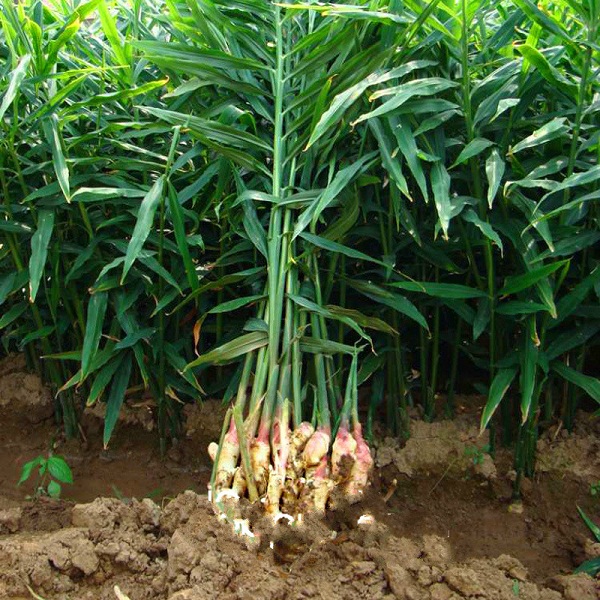
After two weeks, the ginger shoots will emerge with fresh green leaves. Replace any that haven’t sprouted to ensure even growth. During the growing phase, water daily to maintain moderate soil moisture. Ginger needs a consistent water supply but cannot tolerate standing water — excessive moisture can lead to root rot.
During the rainy season, make sure to loosen and mound up the soil regularly to improve drainage. When the ginger plants are about one month old, hill up the soil around the base and apply additional organic compost.
To achieve high yields, supplement with NPK fertilizer. Apply the first round of fertilizer 30–40 days after planting by scattering it around the base of each plant. Follow up with another application of decomposed manure a few weeks later. After two months, perform a second round of NPK fertilization. Organic fertilizers such as worm castings or fermented compost are highly recommended for homegrown ginger to ensure food safety.
Ginger is generally resilient but can be affected by fungal diseases and insect larvae. Avoid overwatering, and ensure good air circulation around the plants. You can use natural pest control methods, such as spraying diluted neem oil or garlic extract, to keep harmful insects away. Avoid using chemical pesticides, especially for homegrown ginger intended for cooking or medicinal use.
Ginger is usually ready for harvest 7–9 months after planting, when the leaves turn yellow and begin to dry out. Stop watering at this stage to allow the rhizomes to mature fully. Choose a sunny day when the soil is dry, then carefully dig up the ginger clumps, shake off excess soil, and avoid bruising the rhizomes. Overmature ginger tends to become fibrous and lose its aroma, so it’s best to harvest on time.
After harvesting, clean the rhizomes gently and let them air-dry in the shade. Store fresh ginger in a cool, dry, well-ventilated area or in sand to extend shelf life. You can also keep them in the refrigerator wrapped in paper to preserve their freshness for several weeks.
Growing ginger in cement bags or containers is not only convenient but also a rewarding hobby. It allows you to enjoy fresh, chemical-free ginger year-round, even in limited spaces like balconies or small gardens. With the right care — proper watering, soil management, and natural fertilization — anyone can grow healthy ginger plants with high yields and rich flavor.