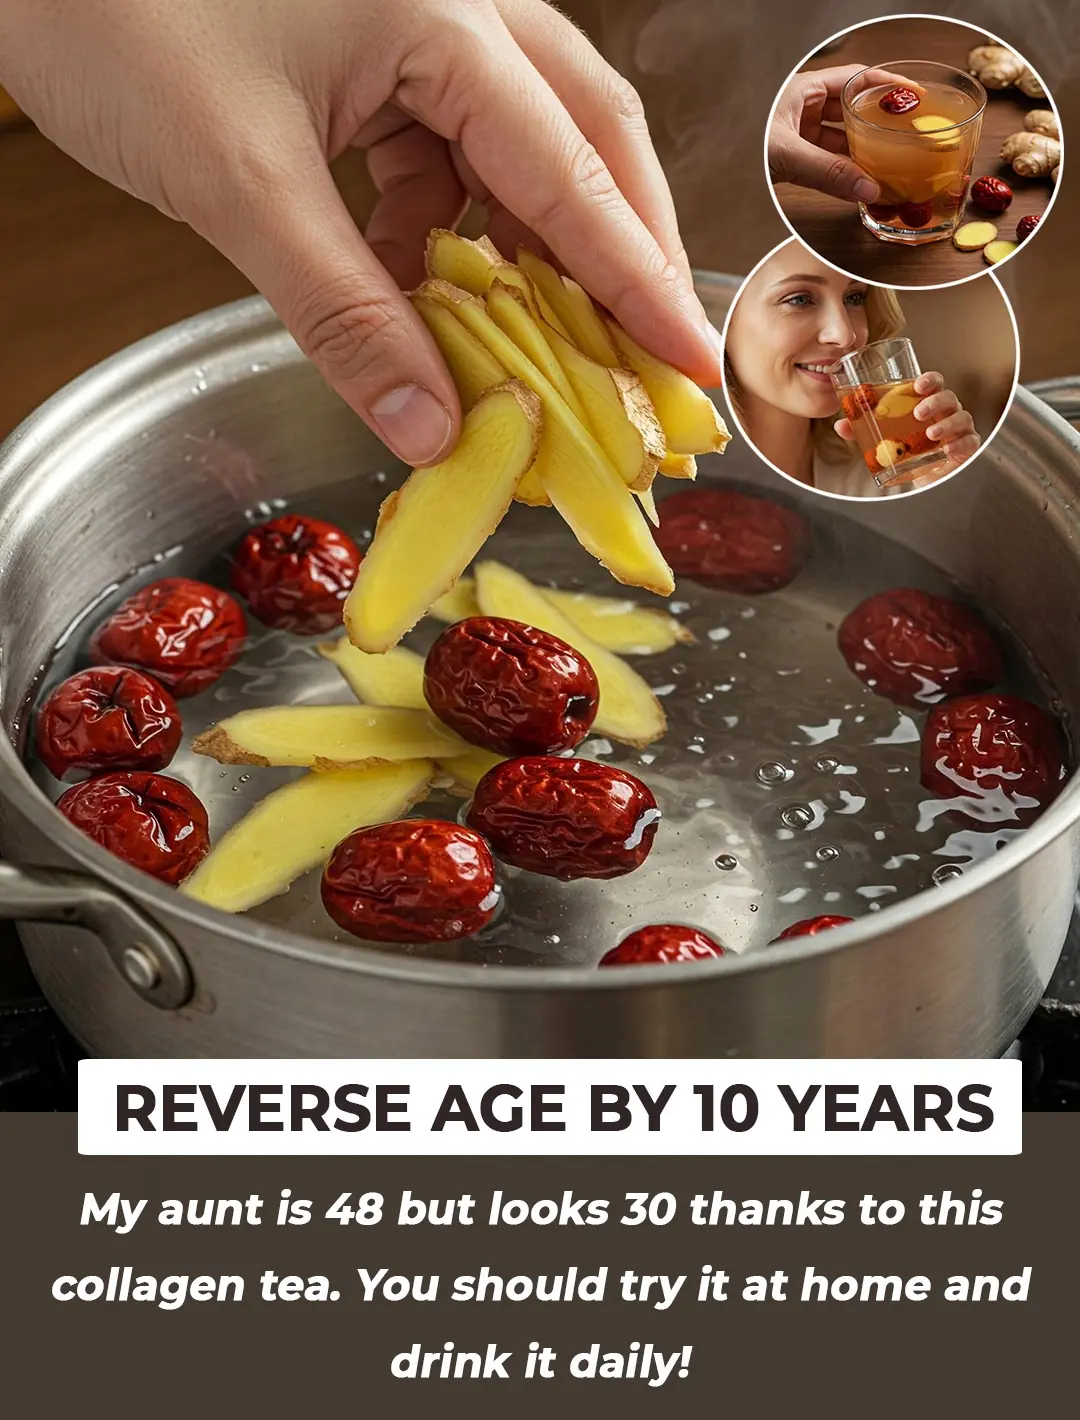
his powerful serum not only brightens your complexion but also helps restore skin elasticity, giving you a youthful, radiant appearance.
Achieving smooth, radiant skin that glows like a mirror is easier than ever with this simple DIY face serum. This powerful serum not only brightens your complexion but also helps restore skin elasticity, giving you a youthful, radiant appearance. The star ingredient, rice, contains gamma-oryzanol, a potent enzyme that evens out skin tone and promotes a brighter, more even complexion.
In this post, we’ll guide you through making two effective skincare products: a brightening serum and a nourishing cream.

Let’s dive into the step-by-step process of creating this incredibly effective serum that will leave your skin glowing and refreshed!
Ingredients You’ll Need:
- 1 tbsp Raw Rice
- Aloe Vera Gel (preferably market-bought for better shelf life)
- Sandalwood Essential Oil
- Glycerin
- Rose Water
Steps to Make the Rice Serum:
- Start by washing 1 tbsp of raw rice with plain water to remove any dust and impurities. After washing, add 2 tbsp of water to the rice and let it soak for about 15-20 minutes. Once the rice has soaked, strain the water into a clean bowl.
- In a separate clean bowl, take 1/2 tbsp of aloe vera gel. While fresh aloe vera gel is great, using store-bought aloe vera gel is recommended for longer shelf life.
- To the aloe vera gel, add 9-10 drops of glycerin (which helps with skin hydration) and 1 tbsp of rose water (for a calming, hydrating effect).
- Next, add 3-4 drops of sandalwood essential oil. Sandalwood is known for its soothing and skin-brightening properties, making it perfect for evening out skin tone.
- Finally, add 1 tbsp of rice water that you prepared earlier. Mix all the ingredients thoroughly. If the consistency of the serum is too thick, you can add more rice water to make it more watery.
- Once everything is mixed well, transfer the serum into a clean glass dropper bottle for easy application. The dropper bottle also helps with preserving the serum.
How to Use the Rice Serum:
- Daily Application: Use this serum twice daily, once in the morning and once at night. After cleansing your face, take 5-6 drops of the serum and gently tap it onto your skin with your fingertips. Let it absorb completely before moving on to your next skincare steps.
- Daytime Routine: During the day, I recommend applying a Vitamin C serum first, as Vitamin C is rich in antioxidants and protects the skin from free radical damage. Afterward, apply this rice serum on top. The combination of Vitamin C and rice water will not only brighten the skin but also help tighten your pores and enhance overall skin health.

Benefits of the Rice Serum:
- The rice water in this serum, combined with sandalwood oil, is excellent for brightening your skin, giving it a natural glow.
- Aloe vera and glycerin provide deep hydration, improving the elasticity of your skin, leaving it smooth and supple.
- This serum helps tighten pores, making your skin appear smoother and firmer.
- When used with Vitamin C, this serum protects your skin from oxidative stress caused by free radicals, preventing skin damage and premature aging.
Now coming to 2nd part of this DIY, that is rice face cream
Ingredients Required:
- 4 tablespoons white rice
- 2-3 tablespoons aloe vera gel
- Rose essential oil (a few drops)
- 2 vitamin E capsules
- Fresh water
Instructions:
-
Place 4 tablespoons of white rice in a bowl and rinse thoroughly. Soak the rice in fresh water for at least one hour.
-
Transfer the soaked rice to a pan and cook until it becomes soft and wet.
-
Strain the cooked rice to extract the rice bran, which is rich in nutrients.
-
In a glass jar, add 2-3 tablespoons of aloe vera gel, a few drops of rose essential oil, the contents of 2 vitamin E capsules, and the rice bran.
-
Stir the ingredients until they form a smooth, gel-like texture.
-
Your homemade anti-aging rice cream is now ready!
-
Store the cream in the refrigerator for up to 10 days to keep it fresh and effective.