7 Key things about Crabgrass
Garden Healthy 19/10/2025 18:41
When faced with a survival situation, access to clean drinking water often determines whether you live or die. The human body can survive weeks without food, but only a few days without water. Whether you’re hiking deep in the wilderness, camping off-grid, or stranded after a natural disaster, knowing how to build a DIY survival water filter can literally save your life.
With a few basic materials, you can create a system that filters out dirt, debris, and many harmful microorganisms—transforming murky, unsafe water into a cleaner, drinkable source.
Water found in nature—streams, ponds, or even rain puddles—may appear clean and sparkling, but it can be filled with bacteria, parasites, and chemical contaminants invisible to the eye. Drinking untreated water can cause severe dehydration, diarrhea, or infections such as Giardia or E. coli.
Boiling remains the most effective way to make water safe, but in situations where fire or fuel isn’t available, building a survival filter can dramatically reduce risk. It’s not perfect, but it’s a critical step that can buy you time and prevent illness until you can fully purify the water later.
You can craft a simple yet effective water filter using everyday items or natural materials you can find outdoors:
A plastic bottle (or any hollow container you can cut and reshape)
Cloth or coffee filter – for the base layer to hold everything in place
Sand – fine grains help trap small dirt and impurities
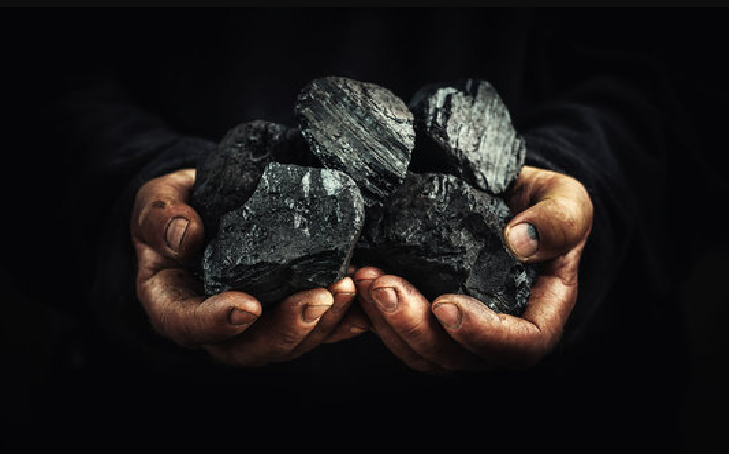
Charcoal – activated charcoal is ideal, but even crushed campfire charcoal works in emergencies
Small pebbles or gravel – to filter out larger debris such as twigs, insects, or leaves
A container – to collect the filtered water
These materials mimic the way nature purifies water through soil and rock layers.
Cut off the bottom of your plastic bottle. Turn it upside down so the neck becomes the water outlet.
If the bottle cap is still attached, poke a small hole in it to allow water to drip slowly—slow filtration gives better results.
Place a clean piece of cloth, bandana, or coffee filter inside the bottleneck.
This acts as a barrier, keeping the finer filtering materials (like sand and charcoal) from falling through.
Crush your charcoal into small pieces and add a thick layer. Charcoal plays a vital role—it absorbs toxins, neutralizes odors, and removes many harmful chemicals and bacteria.
Next, pour in a layer of fine sand. This helps catch sediment and microscopic debris that escaped the upper layers, giving the water a cleaner appearance.
Top your filter with a layer of small rocks or gravel. These block larger debris such as leaves, insects, or mud clumps from entering the filter.
Place your collection container under the bottle. Slowly pour dirty water into the top, allowing it to drip gradually through each layer.
The water that emerges should look clearer, less cloudy, and free of visible contaminants.
Even though this DIY filter can dramatically improve the clarity and quality of water, it does not guarantee full disinfection. Viruses and some bacteria may still remain. To ensure your safety:
Boil the filtered water for at least 1–3 minutes (or longer at high altitudes).
If boiling isn’t possible, use purification tablets or a portable UV sterilizer.
Avoid collecting water from areas near animal waste, stagnant ponds, or industrial runoff whenever possible.
Portable and lightweight: You can build one anywhere with minimal tools.
Cheap or free: Uses everyday or natural materials—no special equipment required.
Eco-friendly and reusable: You can rebuild and clean it easily in the field.
Life-saving: Prevents dehydration and waterborne illness when clean water isn’t available.
This technique is not just for survivalists—it’s an essential emergency preparedness skill for campers, travelers, and anyone living in areas prone to floods or disasters.
A DIY survival water filter is more than a quick fix—it’s a demonstration of ingenuity and self-reliance. With just sand, charcoal, and gravel, you can transform muddy, contaminated water into a much safer option for drinking.
In survival situations, knowledge is your best tool. Learning how to build a simple water filter ensures that even in the toughest conditions, you can stay hydrated, alert, and alive.
Clean water is not just a comfort—it’s the foundation of survival.