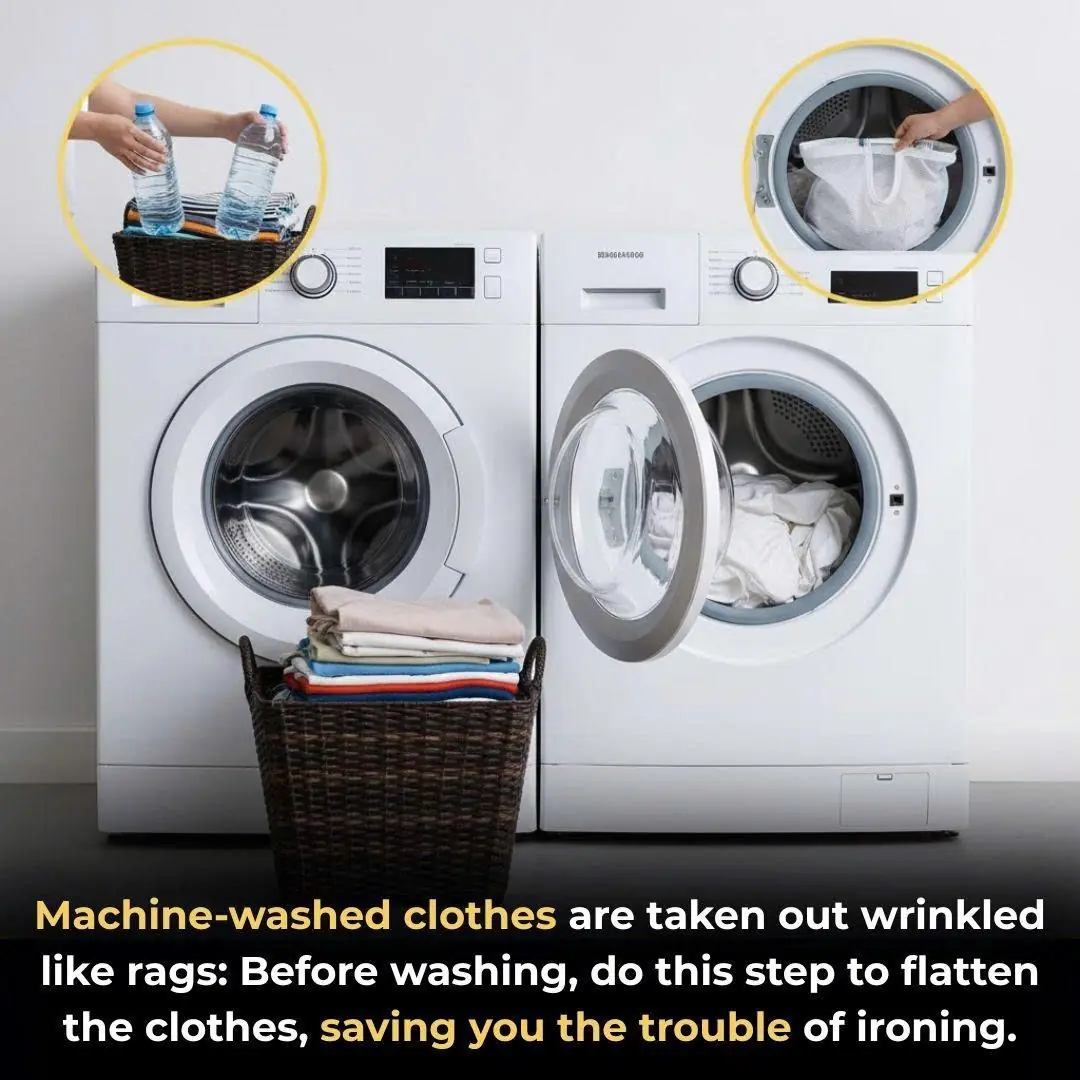
Machine-washed clothes are taken out wrinkled like rags: Before washing, do this step to flatten the clothes, saving you the trouble of ironing.
Tips 12/11/2025 19:50
Grilling is more than just cooking — it’s an experience. The sound of sizzling food, the smoky aroma in the air, and the laughter of friends gathered around the patio make it one of life’s simplest pleasures. Yet, once the last burger has been flipped and the plates are cleared, reality sets in: the dreaded grill cleanup. Anyone who grills regularly knows how stubborn and grimy grill gunk can be — greasy residue that clings to the grates like it’s part of the metal itself.
Over the years, I’ve experimented with every trick in the book — wire brushes, chemical sprays, even soaking grates overnight — but nothing worked quite like the simple method my nana passed down to me.
My nana, a true master of backyard barbecues, always had clever, low-effort solutions for everyday problems. Her grill-cleaning hack is quick, safe, and surprisingly effective. In just four minutes, you can transform your greasy, charred grill into a spotless, ready-to-use masterpiece — without harsh scrubbing or chemical fumes. Here’s how it works.
Grill gunk is that sticky, blackened mess made of burnt food particles, congealed grease, and layers of carbon residue. Besides looking unpleasant, it can ruin the flavor of your next meal and even pose health risks if not removed regularly. Over time, the buildup hardens into a crust that’s nearly impossible to remove with traditional methods.
A typical grill can accumulate up to a pound of residue over a summer of frequent use. This buildup not only clogs the grill’s airways, causing inconsistent heat and flare-ups, but can also attract pests like ants or rodents. Neglecting to clean your grill doesn’t just affect taste — it can shorten the lifespan of your equipment, too.
Standard cleaning routines usually involve wire brushes, scrubbing pads, or chemical degreasers. While these can remove some residue, they’re labor-intensive, time-consuming, and often leave behind traces of detergent or rust. Wire brushes, for instance, can shed bristles that sometimes end up in food — a serious safety hazard.
Chemical cleaners, on the other hand, can leave behind residues that alter flavor and are harsh on both the grill and the environment. Even soaking grates in hot, soapy water requires extra drying time and may cause corrosion. It’s no wonder so many grillers procrastinate cleaning — it feels like more work than the cooking itself.
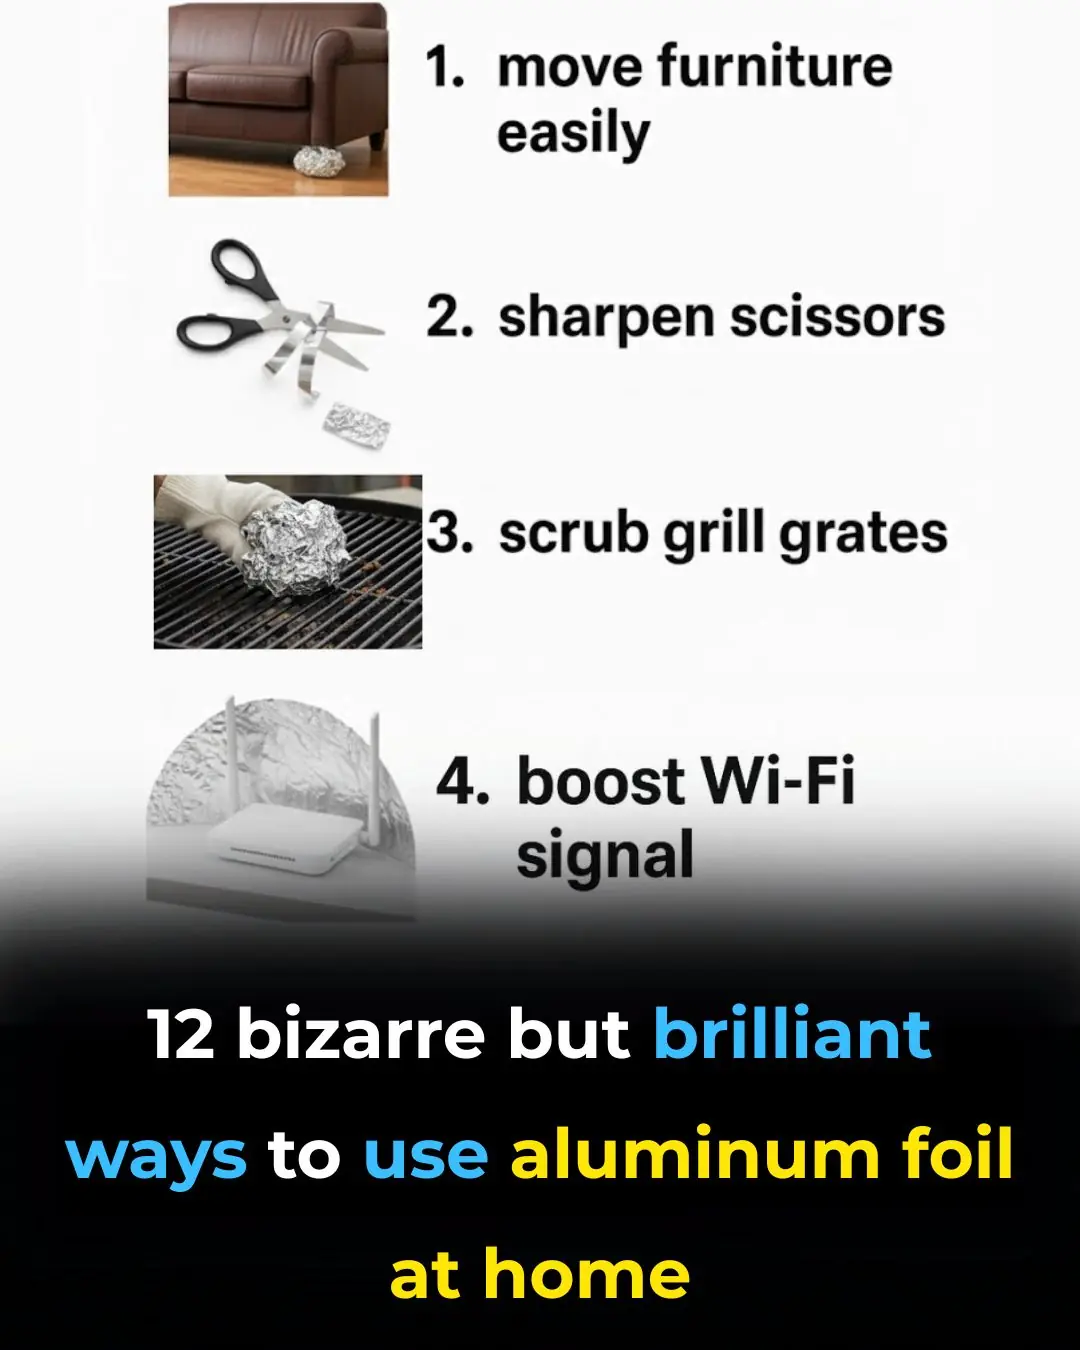
Here’s the genius of Nana’s trick: you only need aluminum foil and heat. No soap, no scrubbing, no special tools.
Step one: Preheat your grill to around 500°F (260°C).
Step two: Tear off a large sheet of aluminum foil and lay it directly over the grill grates.
Step three: Close the lid and let the heat work its magic for four minutes.
The intense heat causes the grease and grime to loosen and flake away, while the foil captures the debris. When the time’s up, remove the foil (using heat-resistant gloves, of course), and you’ll find your grates remarkably clean and shiny.
The secret lies in heat conduction and oxidation. Aluminum foil conducts heat evenly, ensuring every inch of the grill reaches a temperature high enough to break down stubborn carbon deposits. As the gunk heats up, it turns into fine ash, which sticks to the foil instead of the grates.
In addition, the high temperature kills off bacteria and sterilizes the grill’s surface. The result is a clean, hygienic cooking area ready for your next feast — all achieved without chemicals or exhausting scrubbing.
To pull off this clever cleaning method, you’ll only need:
A roll of aluminum foil
Your grill (gas, charcoal, or electric)
Optional: a pair of heat-resistant gloves for safety
That’s it. No special gadgets, no expensive cleaners, no elbow grease required.
Preheat your grill to 500°F (260°C).
Tear off a sheet of aluminum foil large enough to fully cover the grates.
Lay the foil evenly across the grates.
Close the grill lid and wait four minutes.
Turn off the heat, open the lid, and carefully remove the foil.
Discard the foil and admire your gleaming, ash-free grates.
Pro tip: For an even deeper clean, once the foil is removed and the grates have cooled slightly, wipe them down with a damp cloth or paper towel to remove any remaining ash.
The biggest perk of this hack is efficiency. Traditional grill cleaning can take anywhere from 30 minutes to an hour. Nana’s method? Just four minutes of passive cleaning. You can even start it while you’re clearing plates or packing up leftovers.
Because it’s so quick and effortless, you’re more likely to clean your grill regularly — preventing heavy buildup in the first place and extending the life of your grill.
Beyond saving time, Nana’s method is environmentally friendly. By avoiding chemical cleaners, you reduce harmful runoff into the soil and air. Aluminum foil is recyclable, and since the hack uses the grill’s residual heat, it doesn’t require extra fuel or electricity.
Sustainable, simple, and smart — it’s a small step that contributes to greener grilling habits.
Even a foolproof trick can go wrong if done incorrectly. Here are a few tips to ensure success:
Cover completely: Make sure the foil fully covers the grates to trap debris effectively.
Don’t overheat: Four minutes is plenty — leaving the foil longer could cause it to degrade or damage your grill surface.
Handle safely: Always use tongs or heat-resistant gloves to remove hot foil.
Following these small precautions guarantees perfect results every time.
Grillers across the country swear by this technique. John, a weekend barbecue enthusiast from Texas, said his grill looked “brand new” after trying Nana’s method. Sarah, a busy mom from California, loved how easy it was to clean up after family cookouts, calling it a “game-changer for lazy summer evenings.”
Their experiences echo my own: a spotless grill, no scrubbing, and more time to actually enjoy the food and company that make grilling special.
Q: Can this method be used on any type of grill?
Yes! It works beautifully on gas, charcoal, and even electric grills — as long as your grill can safely reach high heat.
Q: Is aluminum foil really safe to use on the grill?
Absolutely. Foil is heat-resistant and safe at grilling temperatures. Just remove it promptly to prevent any breakdown.
Q: How often should I do this?
Ideally, use this hack after each grilling session. Regular use prevents buildup and keeps your grill performing like new.
Grilling should be about flavor, fun, and friends — not frustration. With Nana’s simple four-minute aluminum foil trick, you can skip the scrubbing and reclaim your time. It’s fast, eco-friendly, and leaves your grill gleaming and ready for your next culinary adventure.
Sometimes, the best hacks really are the ones passed down through generations.