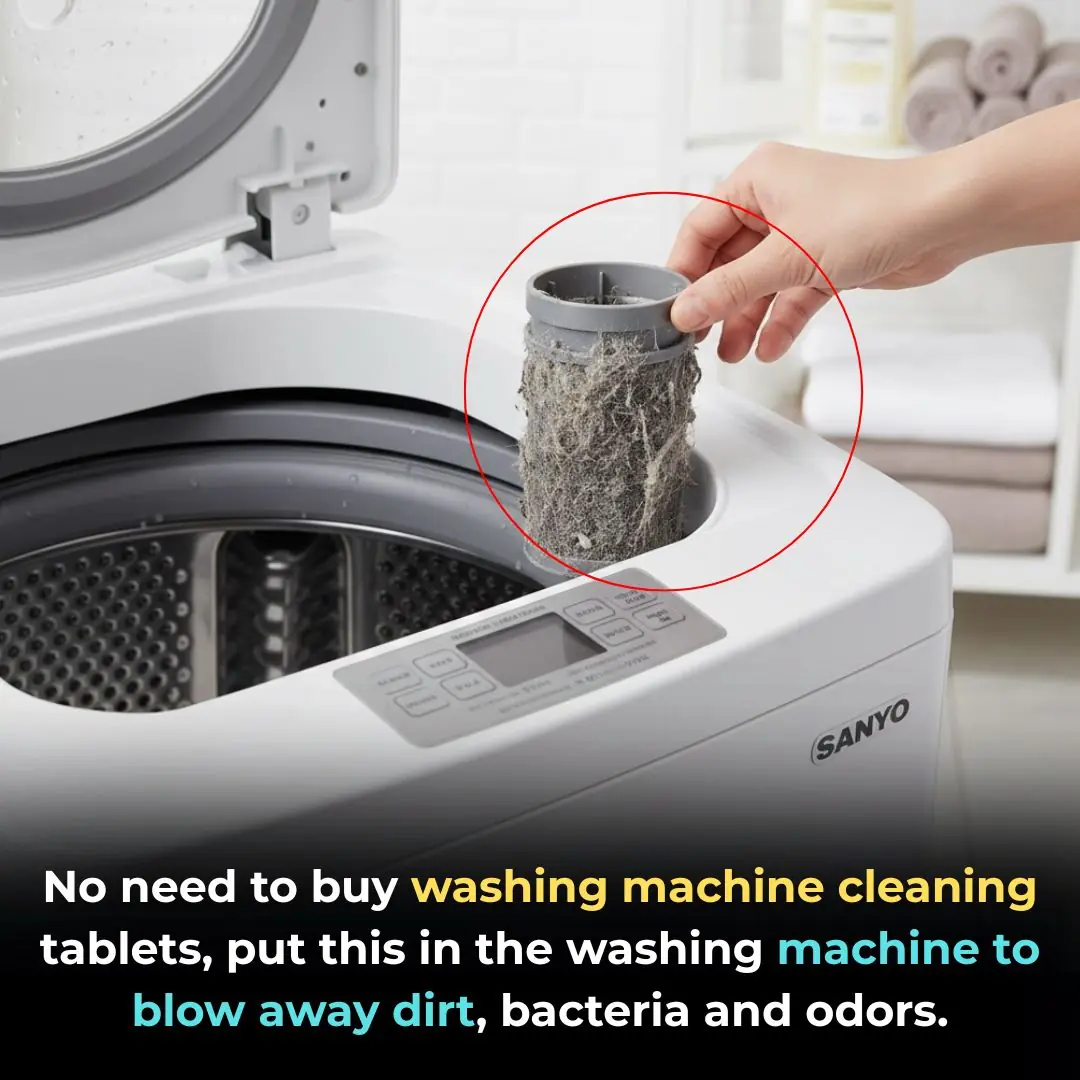
No need to buy washing machine cleaning tablets, put this in the washing machine to blow away dirt, bacteria and odors.
Tips 07/11/2025 20:03
If you've ever tried to reuse a glass jar, you know the frustration of dealing with those stubborn, sticky labels that refuse to come off. Whether you're repurposing jars for food storage, crafts, or DIY gifts, peeling labels can quickly turn into a time-consuming and messy ordeal. Most people soak their jars in hot water or scrub them with soap, only to end up with bits of torn paper and sticky residue that won’t budge.
Fortunately, my nana shared a simple yet brilliant trick that removes sticky labels in just one minute—without any scrubbing or harsh chemicals. This little kitchen hack completely changed how I reuse jars, and once you try it, you’ll never go back to soaking or scraping again.
Sticky labels are designed to cling firmly to glass surfaces. They must survive transport, handling, and moisture—so the adhesive is built to last. Unfortunately, this durability becomes a problem when you want to remove the label. Most of us end up with ripped paper, stubborn glue spots, and frustration.
For anyone reusing jars for decorative or storage purposes, leftover adhesive is more than just annoying—it attracts dust, dirt, and bacteria. This not only ruins the jar’s appearance but can also make it unhygienic, especially for storing food. Achieving a clean, label-free surface is essential for both aesthetics and safety.
The usual go-to methods—soaking jars in hot soapy water, scraping with knives, or using abrasive pads—rarely deliver perfect results. Soaking can take 20–30 minutes or longer, and even then, the adhesive often clings stubbornly to the glass.
Scrubbing with steel wool or scouring pads can scratch the glass, leaving it cloudy and dull. Some adhesives are water-resistant, meaning no amount of soaking will loosen them. While chemical solvents or commercial label removers can work, they tend to smell harsh, cost more, and aren’t environmentally friendly. In short, traditional methods are either too slow, too harsh, or too messy.
Nana’s solution is refreshingly simple and uses items you already have at home. Her “secret weapon” isn’t a fancy product—it’s something sitting right in your kitchen cupboard: cooking oil.
By applying a small amount of oil—vegetable, olive, or even canola—onto the label and letting it sit for about one minute, the adhesive softens completely. When you peel the label, it lifts off smoothly in one go, leaving no residue behind. No scrubbing, no soaking, no stress.
This trick works on nearly all types of labels, from glossy printed ones to textured paper tags, making it incredibly versatile.
What makes this hack so brilliant is its effortless simplicity. There’s no need for multiple steps, soaking tubs, or specialized tools. Just one ingredient and one minute of your time.
This approach fits perfectly into busy routines. You can decide to reuse a jar on a whim—no advance prep or extra supplies required. Its simplicity also means it’s safe for kids to help with, making it a fun and easy household task rather than a tedious chore.
The secret lies in the chemistry of oil. Oils are non-polar substances, meaning they dissolve other non-polar materials—like the adhesives used on labels. When you apply oil to a label, it seeps through the paper and interacts with the sticky layer beneath, weakening its grip on the glass.
Once the adhesive bond is broken, the label peels off effortlessly. Unlike harsh chemicals, oil is gentle and won’t damage glass or leave toxic residues. This same principle is why oil is often used to remove sticky residue from price tags, gum, and even bandages.
To try Nana’s hack, gather just three simple things:
A small amount of cooking oil (vegetable, olive, or canola oil all work well).
A paper towel or soft cloth for application.
A jar with a stubborn label ready to be removed.
That’s it—no special cleaners, no fancy equipment. It’s cost-free, chemical-free, and incredibly effective.
Make sure the jar is clean and dry.
Pour a small amount of cooking oil onto a paper towel or cloth.
Gently rub the oil over the label until it’s fully saturated.
Let it sit for about one minute—this allows the oil to penetrate the adhesive.
After a minute, peel off the label slowly; it should come off easily in one smooth piece.
Wipe down the jar with a clean cloth to remove any leftover oil.
For extra shine, you can wash the jar quickly with mild soap and water afterward.
Compared to hot water soaking, which takes 20 minutes or more, Nana’s hack delivers spotless jars in just 60 seconds. There’s no need for scraping tools or chemical sprays.
Chemical solvents can irritate your skin and fill your kitchen with harsh odors. Abrasive pads can damage your jars, and soaking wastes time and water. By contrast, this oil-based hack is eco-friendly, non-toxic, and gentle—yet just as effective.
Even simple methods can go wrong with a few missteps. The most common mistake is not giving the oil enough time to do its job. Be patient—wait the full minute.
Another is using too much or too little oil. You only need enough to cover the label evenly. Excess oil just creates unnecessary cleanup. Finally, make sure the label is fully coated—any dry spots may cling stubbornly to the glass.
The greatest advantage is efficiency—you can clean a jar completely in one minute with almost no effort. It’s also eco-conscious, relying on natural oils rather than harsh solvents.
It saves time, protects your glassware, and helps you repurpose containers for countless creative uses—like homemade candles, spice storage, or zero-waste gift packaging. Plus, it’s cost-effective, since you’re using ingredients already in your kitchen.
Plenty of people swear by this trick once they try it.
Sarah, a home cook who reuses jars for homemade jams, says, “I was skeptical, but the label literally slid off with no effort. It’s my new go-to method.”
Tom, an artist who stores his paintbrushes in glass jars, loves the clean results: “Before, I’d spend ages scrubbing sticky residue. Now, I just wipe with oil, and they’re spotless every time.”
Even my friends who sell homemade candles say this hack saves them hours of prep time. Once you see how well it works, you’ll wonder how you ever managed without it.
Nana’s one-minute jar label trick is proof that sometimes the simplest solutions are the best. With just a splash of cooking oil and a little patience, you can transform sticky, used jars into sparkling clean containers ready for your next creative project.
Say goodbye to endless soaking and scrubbing—and hello to clean, reusable jars in under a minute.