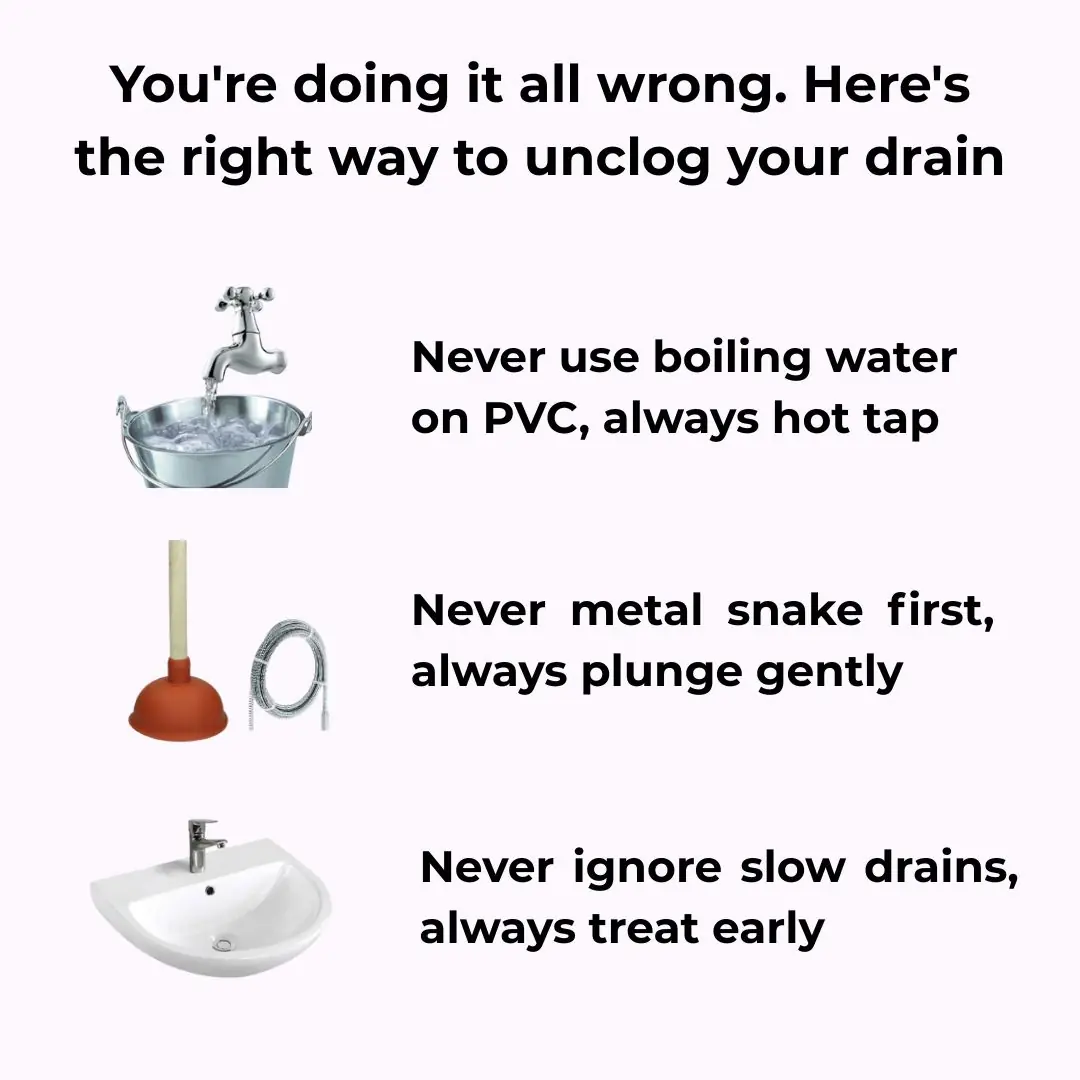
You’re doing it all wrong. Here’s the right way to unclog your drain
Tips 30/10/2025 21:39
The holiday season is a time of warmth, laughter, and togetherness — a season when homes glow with cheer and festive lights bring the magic of winter nights to life. But while decorating with lights is one of the most joyful traditions, it can quickly become a tangled, time-consuming, and even risky chore if not done properly. Many of us have faced the frustration of twisted cords, flickering bulbs, or uneven displays that fall short of our festive vision.
The good news? With a bit of preparation and the right techniques, you can transform the process from chaotic to cheerful. This step-by-step guide will help you hang your holiday lights the right way — creating a stunning, safe, and stress-free display that captures the holiday spirit and makes your home shine bright all season long.
Before unraveling a single strand, take a few moments to plan your design. Walk around your home and decide which areas you want to illuminate — the roofline, porch, windows, pathways, trees, or shrubs. Sketch your layout or snap a few reference photos to help visualize the finished look.
Measure key sections like the roofline or fence, noting power outlet locations and distances. This helps you determine exactly how many light strands, clips, and extension cords you’ll need. Nothing kills the holiday spirit faster than realizing you’re one strand short halfway through the job!
Also, think about your color scheme. Do you want an elegant white glow, a colorful winter wonderland, or a warm vintage aesthetic? Consistency across your design — in both color and light type — will make your display look polished and intentional.
Safety should always be your first priority. Use a sturdy ladder that extends at least three feet above your roofline and make sure it’s placed on level ground. Have someone hold the base whenever possible. Wear slip-resistant shoes, work gloves, and consider safety goggles if working under trees or eaves.
Gather your tools before you start:
A tape measure for accuracy
Outdoor-rated extension cords and timers
A voltage tester to ensure outlets are safe
Optional: a tool belt or bucket hook to keep your hands free while on the ladder
Taking a few minutes to prepare the right tools will save you time and prevent accidents later on.
Avoid using staples, nails, or tacks — they can damage both your siding and your light cords, creating fire hazards. Instead, use plastic light clips made for shingles, gutters, or railings. They’re inexpensive, reusable, and easy to remove after the holidays.
If you’re decorating trees, try light-hanging poles or extension wands to help you reach higher branches safely without climbing too high. Your setup will look cleaner, and you’ll avoid damaging your home’s exterior.
For a professional-looking display, stick to one type of bulb — either LED or incandescent. Mixing the two can cause color mismatches and uneven brightness.
LEDs are more energy-efficient, last longer, and stay cool to the touch, making them a great choice for both indoor and outdoor setups. Check packaging for wattage and color temperature to ensure uniformity, and buy extra strands from the same manufacturer in case replacements are needed.
Always plug in and test your lights before climbing the ladder. Check for burnt-out bulbs, flickering strands, or loose connections. A light tester can help pinpoint issues quickly. Replace faulty bulbs before installation to avoid having to redo sections later.
If you’re reusing old lights, inspect cords for frays or cracks — damaged cords should be discarded immediately. A few minutes of testing can save hours of frustration later.
As the saying goes, “measure twice, hang once.” Use your tape measure to double-check each section, ensuring that your strands will fit perfectly from start to end. Laying the lights on the ground before installation helps you see how the design flows and spot any gaps or overlaps.
Consider marking connection points or curves with painter’s tape or chalk so you can easily follow your plan while on the ladder. Precision now means less adjusting later — and a cleaner, more balanced final look.
Nothing dims holiday joy faster than tripping a circuit. Before plugging in your lights, calculate the total wattage to make sure your outlets can handle the load. Most standard household circuits can handle around 1,800 watts; stay under 80% of that (about 1,440 watts) for safety.
Use outdoor-rated extension cords and power strips with circuit breakers to distribute electricity safely. Smart plugs and timers can automate your light display, turning it on at dusk and off at bedtime — saving both energy and effort.
Holiday lights often face harsh winter weather, from rain to snow and wind. Protect your investment by sealing all electrical connections with weatherproof covers or electrical tape. Make sure cords are elevated off the ground and secured to prevent tripping or water damage.
If possible, choose lights rated for outdoor use and heavy-duty extension cords. Using timers with light sensors (photocells) not only adds convenience but also helps your lights last longer by preventing them from running unnecessarily.
Once the basics are handled, it’s time to get creative! Experiment with patterns, like wrapping tree trunks in spirals or outlining windows and door frames for a welcoming glow.
Try fun hacks — such as wrapping lights around a hula hoop for glowing orbs, or draping net lights over bushes for an even, twinkling effect. Look for inspiration on Pinterest, TikTok, or neighborhood displays to spark new ideas. Your home could become the local favorite this season!
Check your display every few days to ensure everything’s still shining. Replace burnt-out bulbs promptly and re-secure any clips that may have loosened in the wind.
If you experience heavy snow or rain, inspect cords afterward for wear or water exposure. A little upkeep goes a long way toward keeping your display bright and safe all season long.
When the holidays are over, resist the temptation to pull the lights down in a hurry. Carefully remove each strand and coil them neatly as you go. Use cardboard, reels, or plastic light organizers to keep them tangle-free for next year.
Store your lights in a cool, dry place, away from direct sunlight or moisture. Proper storage will save you hours next season — and extend the life of your lights for years to come.
Hanging holiday lights can be a joyful part of the season rather than a stressful task — all it takes is a bit of planning, the right tools, and some creative flair. With these tips, you’ll be ready to create a festive display that’s safe, efficient, and dazzling.
So grab your favorite playlist, pour yourself some cocoa, and light up the night. After all, nothing captures the spirit of the holidays quite like the warm, twinkling glow of lights that turn your home into a beacon of cheer.