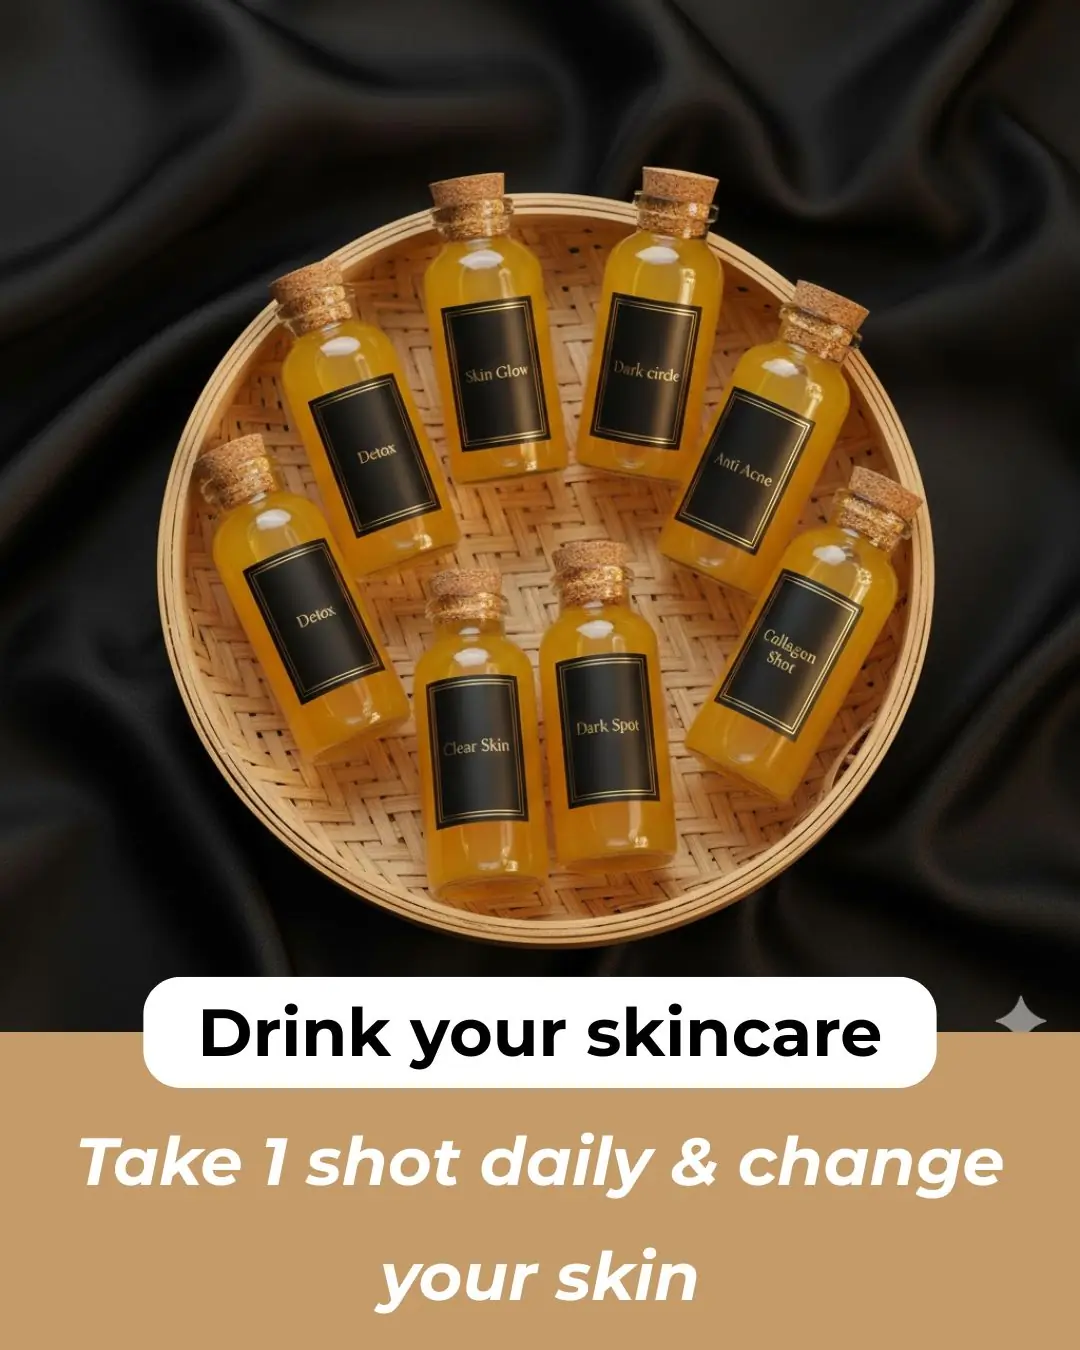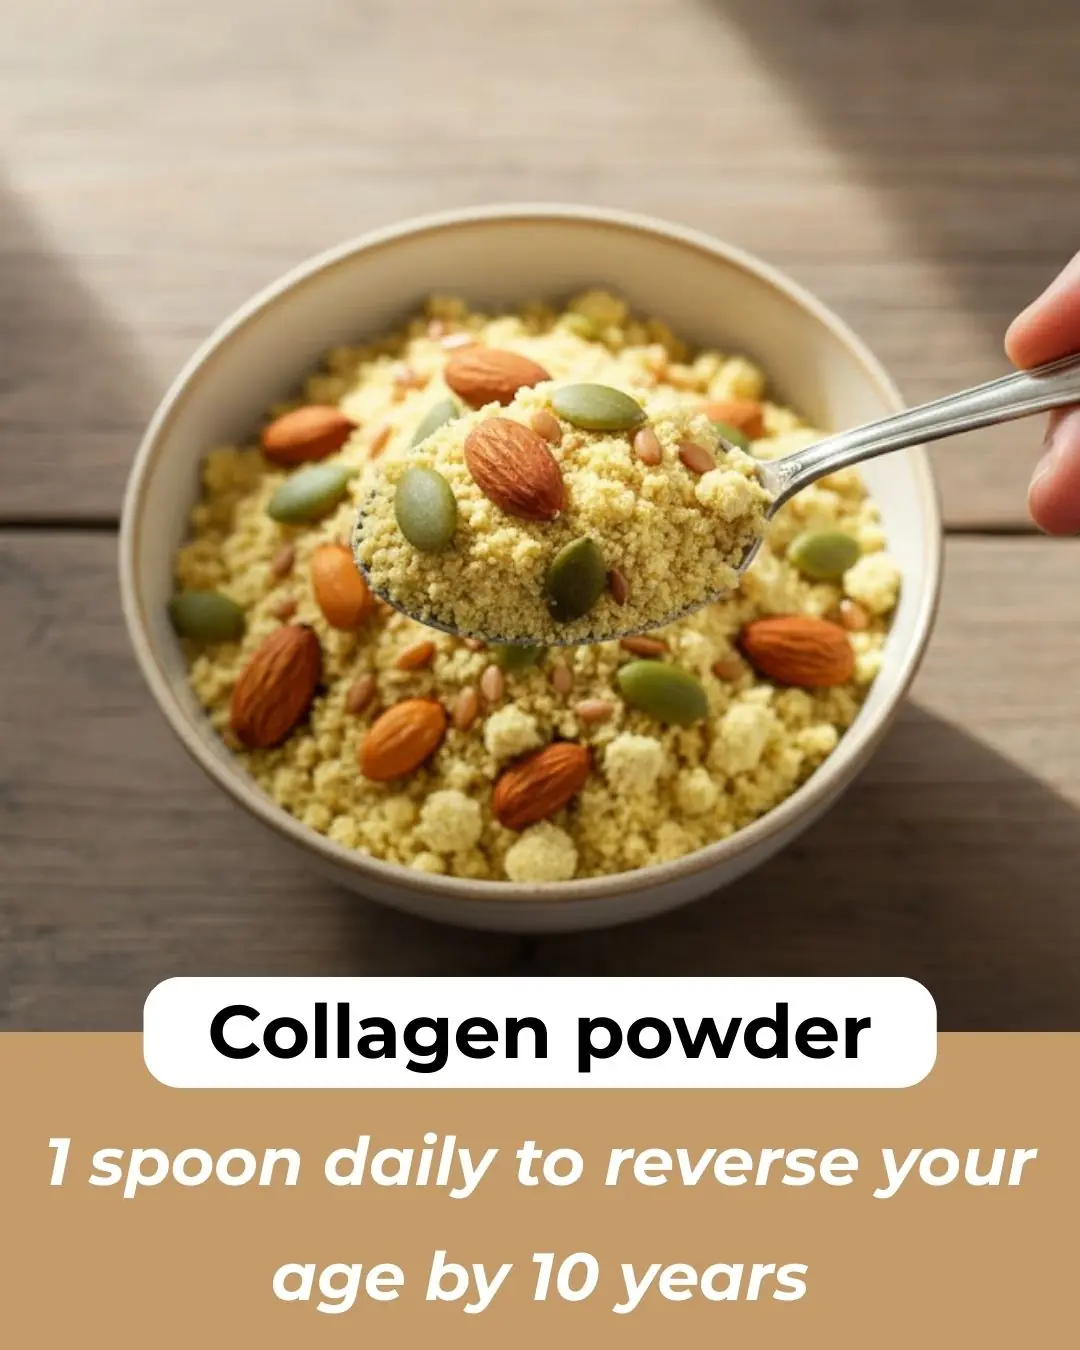
DIY Collagen Powder Recipe for Glowing Skin & Thick Hair
Beatuty Tips 27/12/2025 09:57
Creating your own DIY rice face cream can be both fun and rewarding, offering a natural addition to your skincare routine. Rice is packed with vitamins, minerals, and antioxidants that can benefit the skin in multiple ways, from moisturizing to brightening and even soothing irritation. Below is a detailed guide to making your very own rice-based face cream at home.
½ cup uncooked rice (preferably organic)
2 tablespoons flaxseeds
1 cup water
4 tablespoons aloe vera gel
1 teaspoon or 1 capsule of vitamin E oil (for deep moisturizing)
A few drops of tea tree oil (acts as a natural preservative)
Optional: a few drops of essential oil such as lavender or rosemary (for fragrance and extra skin benefits)
Rinse the uncooked rice thoroughly to remove impurities.
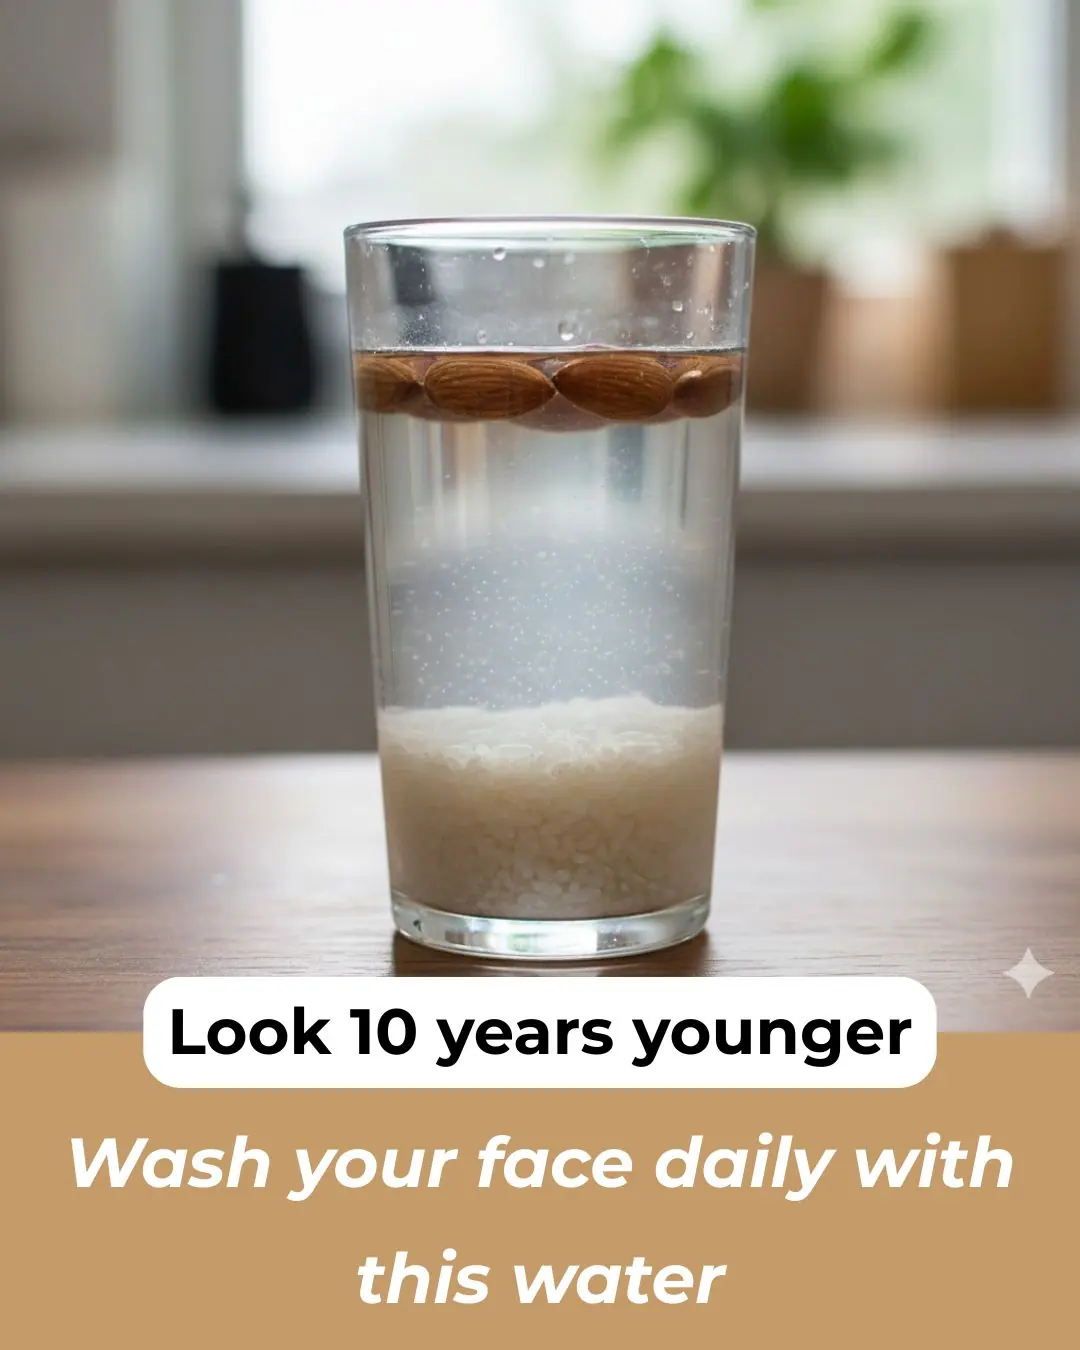
Place the rinsed rice in a bowl and cover it with water. Let it soak for approximately 1 hour.
After soaking, strain the rice and collect the water in a clean container. This rice water will serve as the base for your cream, rich in nutrients beneficial for skin tone and texture.
Boil the flaxseeds in water for 5–7 minutes until a gel-like consistency forms.
Strain the mixture using a muslin cloth or fine sieve to separate the gel.
Allow the gel to cool completely before using. Flaxseed gel adds a natural thickness and smooth texture to your cream while also providing antioxidants and moisturizing properties.
In a clean bowl, combine the rice water, flaxseed gel, aloe vera gel, and vitamin E oil.
Add a few drops of tea tree oil to prolong shelf life and provide antibacterial benefits.
Optionally, add a few drops of lavender or rosemary essential oil for fragrance and added skincare benefits.
Mix the ingredients thoroughly until they form a smooth, creamy texture.
Transfer the cream to a clean, airtight container.
Store it in a cool, dry place or refrigerate to maintain freshness.
Since this is a natural, preservative-free product, it is best used within 1 month.
Apply a small amount of the rice face cream to clean, dry skin.
Gently massage it in circular motions until fully absorbed.
Use it daily as a moisturizer, either in the morning or before bedtime.
Tip: Always perform a patch test before applying any DIY product to your face to ensure no allergic reactions occur.
Moisturizing: The combination of rice water, aloe vera, and vitamin E deeply hydrates the skin, helping to prevent dryness and maintain a soft texture.
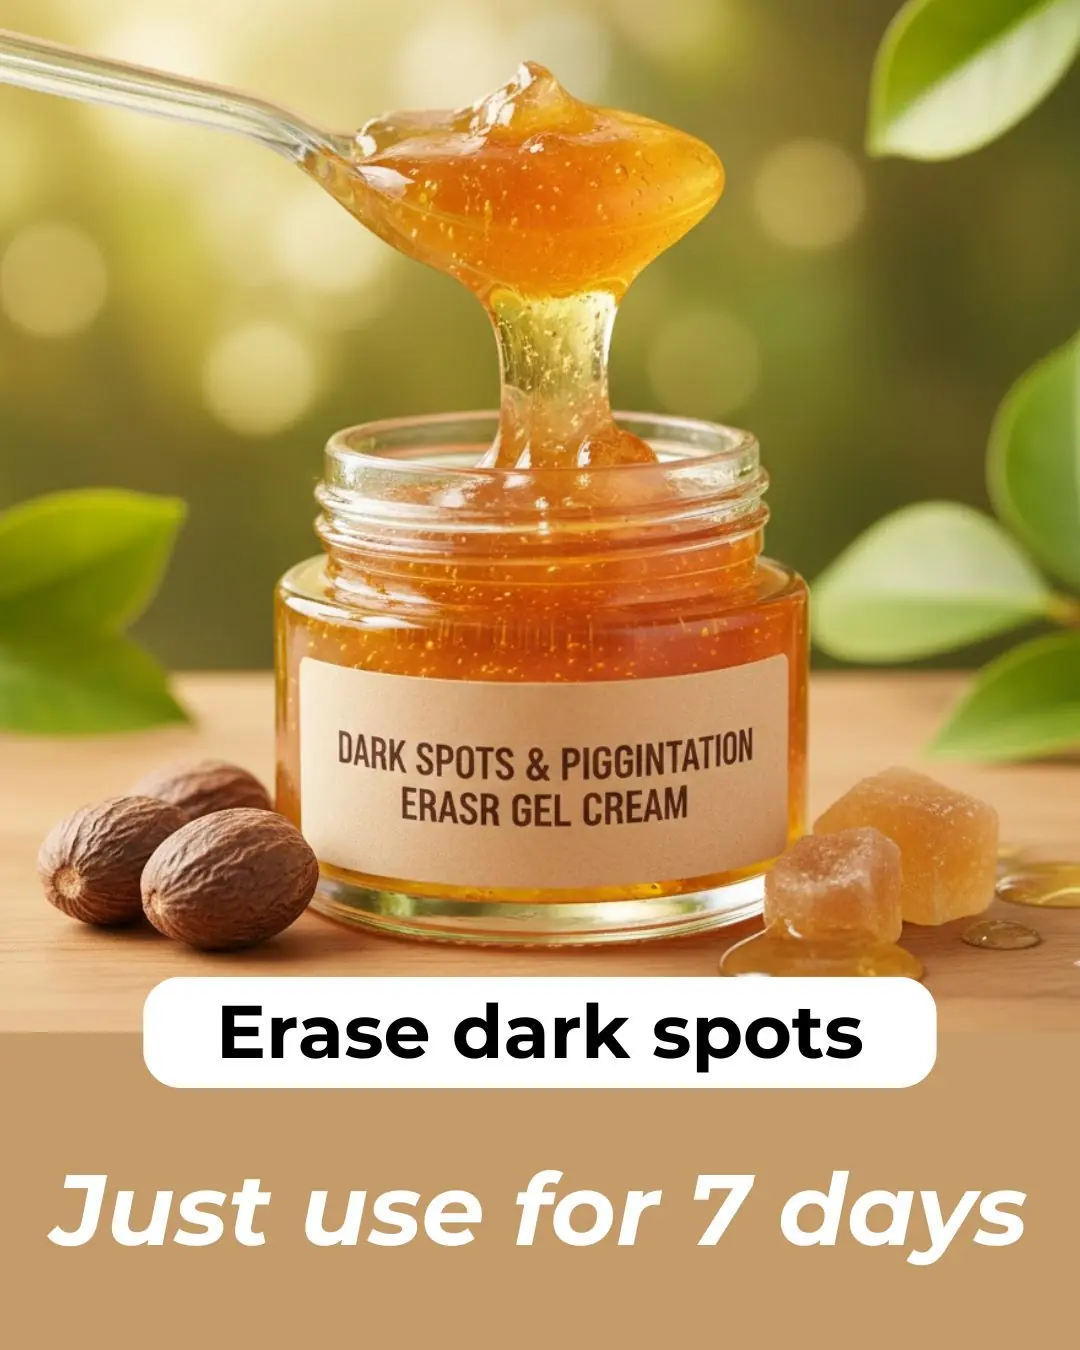
Brightening: Rice contains natural brightening agents like ferulic acid and vitamin E, which help even out skin tone, reduce dark spots, and enhance radiance.
Anti-aging: Antioxidants in rice, including gamma-oryzanol and vitamin E, combat free radicals, reducing fine lines and delaying visible signs of aging.
Soothing: Rice has anti-inflammatory properties, making this cream suitable for sensitive or acne-prone skin.
Gentle Exfoliation: The natural enzymes in rice help remove dead skin cells, leaving skin smooth, soft, and glowing.
Oil Control: For oily or combination skin types, rice cream helps regulate excess oil production and minimizes the appearance of pores, giving a more matte finish.
For an extra hydrating boost, you can add a few drops of rosehip oil or jojoba oil.
If you want a thicker cream, reduce the water slightly or increase the flaxseed gel ratio.
Always store in a clean, airtight container to prevent contamination.
This DIY rice face cream is a gentle, natural, and effective way to nourish your skin without harsh chemicals. With regular use, it can help brighten, hydrate, and maintain a healthy, radiant complexion.