How to Clean a Burnt Pot in Just a Few Minutes: A Simple Solution
We've all been there: you're cooking a delicious meal, distracted for a moment, and suddenly your favorite pot is left with stubborn blackened stains that seem impossible to remove. Burnt food can leave an unsightly and frustrating mess that no one wants to deal with. Fortunately, cleaning a burnt pot doesn't have to be a daunting task. With the right techniques and a few household items, you can restore your pot to its former glory in just a few minutes. Here's a simple and effective solution to help you get rid of those stubborn burnt stains.
1. The Basics of Burnt Stains: What Causes Them?
Burnt stains are typically caused by food or liquid that has been left on the heat for too long. This can happen when food is overcooked or the heat is too high. The sugars, oils, and other particles in the food burn and stick to the bottom of the pot, creating a tough, blackened layer. If left unattended, these stains can harden and become challenging to clean.
In most cases, the burnt stains are not permanent and can be removed with the right cleaning approach. However, the longer the burnt food sits on the pot, the harder it may be to remove. So, acting fast is crucial to restoring your cookware.
2. Essential Materials for the Cleaning Process
Before you begin, make sure you have the following items on hand:
-
Baking soda: This versatile ingredient is known for its cleaning power. It's a natural abrasive that can help lift stains without damaging your cookware.
-
White vinegar: Vinegar is another powerful natural cleaner that can break down the burnt residue and make it easier to scrub away.
-
Dish soap: This will help to clean the pot after you've removed the burnt stains.
-
A non-abrasive sponge or cloth: You want to scrub the pot without scratching it. A gentle, non-scratching sponge will be ideal.
-
Hot water: Warm water helps loosen up stubborn stains and makes the cleaning process more effective.
3. Step-by-Step Guide: How to Remove Burnt Stains from Your Pot
Step 1: Soak the Pot
Start by filling the burnt pot with hot water. The hot water will help loosen the burnt food particles and make the stains easier to remove. Let the pot soak for at least 10 to 15 minutes. If the stains are particularly stubborn, you can soak it for longer.
Step 2: Add Baking Soda and Vinegar
Once the pot has soaked, drain the water. Now, sprinkle a generous amount of baking soda on the burnt areas of the pot. Afterward, pour a small amount of white vinegar onto the baking soda. The combination of baking soda and vinegar will create a fizzing reaction that helps break down the burnt residue.
You may notice the bubbling action, which indicates that the cleaning process is underway. Allow the baking soda and vinegar mixture to sit for a few minutes to work its magic.
Step 3: Scrub Gently
After the fizzing has settled down, grab your non-abrasive sponge or cloth and begin to gently scrub the burnt areas. Apply moderate pressure to avoid scratching the surface of the pot. Focus on the areas with the heaviest staining.
The combination of baking soda's abrasiveness and vinegar's acidity should lift the burnt particles from the pot. As you scrub, you may see the blackened stains start to fade away. Keep scrubbing until the stains are completely gone.
Step 4: Rinse and Wash
Once the stains are removed, rinse the pot thoroughly with warm water. Then, wash it with regular dish soap to ensure that all residue from the cleaning mixture is gone. Make sure to remove any leftover baking soda or vinegar to avoid any lingering smells.
After washing, you should notice that the pot looks as good as new, free from the stubborn burnt stains.
4. Tips for Preventing Burnt Pots in the Future
Now that you know how to remove burnt stains quickly and easily, it’s also helpful to know how to avoid them in the future. Here are a few tips to prevent your pots from becoming burnt in the first place:
-
Use the right heat setting: Avoid using high heat when cooking delicate foods. Lower the heat to maintain a steady cooking temperature and reduce the risk of burning.
-
Stir regularly: Stirring your food while cooking helps prevent it from sticking to the bottom of the pot and burning. This is especially important when cooking thicker mixtures or sauces.
-
Use a non-stick pot: If you frequently cook foods that are prone to sticking, consider using a non-stick pot. This will make cleaning up much easier and prevent food from burning onto the surface.
-
Keep an eye on your food: It’s easy to get distracted while cooking, but taking a moment to check your pot every few minutes can save you from burnt food. Don’t leave food unattended on the stove for long periods of time.
-
Use a cooking timer: Set a timer to remind yourself when it’s time to check or stir your food. This will help you stay on top of your cooking and prevent it from burning.
5. Alternative Methods for Stubborn Stains
If the baking soda and vinegar method doesn't fully remove the stains or if your pot is heavily burnt, there are a few alternative methods you can try:
-
Boiling a cleaning solution: Fill the pot with water, add a few tablespoons of baking soda, and bring it to a boil. Let it simmer for 10 to 15 minutes. The heat will help loosen the burnt food, making it easier to scrub away.
-
Commercial cleaners: There are also specific cleaning products designed to remove burnt stains from cookware. These can be effective but make sure to follow the instructions carefully and ensure that the cleaner is safe for your type of cookware.
Conclusion
Burnt pots don’t have to be a headache. With the right ingredients and a little elbow grease, you can restore your cookware to its former state in just a few minutes. By using simple household items like baking soda and vinegar, you can remove even the toughest burnt stains. Plus, by following a few preventative measures, you can avoid future burnt messes and keep your pots looking their best.
So, next time your pot gets a little too much attention from the stove, don’t worry—this easy cleaning method will help you make it good as new in no time.
News in the same category


Treat Premature Gray Hair with a Natural Dye Using Tamarind and Potato – Cheap and Effective!

Here are 3 coffee drinking habits of many young people that can accelerate aging and cause various health problems

It's not a snake, this is the "a:ss@ssin" that can crawl out of your air conditioner at home.
Why Should We Not Open the Bedroom Door at Night?

8 Body Language Tips to Help You Appear More Confident

Why Should You Not Close the Door When Using the Air Conditioner?

Flight Attendants Reveal Surprising Truth About Coffee Cups on Airplanes

Why Passengers Must Leave Their Luggage Behind During an Emergency Evacuation

5 'Golden Rules' Pilots Swear By That Everyone Should Follow When Boarding a Plane

Why Do Many People Abroad Hang Their Pants Inside Out with the Waistband Facing Down?
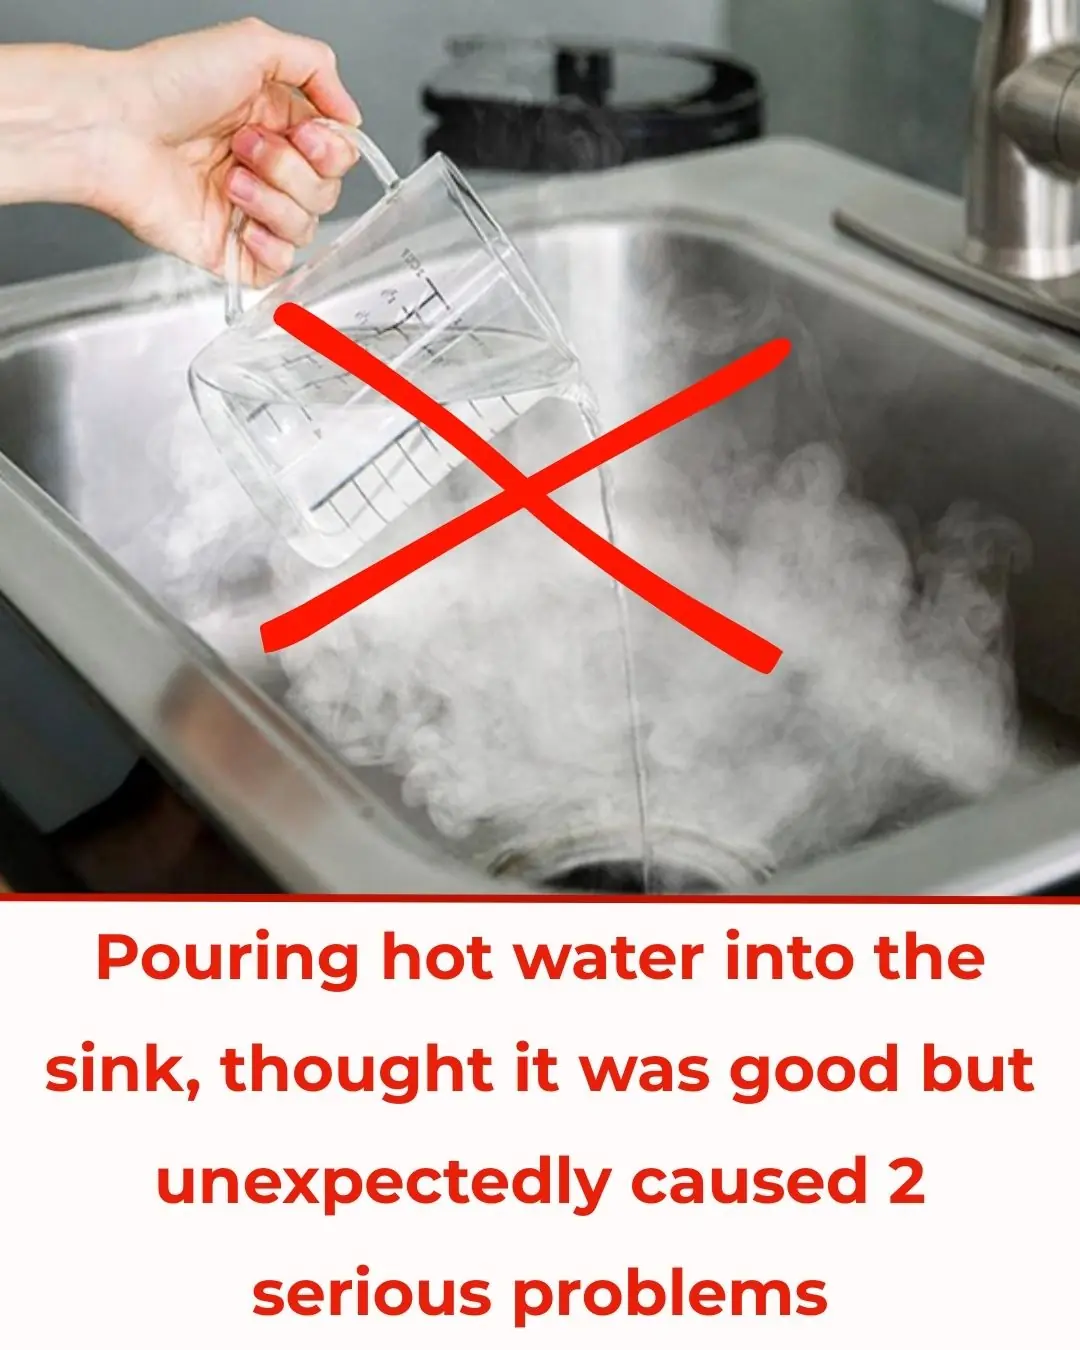
Pouring Hot Water into the Kitchen Sink: Thought It Was Helpful but Actually Causes Two Serious Problems

Clogged Pipes? Super Easy Home Remedies Without Calling an Expensive Plumber!

The Golden 4-Hour Window to Drink Coffee for Maximum Health Benefits: Clean Liver, Smooth Digestion, and Balanced Blood Sugar
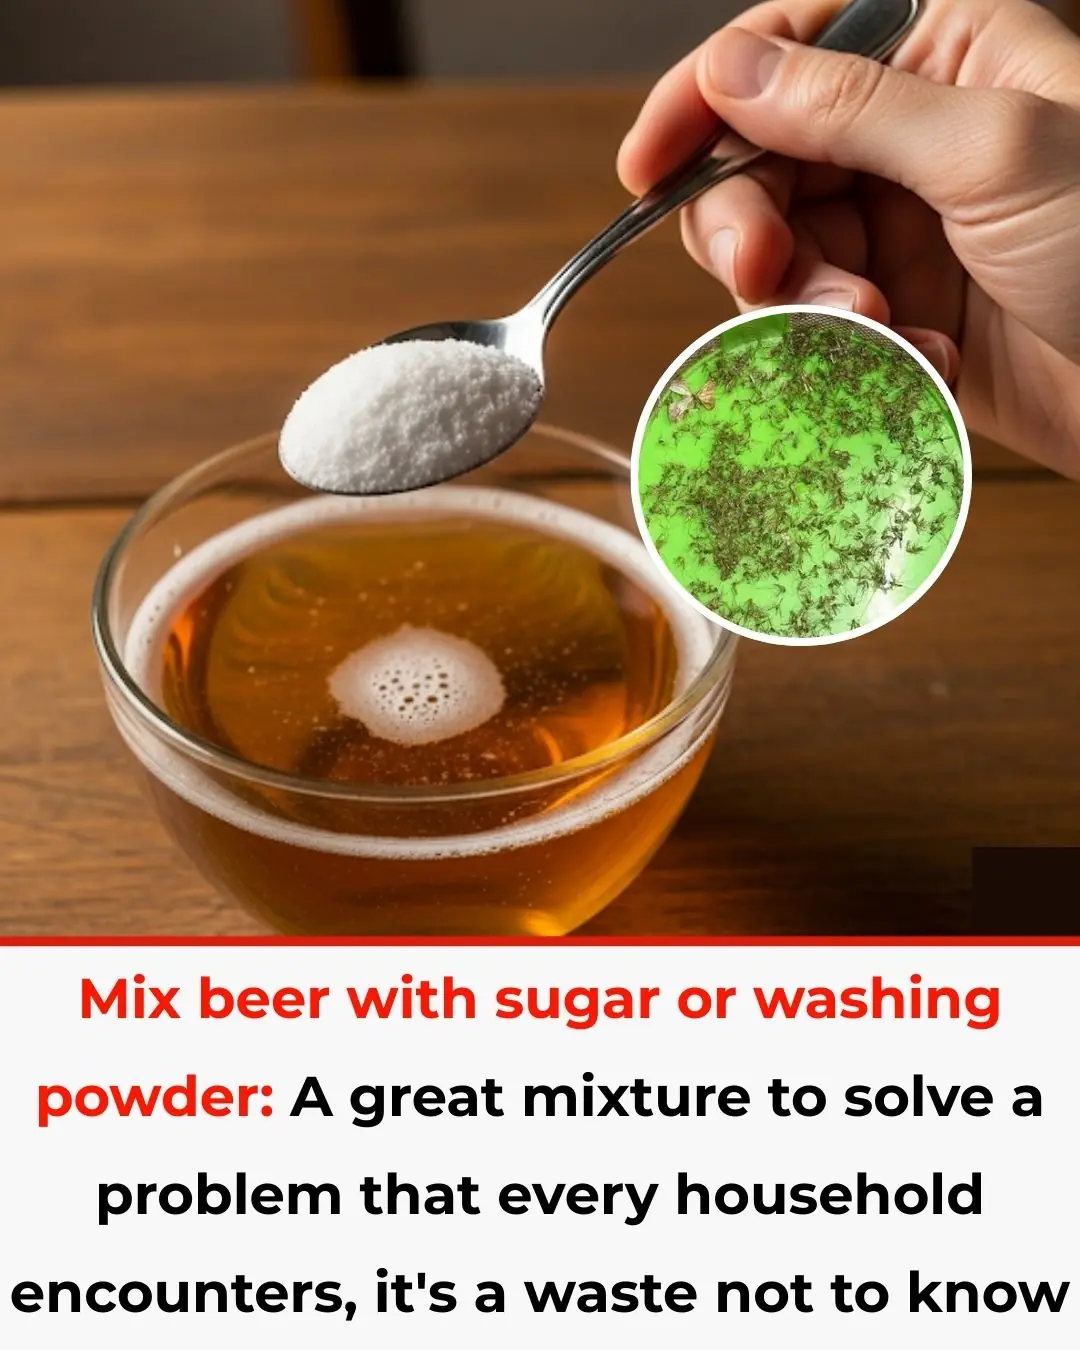
Mixing Beer with Sugar or Detergent: A Brilliant Solution to a Common Household Problem You Shouldn’t Miss

A Wild Herb That Grows Like Weeds, Used in Soups to Nourish the Liver and Strengthen Joints, Yet Most Vietnamese People Always Pull It Out When They See It

Is It Safe to Eat Rice Left Overnight in a Rice Cooker? A Personal Story and Expert Advice

Drinking perilla and lemon leaf tea brings these amazing health benefits to your body
News Post

Blood Clot in Leg: Signs and Symptoms You Shouldn’t Ignore (Pictures Included)

Weak Toilet Flush with No Suction Power? A Simple DIY Hack from the Pros

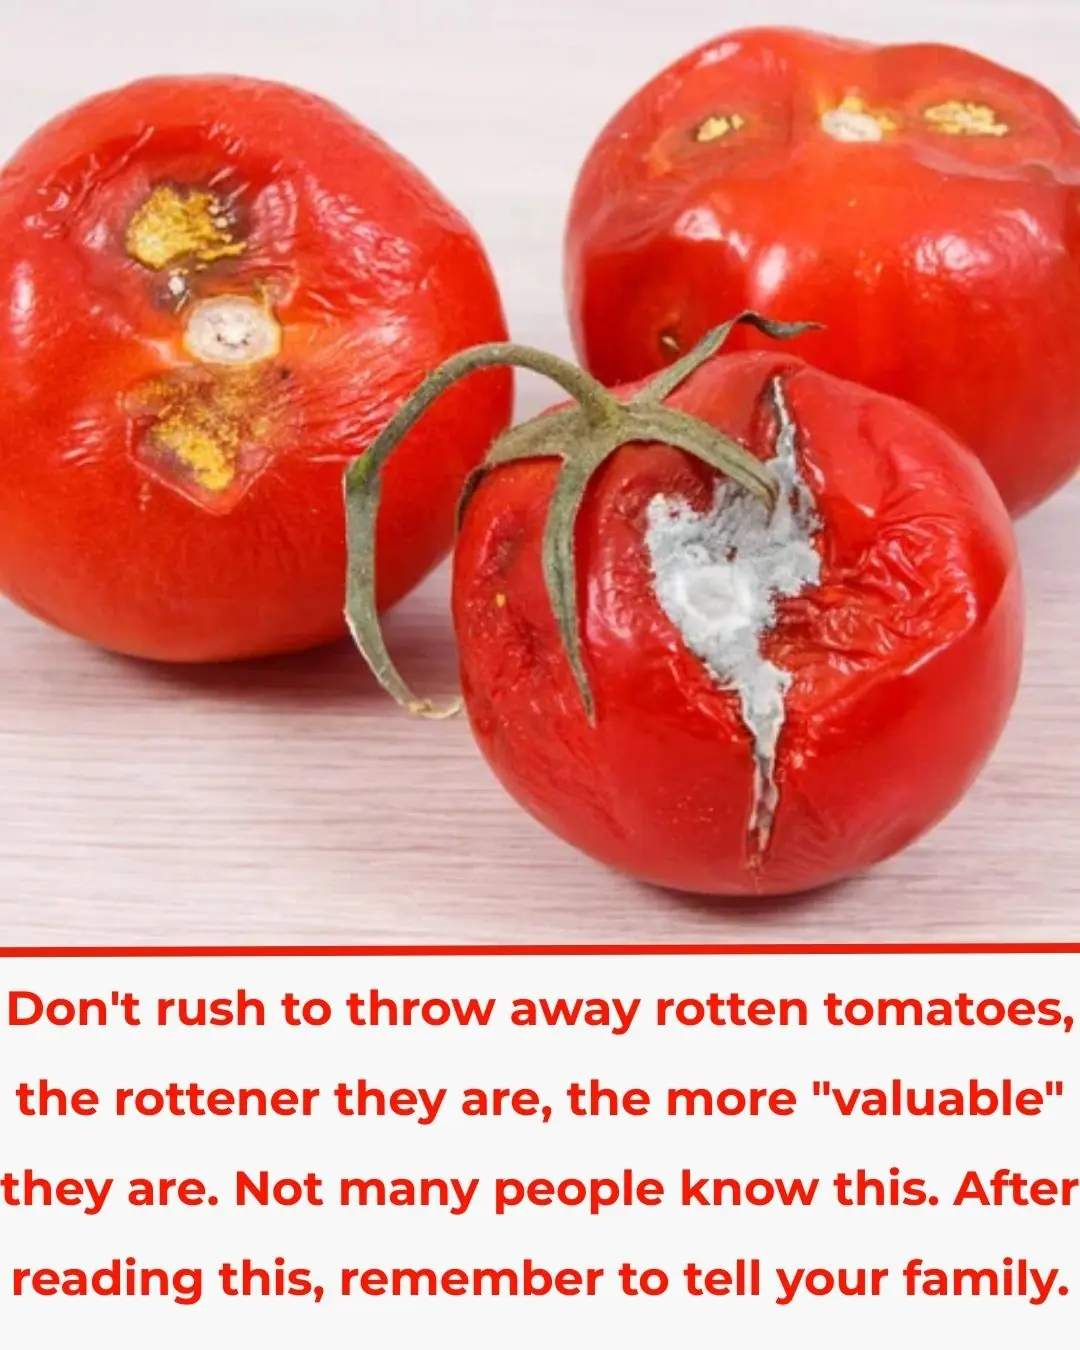
Don’t Throw Away Rotten Tomatoes – The More Rotten, the More “Valuable”! Few People Know This, So Share It with Your Family

The Most Effective Ways to Naturally Get Rid of Clogged Ears
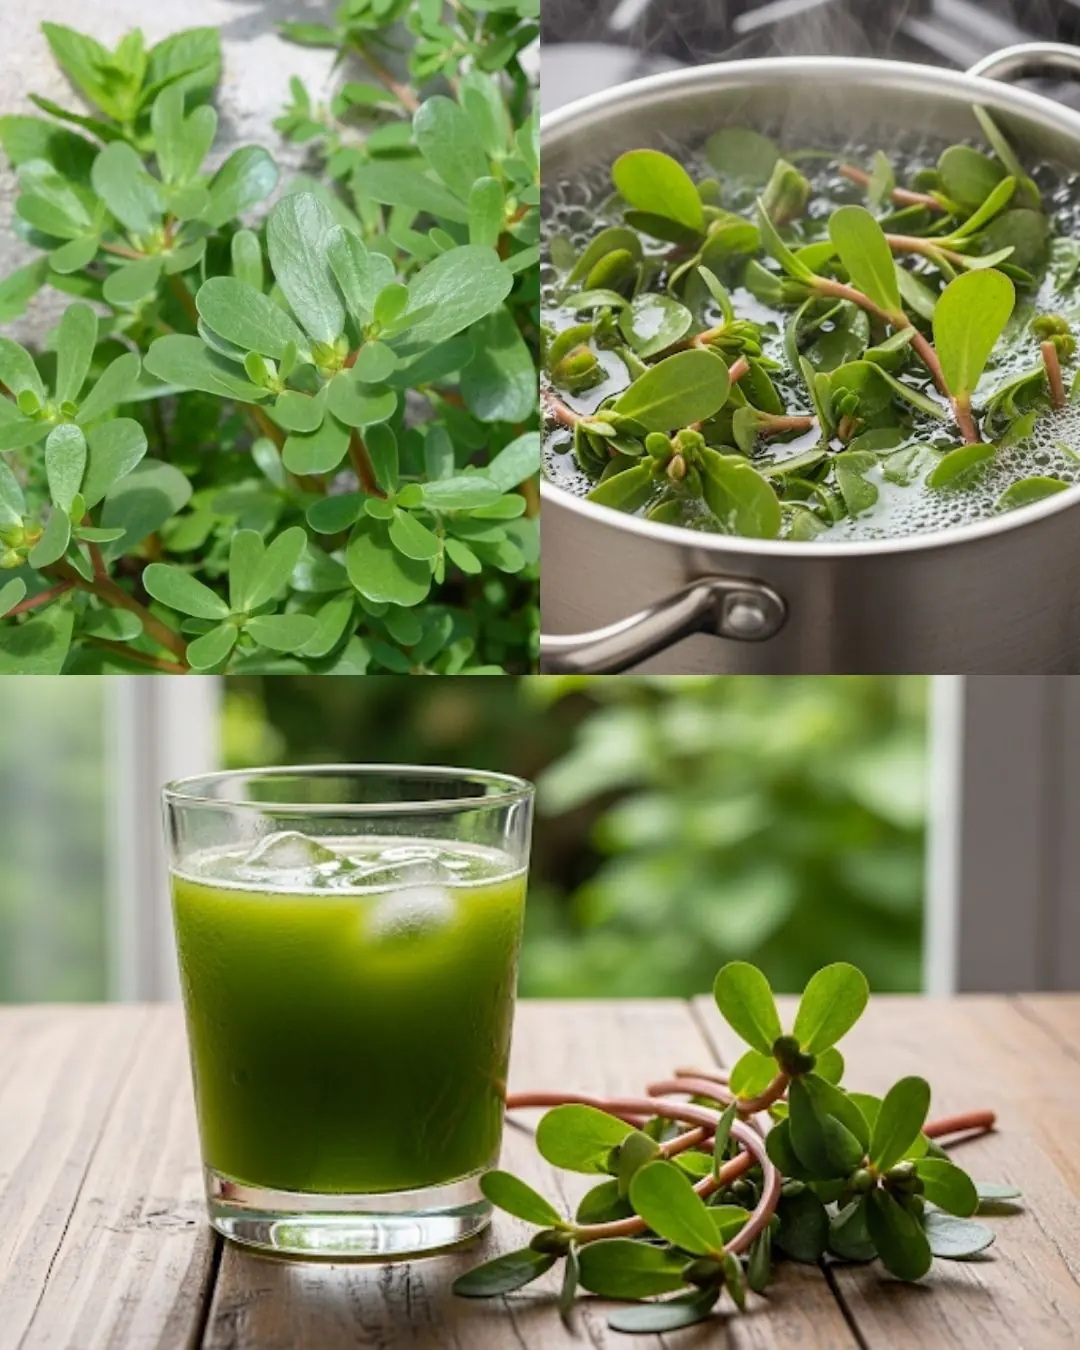
30 Powerful Reasons You Should Stop Ignoring Purslane

DIY Aloe Vera and Clove Toner: A Natural Remedy for Aging Signs

Treat Premature Gray Hair with a Natural Dye Using Tamarind and Potato – Cheap and Effective!

Here are 3 coffee drinking habits of many young people that can accelerate aging and cause various health problems

It's not a snake, this is the "a:ss@ssin" that can crawl out of your air conditioner at home.

Most US Neurologists Who Prescribe MS Drugs Take Industry Money

Cognitive Benefit From Ginkgo biloba Monotherapy in MCI

Keeping Up on HS Management When Guidelines Are Outdated

Orlando Bloom explains ‘horrible’ side effects his weight-loss transformation caused

A:dult star reveals the clause written into her contract that helps keep her safe

How Your Body Changes in Your Forties and What It Means for Your Health
Why Should We Not Open the Bedroom Door at Night?

8 Body Language Tips to Help You Appear More Confident

Why Should You Not Close the Door When Using the Air Conditioner?

Flight Attendants Reveal Surprising Truth About Coffee Cups on Airplanes
