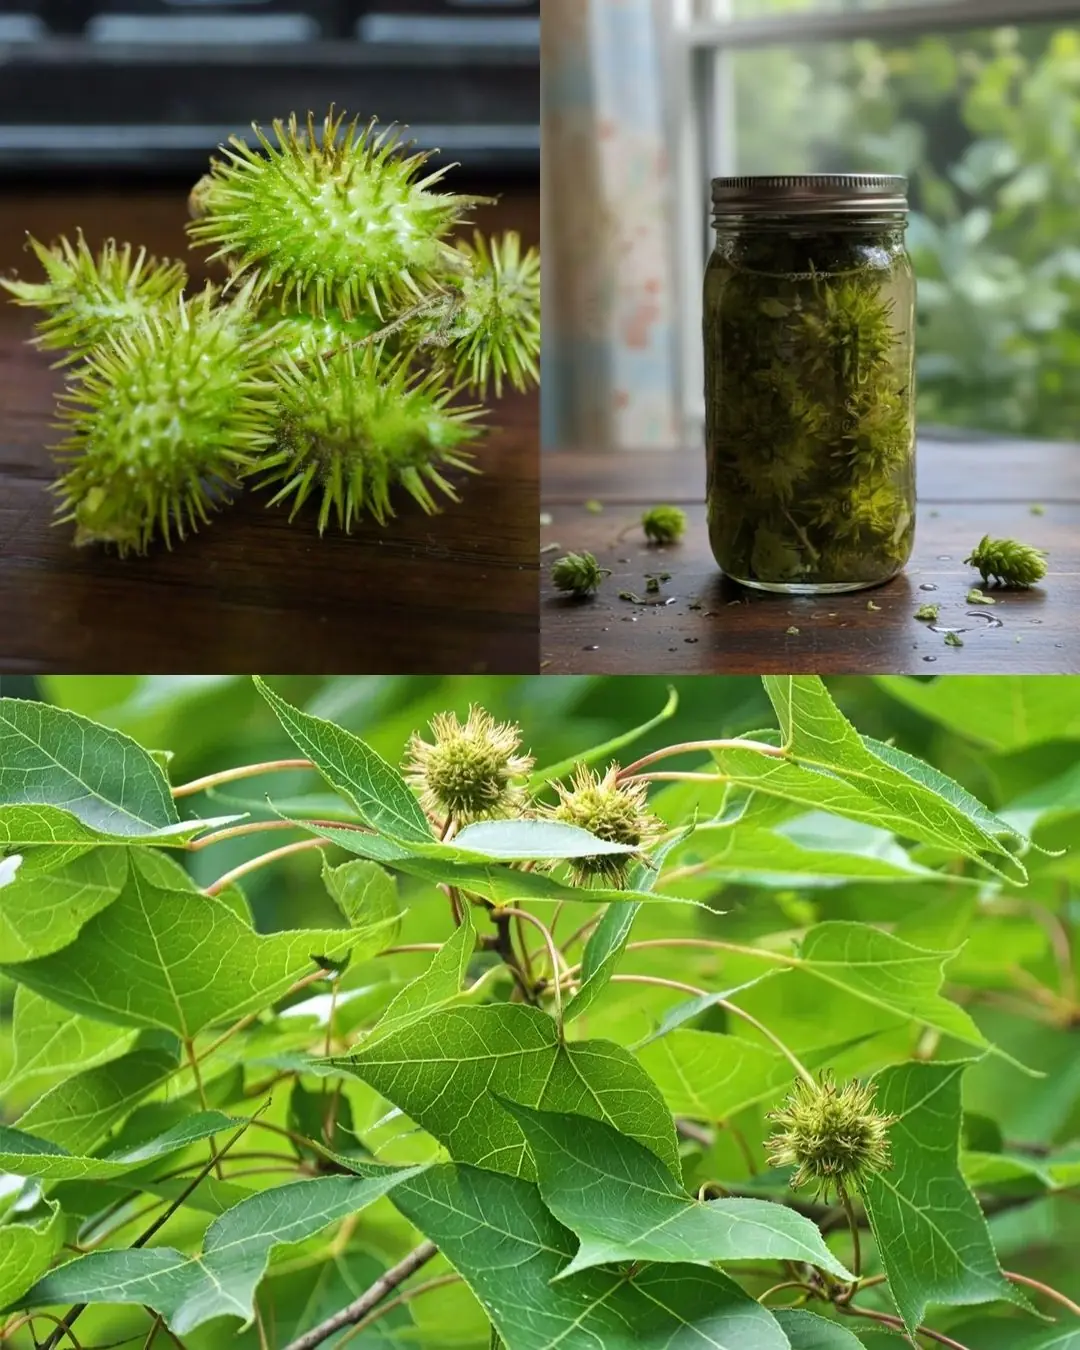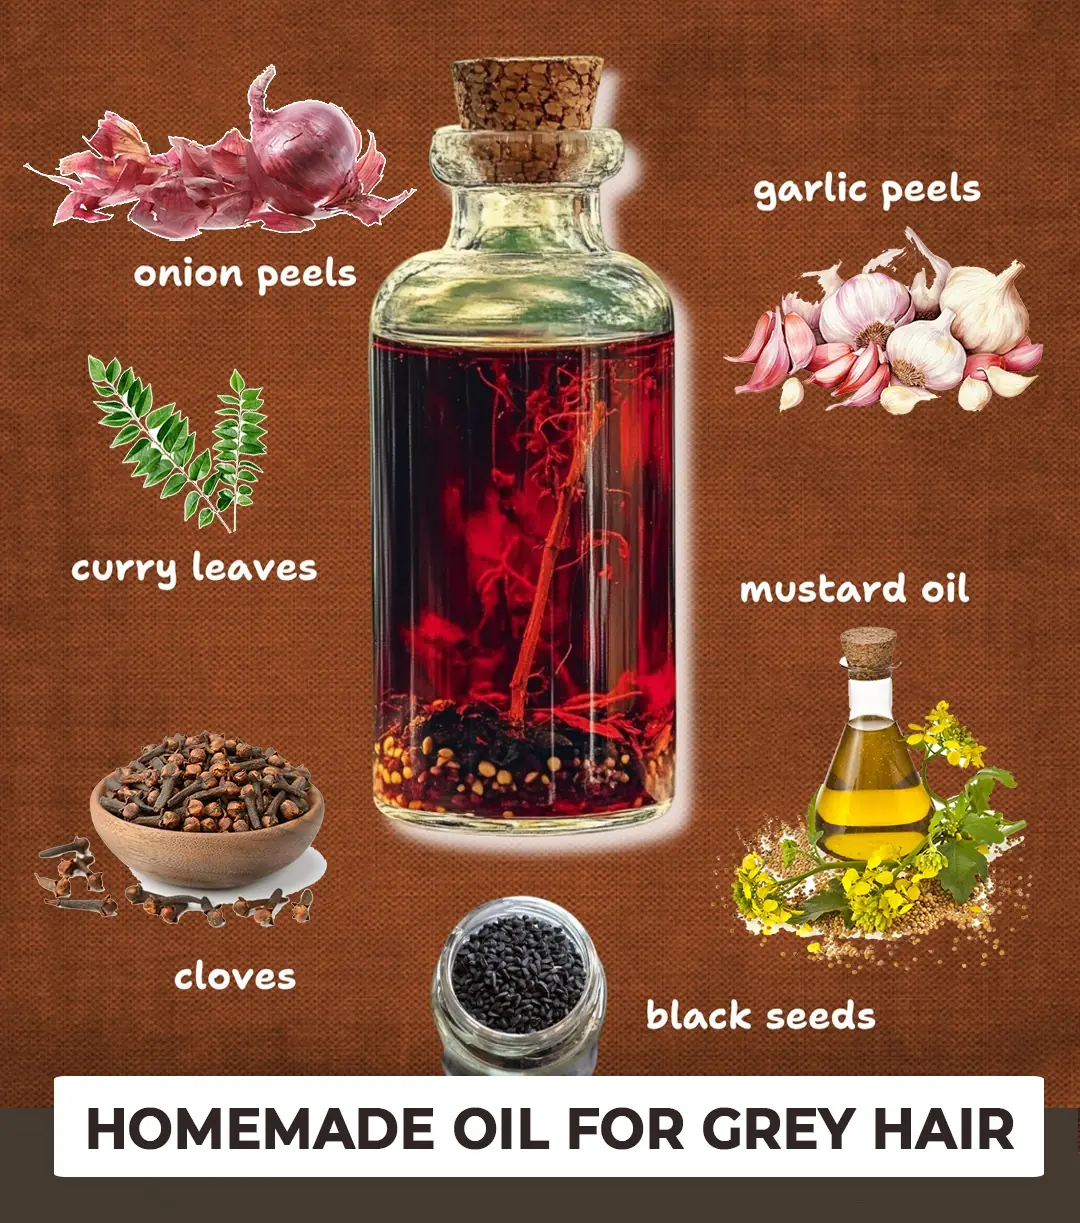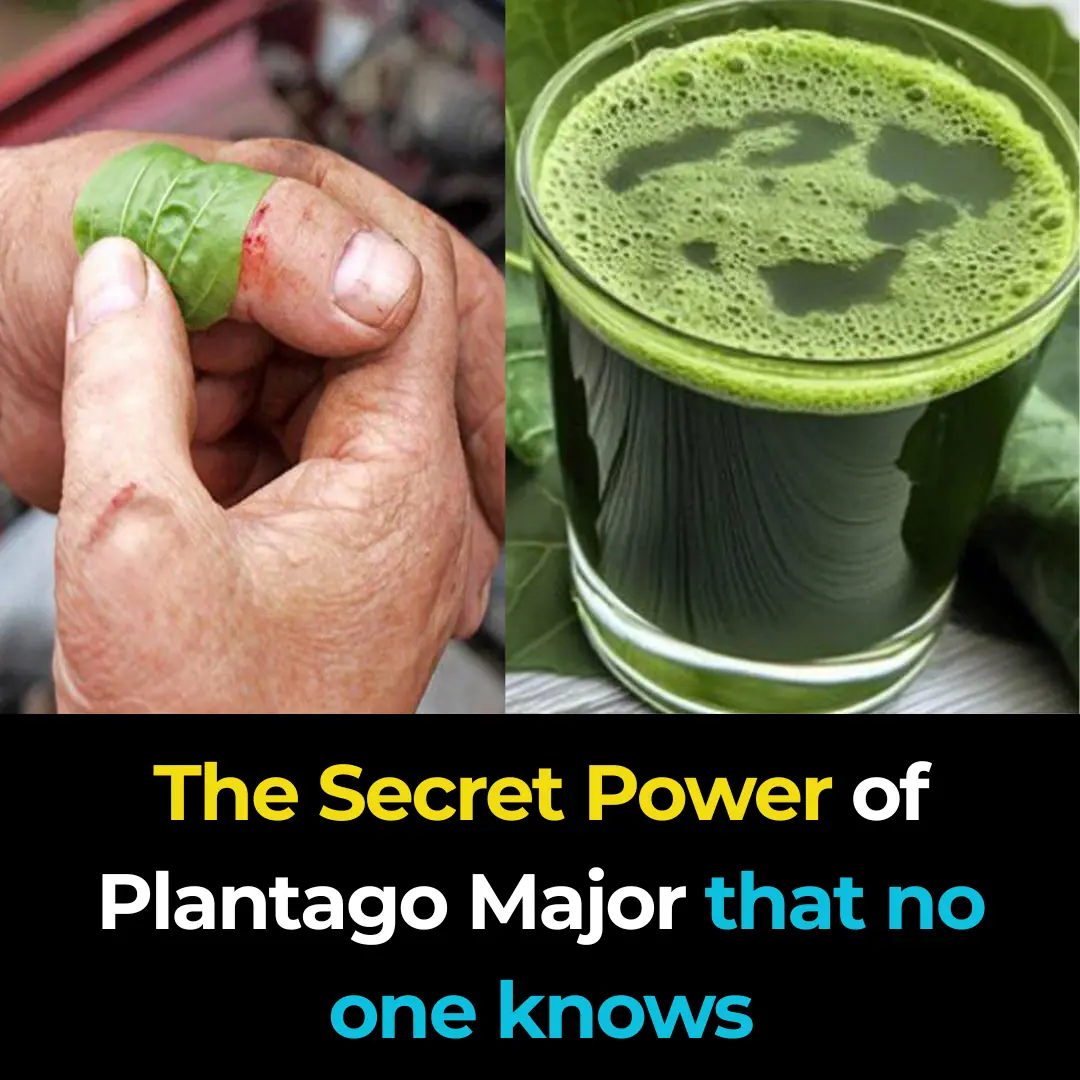
The Secret Power of Plantago Major that no one knows
Garden Healthy 13/09/2025 01:04
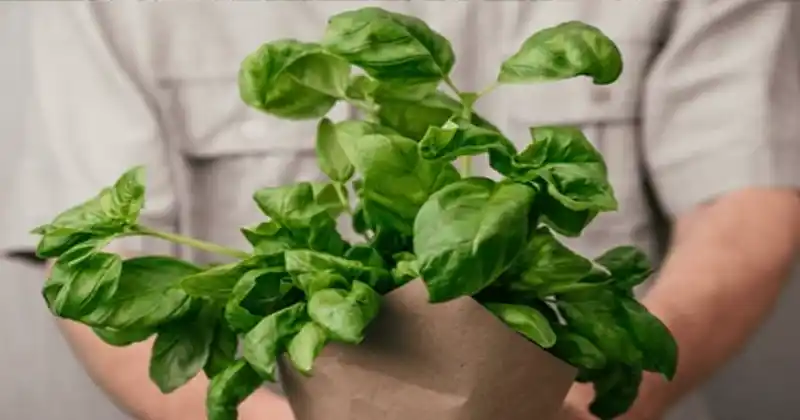
Fresh basil is one of the most beloved herbs in kitchens around the world. Its aromatic, flavorful leaves can elevate even the simplest dishes—pasta, salads, pizzas, soups, and more—into something truly special. But if you've ever brought home one of those lush, vibrant basil pots from the supermarket, you've probably experienced a common frustration: within a few days, the plant starts wilting, turns yellow, and eventually dies.
The way supermarket basil is sold isn’t designed for long-term survival. But with the right care and a few simple tricks, you can revive that struggling basil and grow it into a robust, long-lasting plant that supplies you with fresh leaves for months to come. Here’s a step-by-step guide to help you do just that.
Most people don’t realize that supermarket basil pots are actually overcrowded clusters of young seedlings—often 20 to 30 of them—jammed together in a small pot. This makes them look full and appealing on the shelf, but it’s far from ideal for the health of the plants.
All those seedlings are competing fiercely for light, water, and nutrients. With limited space and resources, none of the individual plants can truly thrive. These pots are intended for short-term use—snip off some leaves for your dinner, and then toss the rest.
But if you want to grow basil long-term, the secret is to separate the plants and give them the conditions they need to flourish.
Start by removing the basil from its original pot. Follow these steps:
Loosen the plant by gently squeezing the pot’s sides and easing the root ball out.
You’ll see a dense, compact root system with lots of little stems sprouting up.
Separate the seedlings carefully with your fingers, teasing apart the roots. Don’t worry if a few roots break—basil is surprisingly resilient.
Pro Tip: Soaking the entire root ball in a bowl of lukewarm water for 5–10 minutes makes it easier to separate the seedlings.
Replant just one seedling per pot. While planting two or three together may look fuller initially, a single plant per pot will grow much stronger and healthier over time.
Once the seedlings are separated, it's time to give them a proper home:
Choose the right pot: Use small to medium-sized containers with drainage holes. A pot around 4–6 inches (10–15 cm) wide is perfect for one plant.
Use good-quality soil: A light, well-draining mix is best. For indoor growing, consider a blend of coconut coir, perlite, and organic compost—this reduces pests like fungus gnats. Outdoor basil can thrive in regular compost-rich soil.
Plant carefully: Place each seedling in its own pot, add soil around it, and press gently to secure the roots.
Water thoroughly: Give each new plant a deep drink of water until it begins to drain from the bottom of the pot.
Basil thrives in conditions that mimic its native Mediterranean climate: warm, sunny, and slightly humid.
Light: Basil needs at least 6 hours of direct sunlight daily. A bright, south-facing window is ideal. If natural light is limited, use a small LED grow light for 10–12 hours a day.
Temperature: Keep your basil in a spot where the temperature stays above 12°C (54°F). Cold drafts or chilly nights can damage or stunt the plant.
Humidity: Basil appreciates moderate humidity. In dry climates or heated homes, an occasional light misting helps.
Watering: Basil prefers consistently moist (but not soggy) soil. Check by sticking your finger into the soil—if the top inch is dry, it’s time to water. Be sure the pot never sits in standing water, as that can lead to root rot.
Most people simply pluck leaves from the top—but that can lead to a tall, leggy plant. Pruning is the key to a fuller, healthier basil bush.
Wait until your basil has at least two sets of true leaves on the main stem.
Using clean scissors or pruning shears, cut the stem just above a pair of leaves.
This encourages the plant to grow two new branches from that point.
Keep pruning regularly as it grows. Each cut triggers new growth, resulting in a lush, branching plant instead of a single spindly stalk.
Bonus Tip: Always avoid cutting more than a third of the plant at once to prevent stress.
Want more basil without spending more money? Propagation is easy!
Take cuttings during your regular pruning. Choose stems with at least 2–4 leaf pairs.
Remove lower leaves, leaving the top leaves intact.
Place in water in a clear glass or jar, making sure no leaves sit below the water line.
Within 5–10 days, white roots will begin to grow. Once they reach 2–3 cm long, transplant the new plant into soil.
This method allows you to multiply your basil—give them as gifts, plant more in your garden, or keep a steady rotation going on your windowsill.
Fast-growing herbs like basil need nutrients to keep producing flavorful leaves.
Use a balanced liquid fertilizer every 2–3 weeks.
Organic tomato feed or general-purpose houseplant fertilizer works well.
Avoid over-fertilizing—too much can lead to excessive leaf growth with weaker flavor and attract unwanted pests like aphids.
🌞 Light: 6+ hours of sunlight or 10–12 hours under a grow light
🌡️ Temperature: Keep above 12°C (54°F)
💧 Watering: Keep soil consistently moist, not waterlogged
✂️ Pruning: Cut above leaf nodes to encourage branching
🌿 Feeding: Fertilize lightly every 2–3 weeks
Supermarket basil may not be intended to last, but that doesn't mean you have to throw it out after one meal. With a little patience and care, you can turn that overcrowded pot into multiple thriving plants that last for months and keep your kitchen stocked with fresh, fragrant basil.
Whether you're tossing it into a caprese salad, blending it into pesto, or simply using it as a garnish, your homegrown basil will taste better—and feel more rewarding—than anything you buy in a plastic packet.
Inspired by this guide? Share it with fellow herb lovers—and never let another basil plant go to waste again!