
You are doing it all wrong. Here's the right way to dust surfaces
Dusting is one of those household chores that most of us perform automatically, without giving it much thought. Yet, it’s far more important than it appears. Beyond keeping your home visually clean, regular and effective dusting plays a crucial role in maintaining a healthy indoor environment. Surprisingly, even if you dust frequently, there’s a strong chance you’re not doing it as efficiently as you could be. Many people rely on outdated techniques or the wrong tools—methods that not only waste time but can actually make dust problems worse.
In this article, we’ll explore the most common mistakes people make when dusting and reveal the best practices and tools to help you dust smarter, not harder. With just a few adjustments to your routine, you can save time, improve air quality, and keep your home looking spotless and fresh for longer.
1. Why Dusting Really Matters: The Hidden Dangers of Dust
Dust might look like a harmless layer of gray fluff, but it’s far from benign. It’s actually a complex mix of microscopic particles: dead skin cells, pollen, mold spores, fabric fibers, pet dander, and even chemical residues or toxic metals such as lead. The Environmental Protection Agency (EPA) warns that indoor dust can harbor pollutants that pose serious health risks, particularly for vulnerable groups like children, the elderly, and those with asthma or allergies.
Even more concerning, dust provides a perfect habitat for dust mites—tiny creatures that thrive in warm, humid environments. Their waste particles are a major trigger for allergies and respiratory issues. Regular, thorough dusting doesn’t just keep your home looking tidy—it helps eliminate these hidden irritants and improves your overall air quality.
Extra tip: Pair consistent dusting with frequent vacuuming (using a HEPA filter) and good ventilation to drastically reduce allergen buildup.
2. The Most Common Mistake: Using a Dry Cloth
At first glance, wiping dust with a dry cloth seems simple and effective—but it’s actually one of the least efficient methods. A dry cloth tends to push dust around or send it floating back into the air, only for it to settle again a few minutes later. It may look clean temporarily, but the results never last.
In fact, research shows that microfiber cloths can remove up to 99% of bacteria and fine particles from surfaces, while plain cotton or paper towels often capture less than one-third of that amount. Dry dusting may make surfaces look cleaner in the short term, but in reality, it just redistributes the dust rather than removing it.
3. The Right Tool for the Job: A Damp Microfiber Cloth
The single best upgrade you can make to your cleaning routine is switching to a slightly damp microfiber cloth. Microfiber’s ultrafine fibers—thinner than a human hair—trap and lock dust, dirt, and bacteria instead of pushing them around. When lightly moistened, the cloth becomes even more effective at attracting particles through static and capillary action.
To prepare your cloth, mist it gently with water or a mild cleaning solution. Avoid spraying liquid directly onto the surface, as too much moisture can damage delicate materials like wood or painted finishes. After each use, rinse and wash the cloth to prevent reintroducing dust the next time you clean.
Bonus tip: Keep several microfiber cloths handy—one for wood, one for glass, and one for general surfaces—to prevent cross-contamination.
4. The Proper Technique: Always Dust from Top to Bottom
Dusting has its own logic—and gravity is your biggest clue. Always start from the highest points of the room, such as ceiling fans, light fixtures, or shelves, and work your way down toward furniture and floors. This ensures that dust falling from upper surfaces gets captured as you progress.
If you begin at floor level, you’ll likely have to redo your work after dust drifts down again. A top-to-bottom approach not only saves effort but also delivers a visibly cleaner and more consistent finish.
5. The Importance of Order: Don’t Dust Randomly
Random dusting might feel spontaneous, but it’s actually inefficient. A structured approach helps you avoid missing spots or cleaning the same area twice. Choose a clear pattern—clockwise, counterclockwise, or section by section—and follow it consistently in every room.
This habit not only guarantees complete coverage but also builds muscle memory, helping you finish faster over time. Think of it as your personal cleaning “map” for a smoother, more mindful routine.
6. Avoid Over-Spraying: Less Is More
More spray doesn’t mean more cleanliness. Over-spraying your cleaner can leave a sticky residue that actually attracts dust, defeating the purpose. It can also damage finishes, especially on wood, screens, or decorative items.
The best approach is a light mist—applied directly to your cloth, not the surface. A slightly damp cloth captures dust efficiently without leaving any buildup behind. Remember: a gentle touch leads to a cleaner, safer result.
7. Choosing the Right Products: Go Gentle and Green
Choosing the right cleaner can make a huge difference. Avoid harsh chemical sprays that emit fumes or leave residues that degrade furniture over time. Instead, look for eco-friendly or non-toxic formulas that are safe for both your health and the environment.
You can even make your own natural dusting solution at home. Mix equal parts vinegar and water for glass and metal, or combine olive oil and lemon juice for wood surfaces to clean and condition them at once. These simple recipes are cost-effective, biodegradable, and just as effective as store-bought options.
8. Finding the Right Frequency: Every Two Weeks Is Often Ideal
Contrary to popular belief, dusting every single week isn’t always necessary—and can sometimes make the process feel robotic or rushed. Dusting every two weeks allows just enough buildup to see what needs attention, making your cleaning more intentional and thorough.
That said, rooms with heavy traffic—like living areas or entryways—may need more frequent attention. Bedrooms and low-traffic spaces can often go longer between cleanings if well-ventilated.
Tip: Schedule your dusting on the same days each month to build consistency without feeling overwhelmed.
9. Customizing Your Approach for Different Surfaces
No two surfaces are alike, and dusting them all the same way can cause damage.
-
Electronics: Always use a dry microfiber cloth—moisture and screens don’t mix.
-
Wood: A lightly oiled cloth can help preserve shine and prevent cracking.
-
Glass and mirrors: Use a vinegar-and-water solution and buff with a dry cloth for a streak-free finish.
-
Decorative items or plants: Use a soft brush or compressed air to remove dust from delicate surfaces.
Understanding your materials ensures you not only clean effectively but also extend the life and beauty of your furniture and décor.
10. Embracing Technology: Let Gadgets Work for You
Modern cleaning tools can make a noticeable difference. Air purifiers with HEPA filters capture up to 99.97% of particles as small as 0.3 microns, helping reduce airborne dust. Robotic vacuums can also help maintain floors and baseboards between manual dusting sessions.
Still, remember that gadgets are assistants, not replacements. Manual dusting remains the gold standard for detailed cleaning—especially on high, intricate, or delicate surfaces that machines can’t reach.
11. Viral Hacks: What Works and What Doesn’t
The internet is full of creative dusting hacks, and while some are brilliant, others are best avoided.
✅ Effective hacks: A lint roller works wonders on lampshades and upholstered surfaces. Using a pillowcase to clean ceiling fan blades is another clever trick that prevents dust from raining down.
❌ Avoid: Dryer sheets on electronics—they can create static buildup that harms devices.
Before trying any viral method, test it on a small, hidden area first. When in doubt, rely on tried-and-true cleaning tools and techniques for the safest results.
Final Thoughts
Dusting may seem simple, but doing it right transforms both the look and feel of your home. With the right tools, a thoughtful approach, and a bit of consistency, you’ll spend less time cleaning—and more time enjoying a fresher, healthier living space. Remember: effective dusting isn’t about working harder; it’s about working smarter.
News in the same category


🌿 Add a Few Drops of Medicated Oil to Garlic — The Brilliant Household Trick Everyone Loves!

Did You Know That If These Arrive At Your House It Is a SIGN

Put a cotton ball with VapoRub in your ear & get this remarkable effect

7 foods to prevent premature gray hair, supplement every day to quickly grow long, black and shiny hair

Why do smart people never keep hot and cold water dispensers in the house? The reason is very reasonable

Using 1 fruit in this way, the whole body will be cleansed without any trace, and will never dare to return

The Tiny Hole on a Safety Pin Has a Genius Hidden Purpose

Put Your Shoes in the Freezer — and Discover a Surprisingly Effective Trick

Should You Unplug the Rice Cooker After the Rice Is Cooked?

8 reasons why adding baking soda to your toilet tank is a must-do trick

Don’t Boil Chicken with Just Salt and Water—Try This Method for Golden Skin and Juicy Meat
Sprinkle a Handful of White Powder into Your Kettle—The “Magical” Result Will Astonish You

Don’t Wash New Clothes with Soap—Soak Them in This Instead, and They’ll Keep Their Color for 5 Years

You are doing it all wrong. Here's how to drink 8 glasses of water each day
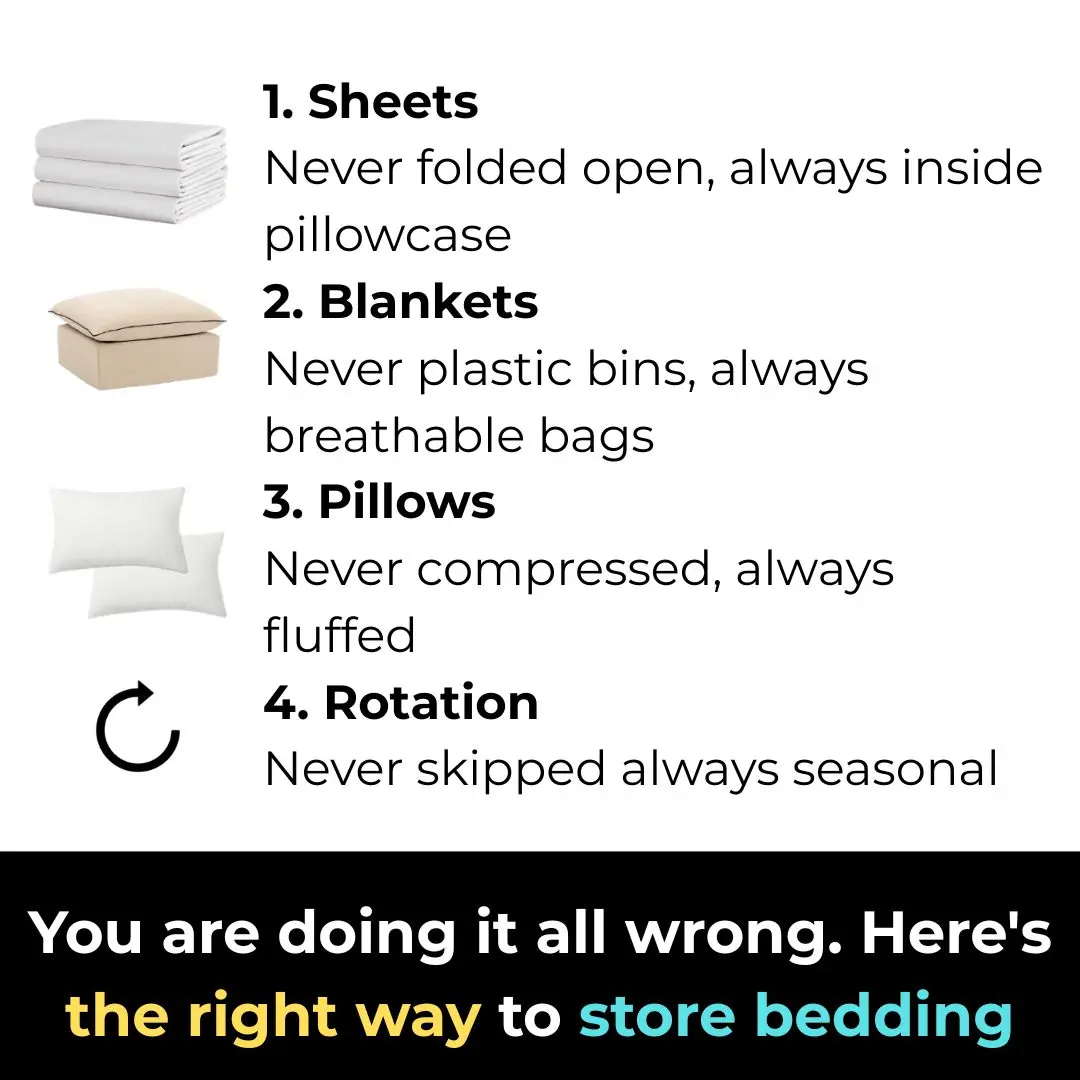
You are doing it all wrong. Here's the right way to store bedding

My nana taught me this hack to defrost icy freezers in 5 mins with 0 work. Here’s how it works
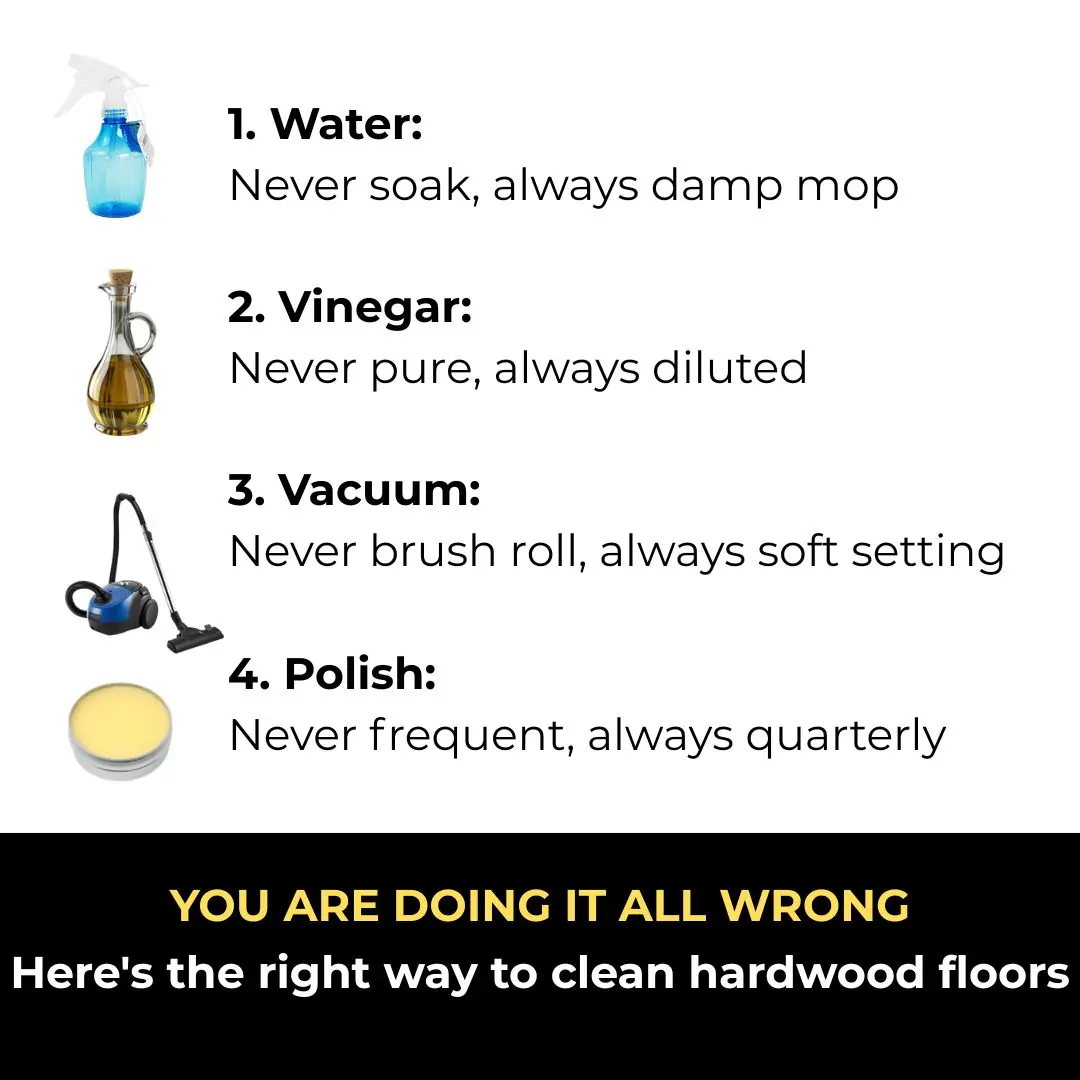
You are doing it all wrong. Here's the right way to clean hardwood floors Georgia Lynn Contributing Writer
My nana taught me this hack to deodorize trash cans in 2 mins with 0 work. Here’s how it works
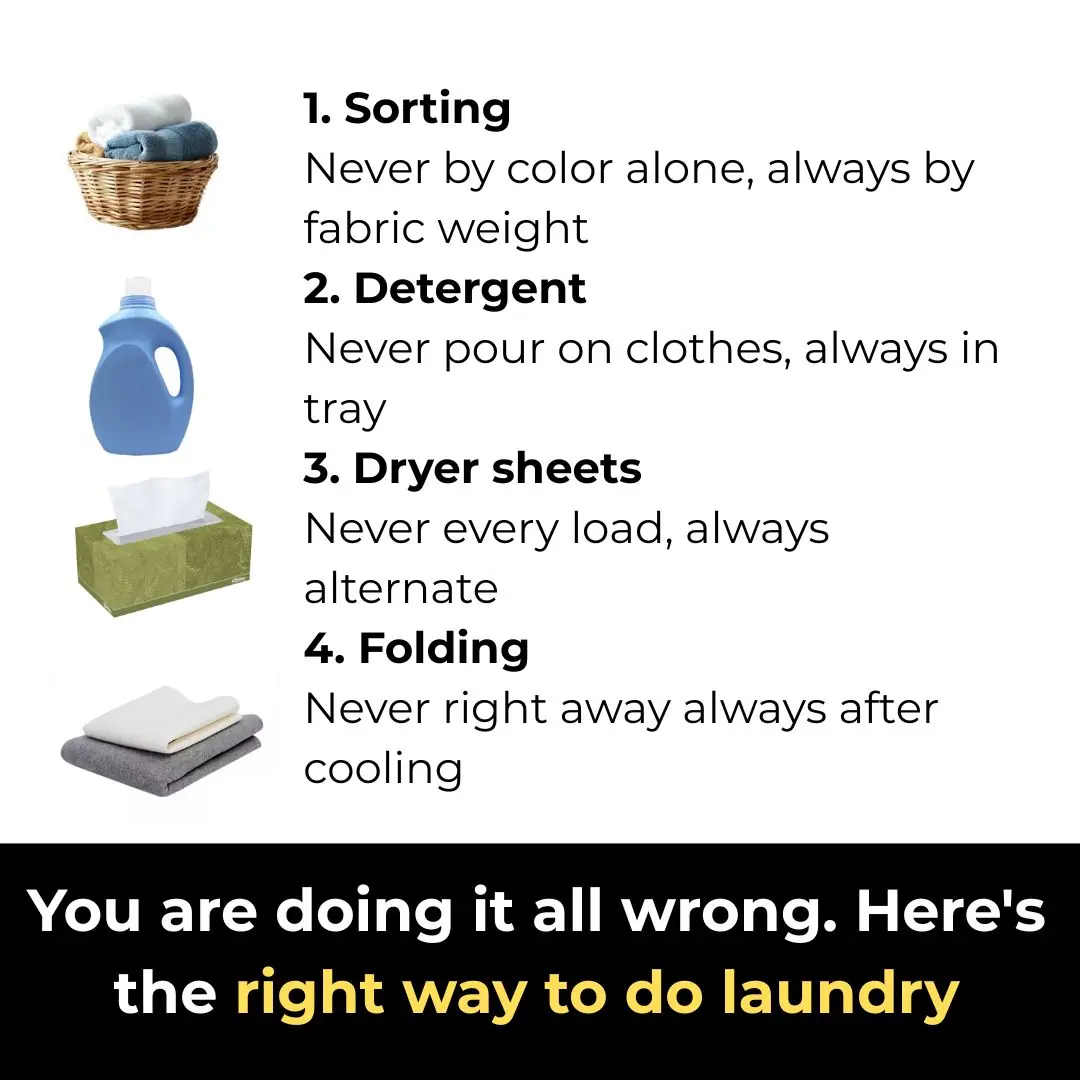
You are doing it all wrong. Here's the right way to do laundry
News Post

Boost your hair growth with rice water ginseng hair spray

DIY Turmeric Gel For Ageless Skin: Unlock the Secrets of Radiant and Youthful Complexion

DIY Brow Boosting Serum: Thicken Eyebrows Naturally with Garlic, Castor Oil & Coconut Oil

Collagen Boosting Drink to Reverse Your Age: Get Spotless, Glowing Skin Naturally

Ginger – 100 Times More Powerful Than Botox: The Natural Secret to Eliminate Wrinkles, Freckles, and Dark Spots

Clean Your Arteries Naturally with This Simple Homemade Juice — A Daily Tonic for Heart Health and Circulation

Red Onion Magic: The Little Kitchen Secret That Balances Blood Sugar Naturally

Cabbage Leaf Miracle: How to Relieve Joint Pain Overnight Naturally

End Knee Pain Naturally: The Secret Power of Ginger Doctors Don’t Tell You

Proven Health Benefits of Dates (Dried, Fresh, Medjool) – Science Based

Mouth Cancer: Symptoms, Causes, Stages, and Treatment

How to Cure Sciatic Nerve Pain: A Guide to Natural Remedies

Is It Safe to Stay Inside a Car During a Thunderstorm?

Mixing Leftover Rice with Laundry Detergent: A Surprising Cleaning Hack That Works Wonders

Houttuynia Root: The Overlooked Part with Powerful Health Benefits

Plastic Bottle Laundry Hack: How a Simple Trick Reduces Detergent Waste and Environmental Impact

Vinegar Is the Key to Streak-Free Windows and Shiny Surfaces — But Most Use It Wrong
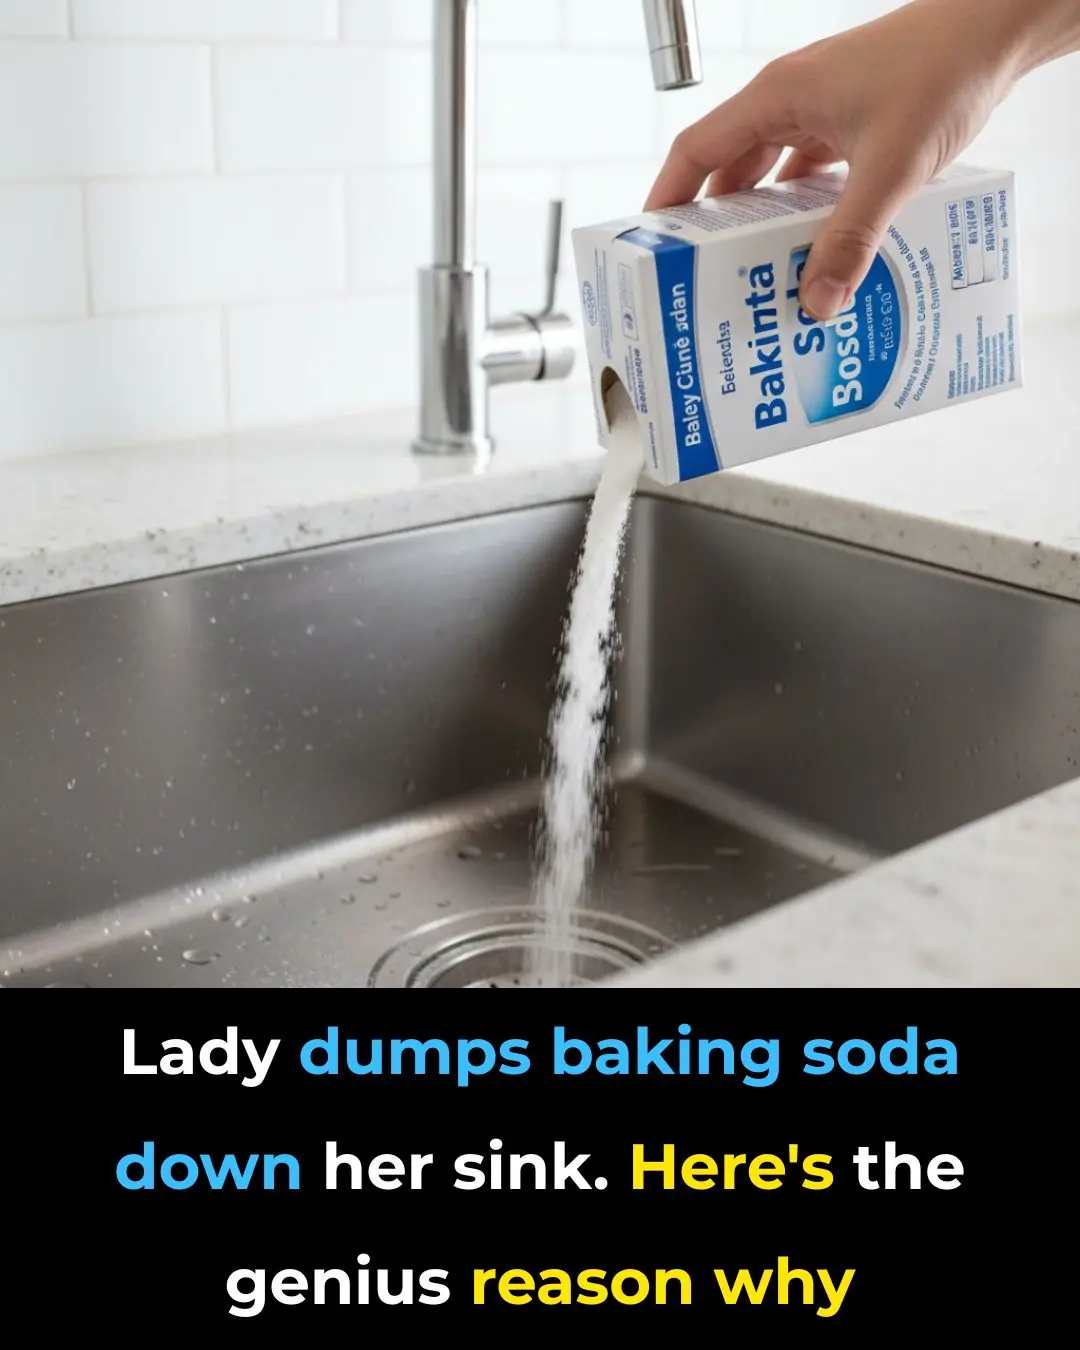
The Genius Science Behind Using Baking Soda in Your Sink
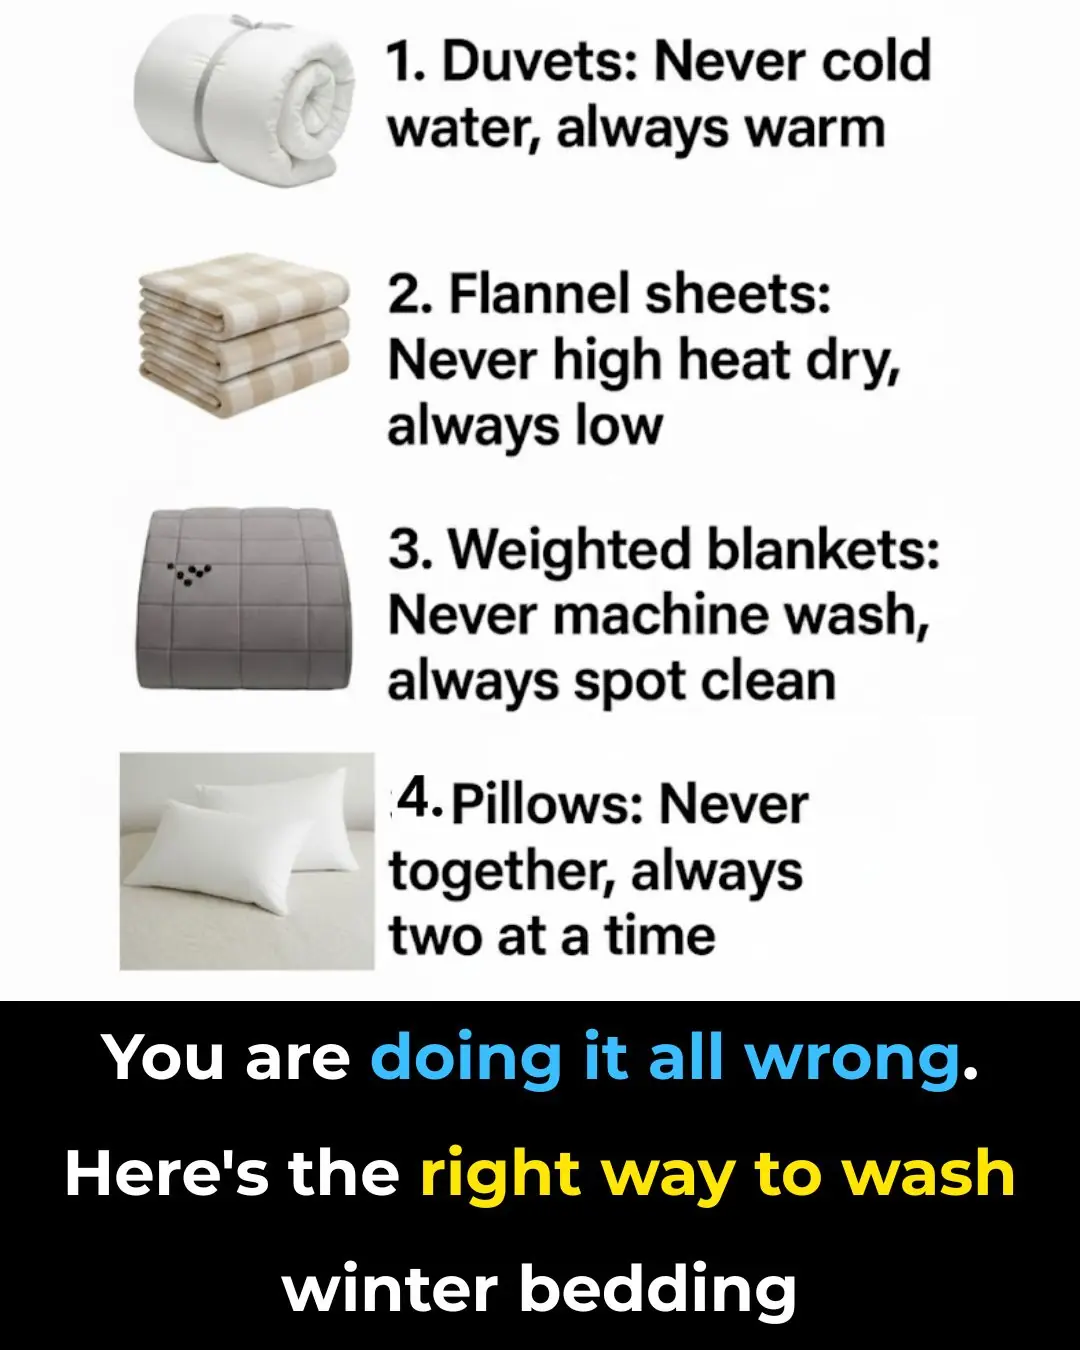
You’re Doing It All Wrong — Here’s the Right Way to Wash Winter Bedding
