
News 30/10/2025 17:07
You’re Doing It All Wrong. Here’s the Right Way to Wash Your Blender
Morgan Reed — Contributing Writer
Blenders are a kitchen staple beloved by many: from morning smoothies to hearty soups, they whip up delicious treats in seconds. Yet, many dread the cleanup that follows. If you don’t clean your blender properly, you can end up with lingering odors, stains, degraded performance—and even health risks. In this article, we’ll explore how to clean your blender the right way, ensuring your appliance stays hygienic, efficient, and ready for action. By applying these steps, you’ll extend your blender’s life and make the cleaning process far less of a chore.
1. Why Proper Blender Cleaning Matters
It’s not just about keeping things looking nice. When food residue builds up inside your blender jar, around the blades, or under the seal, you create a breeding ground for bacteria—especially if you frequently blend raw ingredients (like greens, nuts, or protein powders). According to food-safety experts, such buildup can lead to contamination and bad odors if not removed properly. Well and Good+1
In addition, old food particles and grease can dull the blades, cloud the jar, slow the motor, and reduce blending efficiency. A properly cleaned blender ensures that your smoothie doesn’t taste like last night’s garlic sauce and that your soups are truly smooth. High Speed Training Limited
2. Why You Should Never Manually Scrub the Blades
It’s tempting to grab a sponge or scrub brush and clean the blades by hand—but that’s often the wrong approach. First, those blades are razor-sharp: mishandling them can lead to injury. Second, aggressive scrubbing can wear down the blades’ edge, reducing their effectiveness. Finally, it’s hard to reach all the nooks around blades and gaskets using a sponge—so you may not get a truly clean surface. The Spruce+1
Instead of manually scrubbing, use the blender’s own mechanism to clean itself (see next section)—this both preserves blade sharpness and reduces risk.
3. The Self-Cleaning Method: Fast, Effective & Safe
One of the best cleaning tricks is delightfully simple and fast:
-
Immediately after use, rinse the jar with warm water (this prevents residue from setting).
-
Add warm water (roughly halfway up the jar) and a few drops of dish soap.
-
Secure the lid, attach the jar to the motor base, and blend on high speed for about 30 to 60 seconds. This agitation loosens and washes away stuck particles. epicurious.com+1
-
Pour out the soapy water, then rinse the jar thoroughly with clean water.
-
Dry parts immediately (see section 6).
This method is endorsed by multiple experts: it works quickly, removes residue effectively, and avoids injuring your fingers or dulling blades. Well and Good
4. The Crucial First Step: Immediate Rinsing
One of the simplest yet most overlooked steps is the immediate rinse. Right after you’ve finished blending—especially sticky or thick mixtures like nut butter smoothies, hummus, or spinach shakes—fill the jar with warm water and swirl it around. This prevents puddled residue from drying and bonding to the jar and blades. If you skip this, you may face crusted-on messes that are far harder to remove. Breville
5. Skip the Dishwasher for Plastic/Resin Jars
While tossing the jar into the dishwasher seems easy, it’s not always ideal—especially for plastic or resin blender jars. Thehots and harsh detergents of dishwashers can cause warping, clouding, or weakening of the material. Many manufacturers and cleaning experts recommend hand-washing with warm soapy water and a soft sponge, then drying thoroughly. High Speed Training Limited+1
If your jar is glass, dishwasher use may be acceptable, but always check your model’s manual.
6. How to Clean the Blender Base and Ensure Proper Drying
The motor base of your blender should never be immersed in water. Here’s the correct way:
-
Unplug the blender.
-
Wipe the exterior of the base with a damp cloth and mild detergent if needed.
-
Use a small brush to clean around buttons, crevices, and the power cord.
-
Dry the base thoroughly before reassembly.
Proper drying is equally important for the jar, lid, gasket, and blades. Leaving moisture or trapped water can promote mold, mildew, or odors. After rinsing, dry each component thoroughly and allow air circulation (leaving the lid off helps). Well and Good
7. Dealing with Built-Up Stains, Odors & Tough Residue
Every blender will eventually face stubborn stains or smells—especially from ingredients like garlic, turmeric, spinach, or peanut butter. Here’s how to tackle them:
-
Create a mixture: ½ cup warm water + ½ cup white vinegar + a few slices of lemon. Blend this for 30 seconds, then rinse. This helps neutralize odors. Southern Living
-
For deep stains, use baking soda + warm water: let it sit for 15 minutes, then rinse. The mild abrasiveness of baking soda helps remove the film without scratching. A Joyfully Mad Kitchen
Doing this every few uses—or whenever you make strong or oily batches—keeps your blender feeling fresh long term.
8. The Big Picture: Maintenance & Extending Life
Cleaning is more than just hygiene—it’s maintenance. Frequent residue buildup can shorten your blender’s lifespan by making the motor work harder, dulling blades, or damaging seals. Food-safety guidelines emphasize that equipment used for food blending should be cleaned and sanitised regularly to prevent contamination and maintain performance. health.wa.gov.au+1
Regular inspection is also wise: check the gasket/seals for cracks, ensure blades are still sharp, and confirm there’s no lingering “off” smell. By doing so, you protect both your appliance and your health.
9. What About Viral “Hacks”? What Works & What Doesn’t
You may have come across viral cleaning hacks for blenders (and many are worth trying). For example: fill with water + dish soap, run for 30 seconds, rinse. This method has broad expert support (and even went viral on TikTok). Better Homes & Gardens
However—some recommended shortcuts are not good ideas:
-
Using abrasive scrubbers or steel wool can scratch plastic jars and dull blades.
-
Over-filling with hot liquids while cleaning can cause pressure issues. EatingWell
-
Using harsh chemicals not safe for food-contact surfaces may leave residues.
Stick to the safe methods above, and always follow your blender’s user manual.
10. Final Takeaways: Keep It Simple, Keep It Clean
To sum up:
-
Rinse your blender immediately after each use.
-
Use the self-cleaning method with warm water + a few drops of dish soap.
-
Clean the base with a damp cloth, never submerge it.
-
Dry everything thoroughly; store with lid off if possible.
-
Deep-clean periodically with vinegar or baking soda for stains and odors.
-
Avoid shortcuts that risk damage or contamination.
By making these habits part of your routine, your blender will remain hygienic, effective, and long-lasting. No more dreaded “smelly smoothie” aftermaths—just smooth results every time.
Sources:
-
High Speed Training. “How to Clean a Blender.” Apr 30 2025. High Speed Training Limited
-
Well + Good. “How to Clean a Blender Correctly (Because Yes, There’s Probably Gunk Lurking Under Those Blades).” Aug 31 2024. Well and Good
-
WA Government (Food Safety). “Cleaning and sanitising of blenders and mixers.” Oct 4 2024. health.wa.gov.au
-
The Kitchn. “How to Clean a Blender in 30 Seconds (Without Taking It Apart First).” Sep 4 2019. The Kitchn
-
Simply Recipes. “The Easiest Way to Wash Your Blender, According to Vitamix.” 2025. simplyrecipes.com
News in the same category

The Pentagon forced to issue statement following Netflix's new movie 'A House of Dynamite'

Streamer responds after Emiru accuses him of sexual assault, abuse and blackmail

‘They Were Vehemently Against It’: Naturi Naughton Says the Wrong People Blocked Her from Working with Ryan Coogler

Meet Arthell Isom, Creator Of The First Major Black-Owned Anime Studio In Japan

Meet Stan Thomas, the Sega President Who Spearheaded One of the First Game Streaming Services

Two Sisters Transform 19th Century Detroit Mansion Into Luxury Bed And Breakfast

How A Former NYC Teacher Turned Her Home Into A Black History Museum

17-Year-Old Kamora Freeland Makes History as Youngest Licensed Woman Pilot in New York

Too Many Ripe Tomatoes? 5 Smart Ways to Preserve Them All Year Round — No Market Trips Needed!
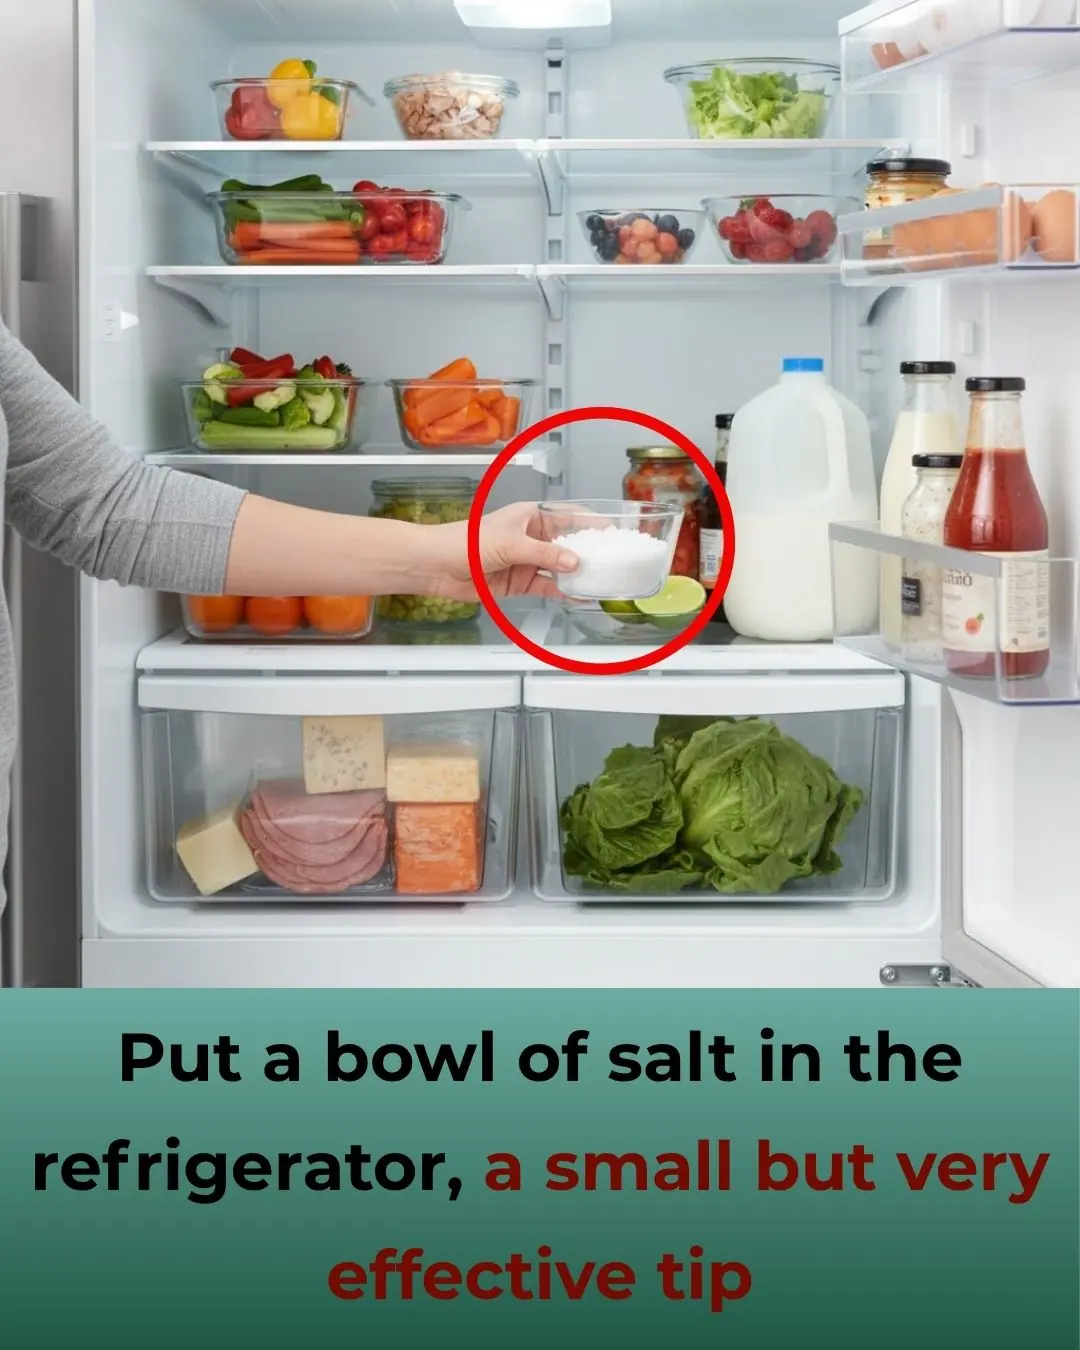
Put a Bowl of Salt in Your Fridge: A Simple Yet Brilliant Trick I Wish I’d Known 30 Years Ago

Top 8 Longevity Foods: Fish Only Ranks Second — the No.1 Item Might Be Sitting Right on Your Table!

8 Foods That “Clash” with Tumors — Eat Them Regularly for Better Health
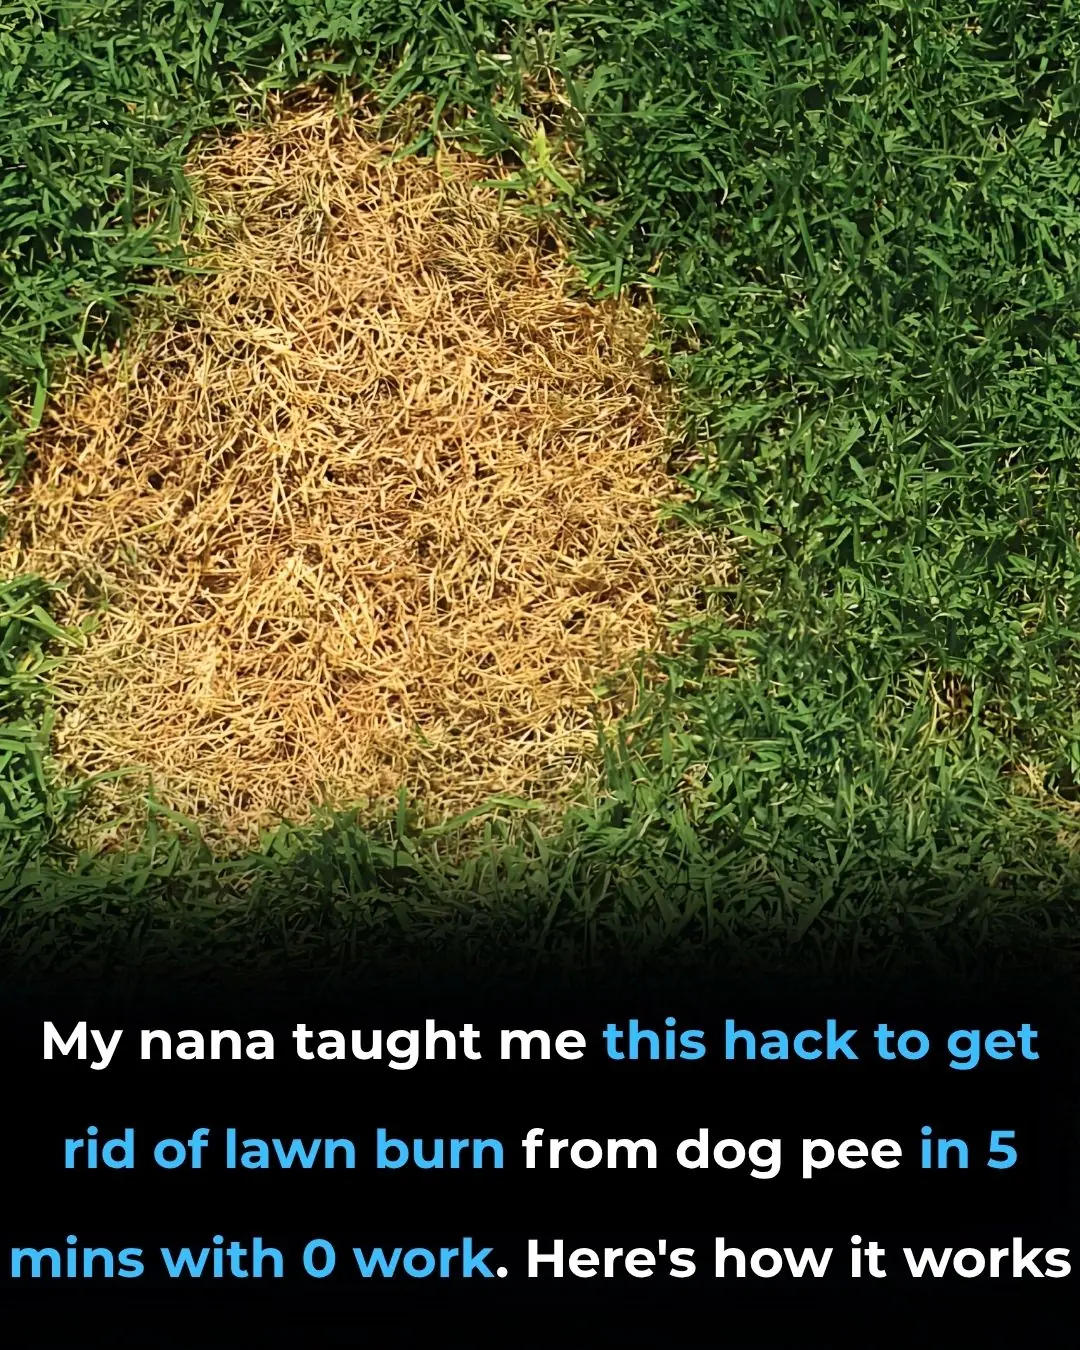
My Nana Taught Me This Hack to Get Rid of Lawn Burn from Dog Pee in 5 Minutes with Zero Work — Here’s How It Works

You’re Doing It All Wrong. Here’s the Right Way to Store Your Cheese

The Genius 4-Minute Grill Cleaning Hack My Nana Swore By — and Why It Actually Works

Rock Star’s Family Devastated As Common Symptom Leads To ER Visit And Aggressive Cancer Diagnosis

Tammy Slaton Shocks Fans With Stunning Weight Loss Photos—Inside Her Transformation

Doctors Feared Baby Had a Mouth Tumor—But the Real Cause Left Everyone Stunned
News Post

When a cat rubs against you, this is what it means
Facts 30/10/2025 22:51

Zodiac Signs Most Likely to Have Prophetic Dreams
Facts 30/10/2025 22:49
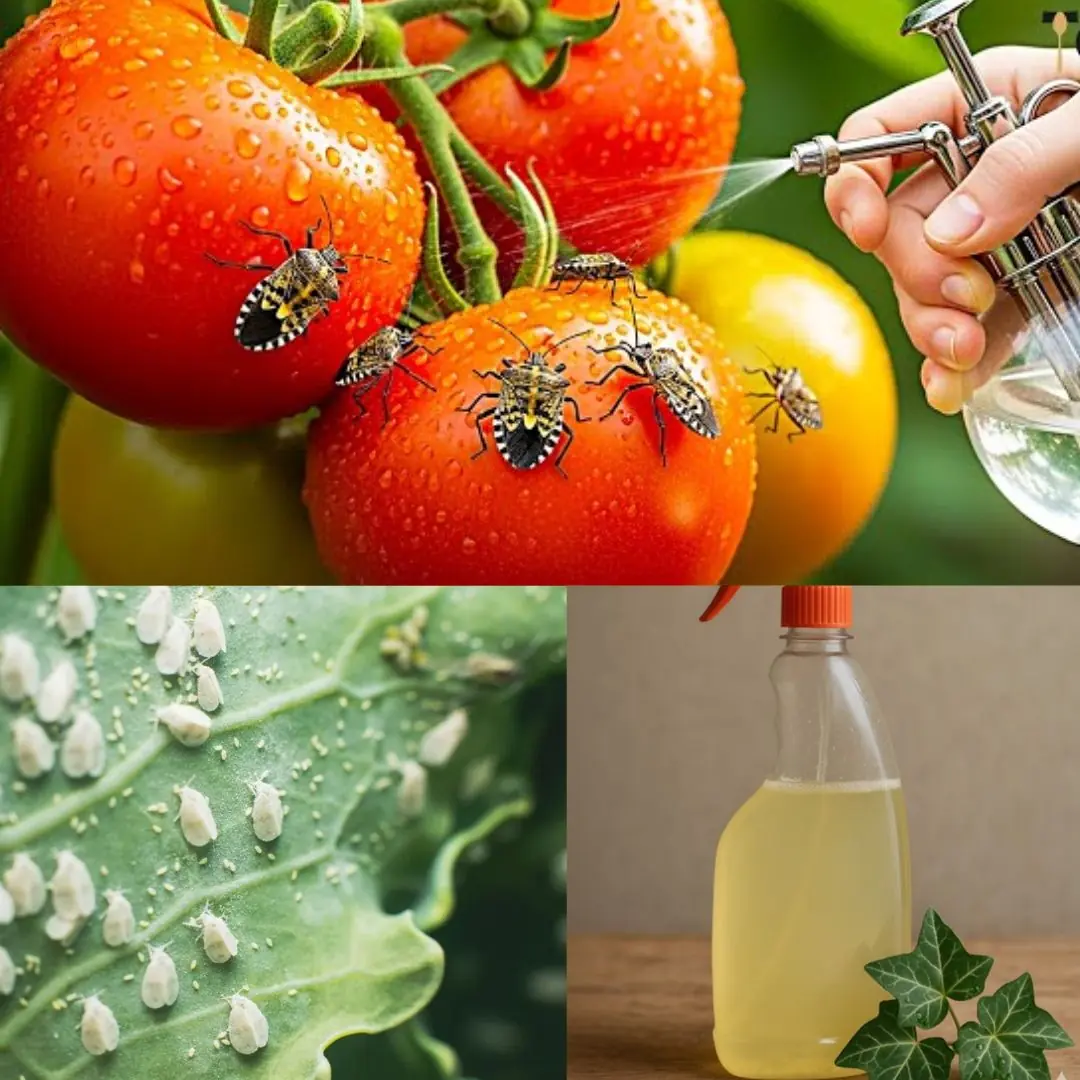
Ivy and Vinegar: A Safe and Natural Spray to Keep Pests Off Your Garden
Garden Healthy 30/10/2025 22:43
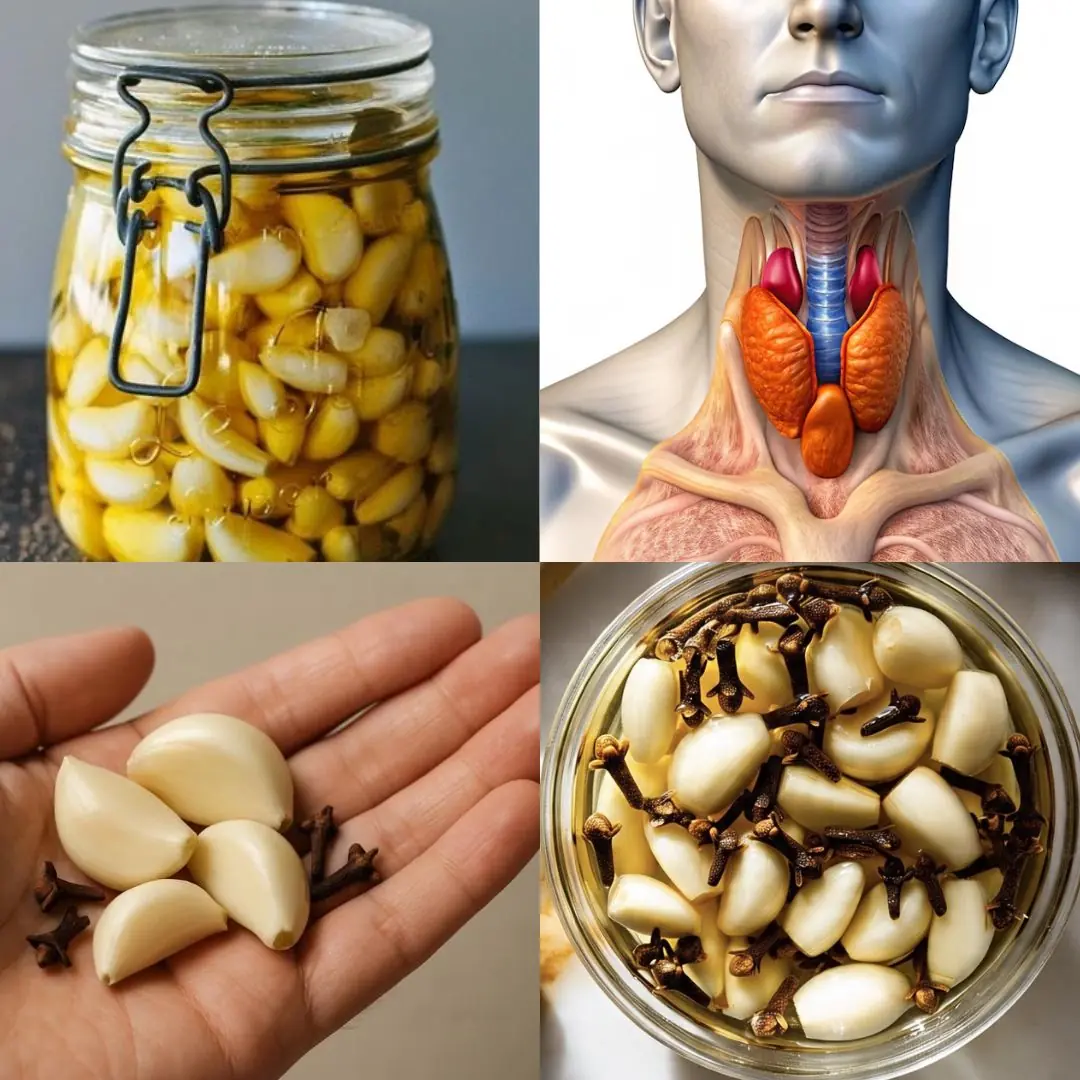
Garlic, Honey, and Cloves – a powerful natural remedy packed with health benefits
Garden Healthy 30/10/2025 22:40
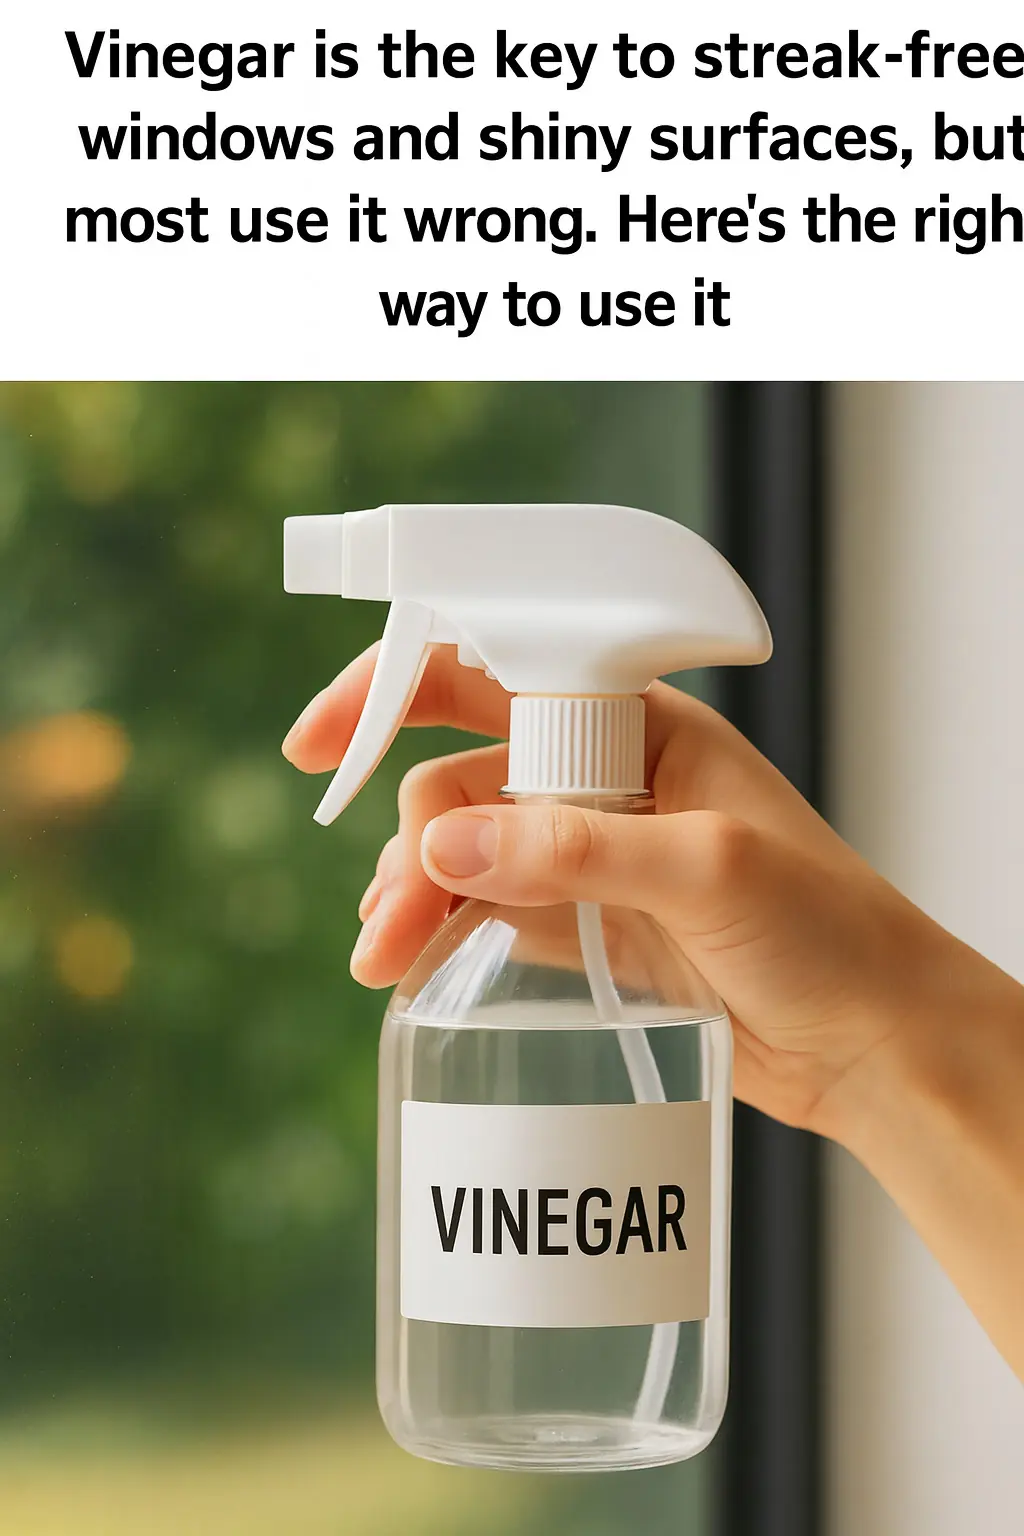
Vinegar is the key to streak-free windows and shiny surfaces, but most use it wrong. Here's the right way to use it
Tips 30/10/2025 22:39

Haven't heard that before
Tips 30/10/2025 22:35
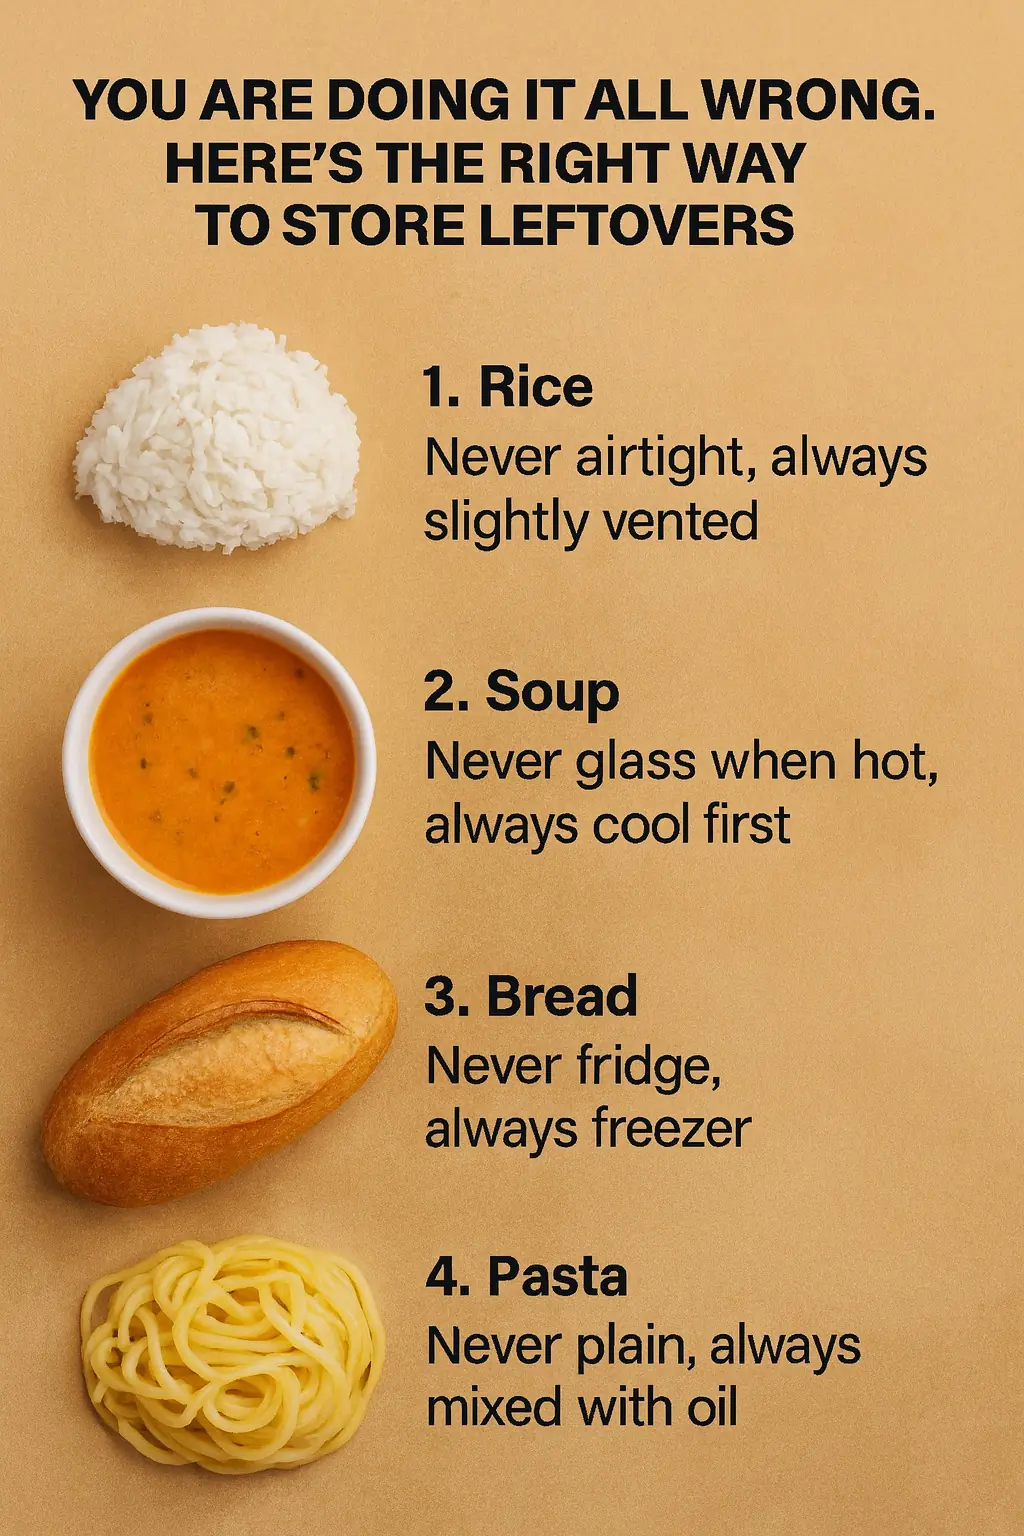
You are doing it all wrong. Here’s the right way to store leftovers
Tips 30/10/2025 22:35

10 genius tricks to revive your garden patio
Tips 30/10/2025 22:31
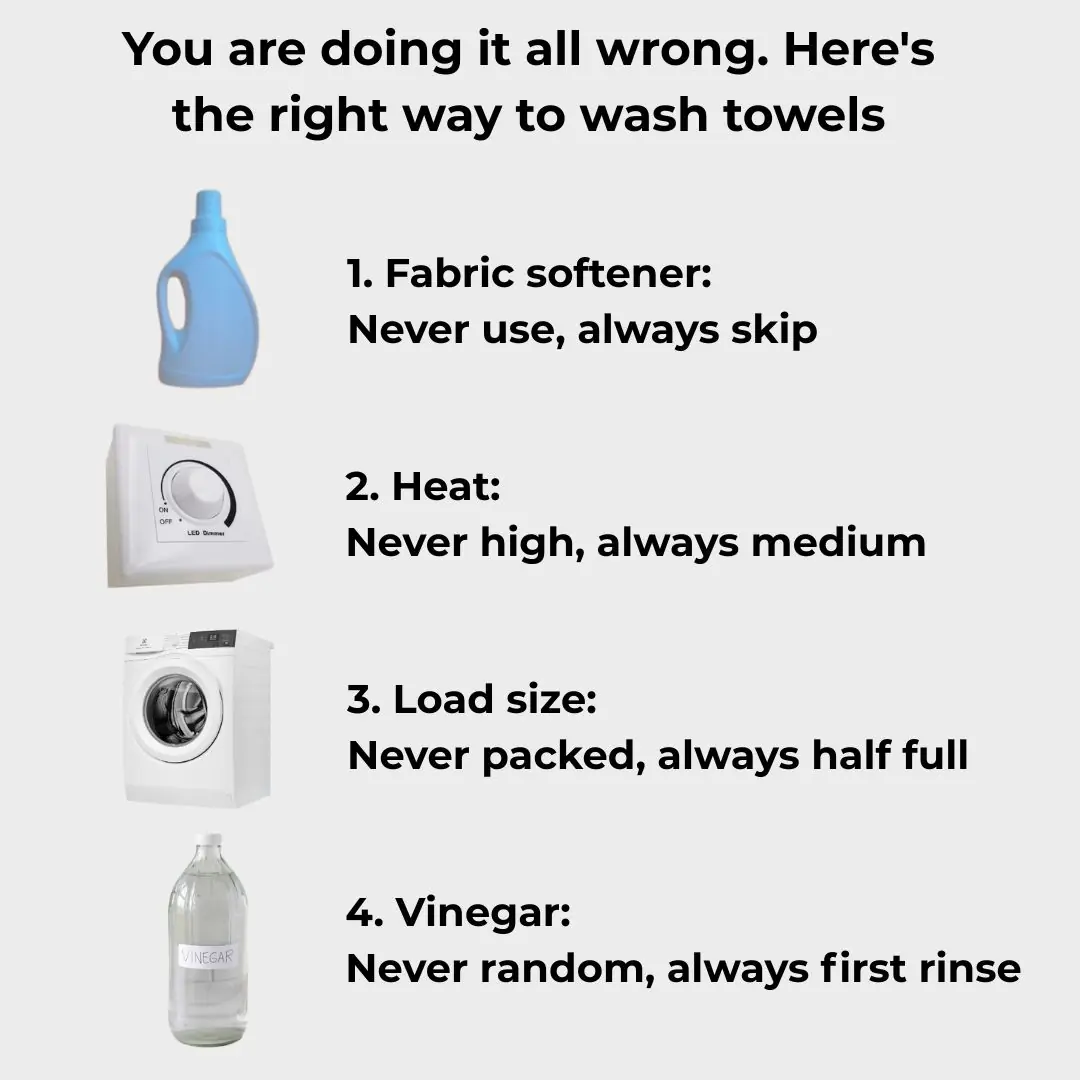
You are doing it all wrong. Here’s the right way to wash towels
Tips 30/10/2025 22:26

They look so harmless
Tips 30/10/2025 22:23

How to Remove a Fish Bone from Your Throat 🐟😮
Tips 30/10/2025 22:21
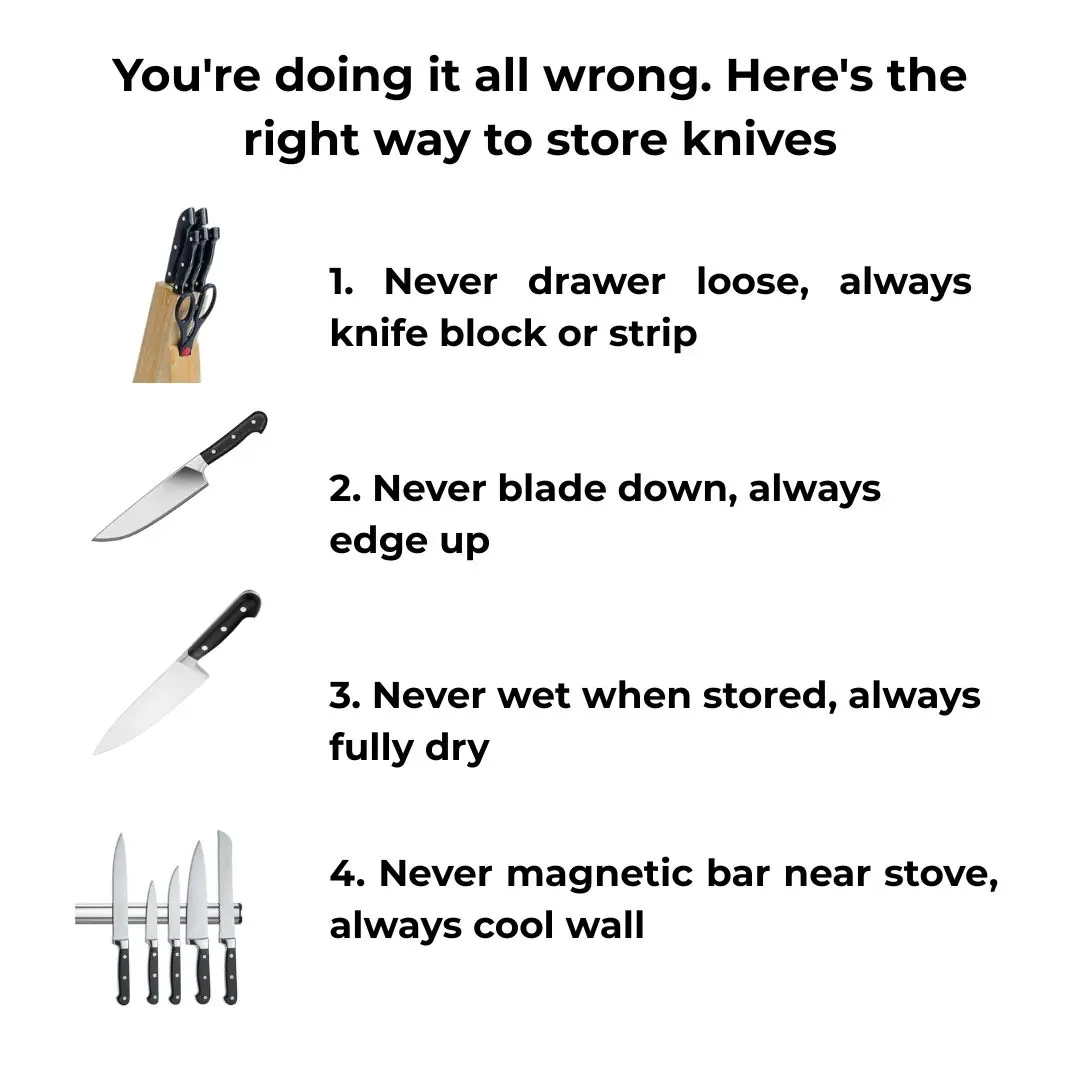
You’re doing it all wrong. Here’s the right way to store knives
Tips 30/10/2025 21:57
You’re doing it all wrong. Here’s the right way to unclog your drain
Tips 30/10/2025 21:39
Detroit Man Went From Quitting His Job To Buying A Building For His Car Detailing Business After It Went Viral On TikTok
News 30/10/2025 21:28

Thyme Essential Oil Shows Signs of Killing Lung, Oral and Ovarian Cancer
Health 30/10/2025 21:25

A Boy, A Bullet, and the Friend Who Saved Him
Life stories 30/10/2025 21:23

How to cleanse your kidneys using this natural, home made drink
Health 30/10/2025 21:21

A Heart of Gold: 5-Year-Old Danya Dudin’s Toy Drive Brings Joy to Kids with Cancer
Life stories 30/10/2025 21:21

The Little Run Toward Love: When a Baby Alpaca Taught the World What Affection Looks Like.
Life stories 30/10/2025 21:19

Science backs it up: 3 fruits that fight liver fat, regulate sugar and cholesterol
Health 30/10/2025 21:17