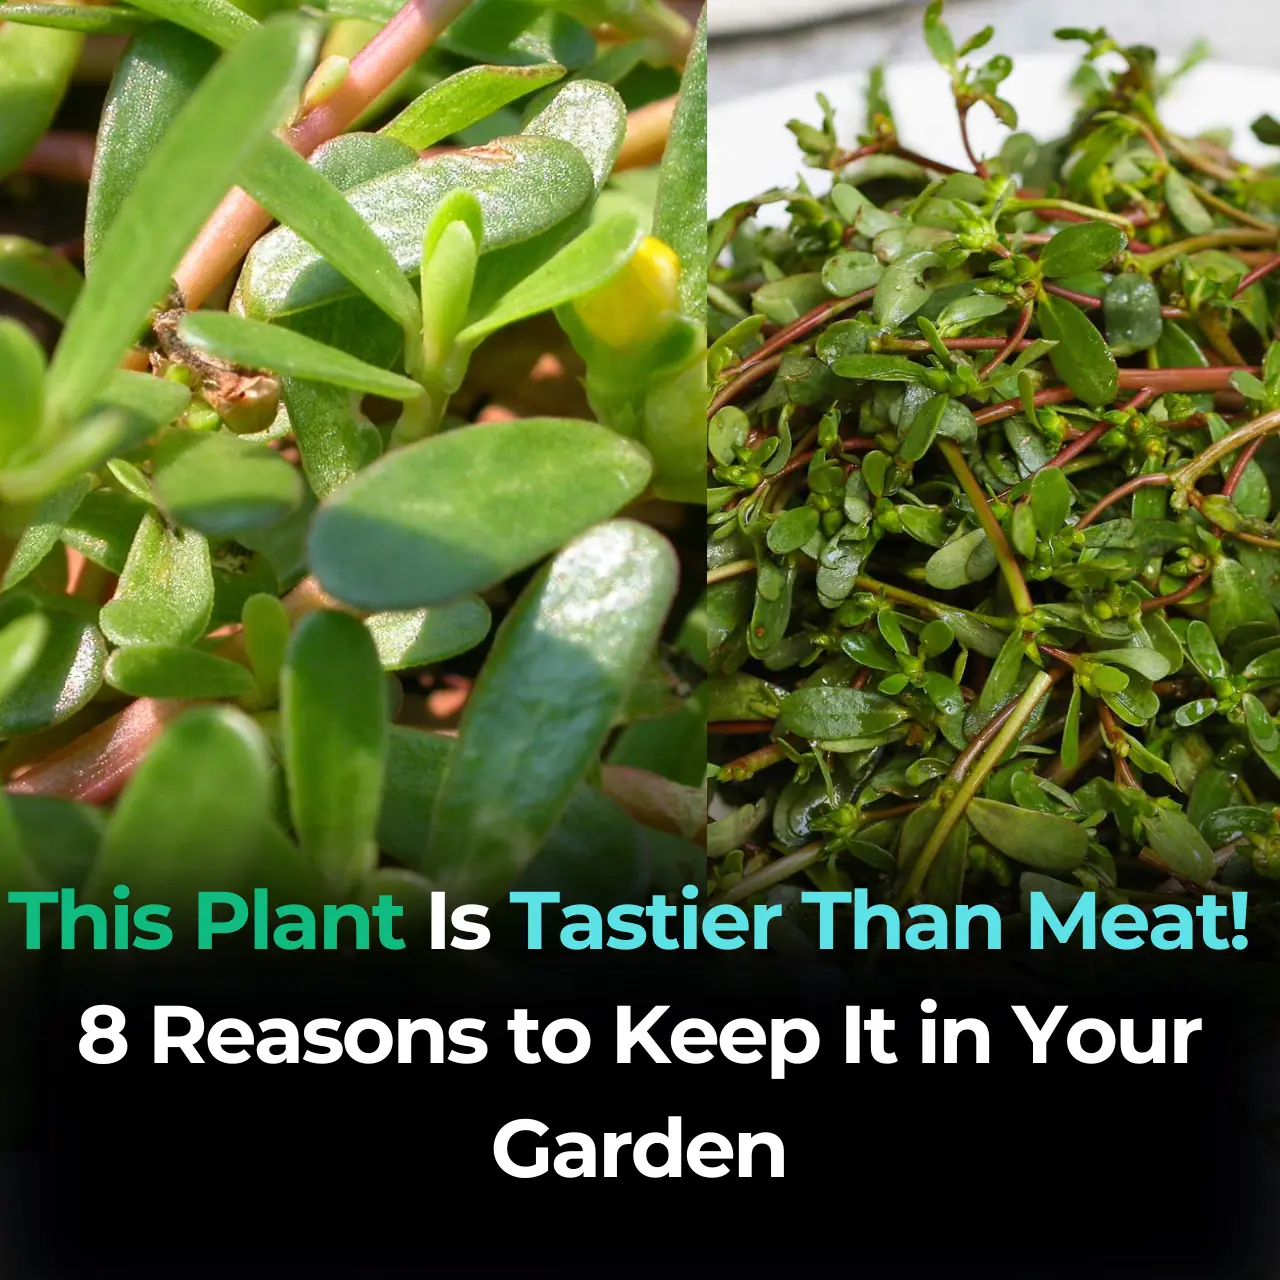
This Plant Is Tastier Than Meat! 8 Reasons to Keep It in Your Garden
Garden Healthy 25/11/2025 23:52
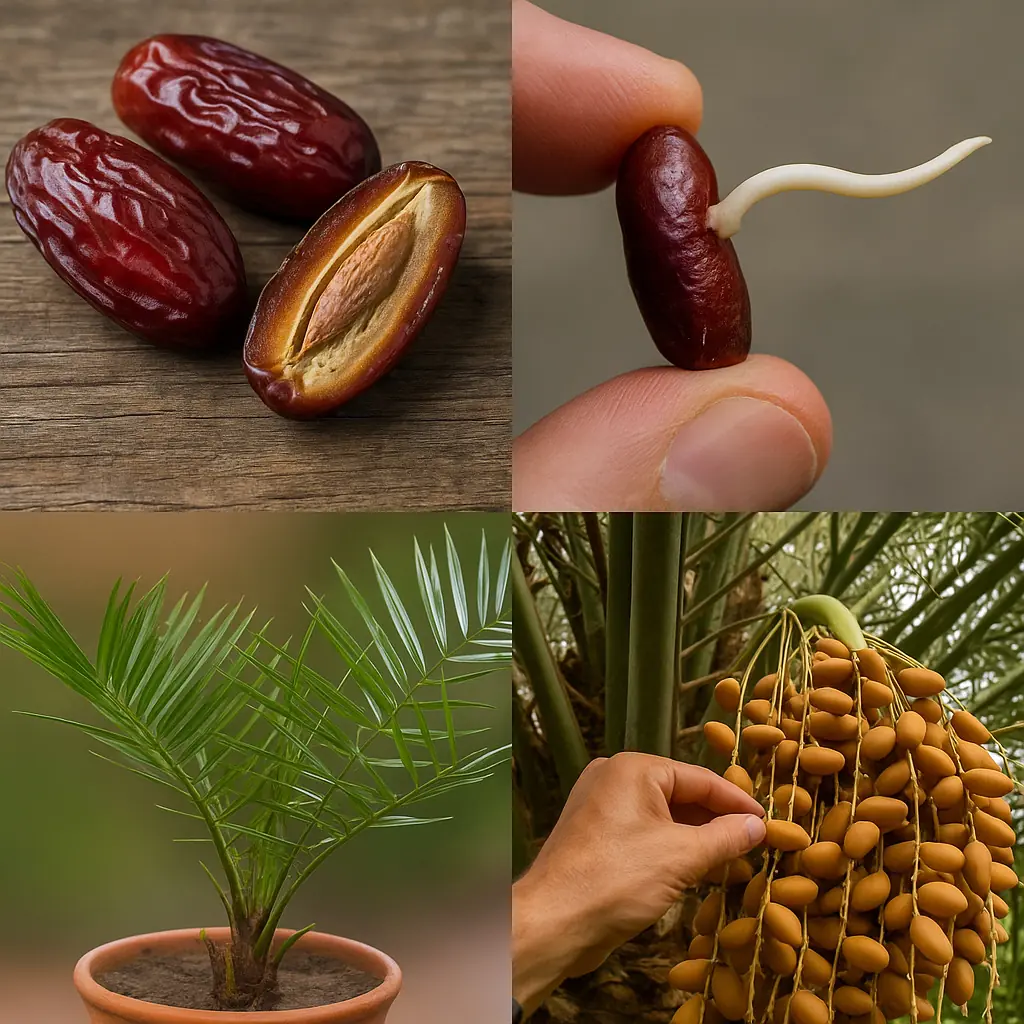
If you’ve ever wondered whether you can turn the seeds inside store-bought dates into real palm trees, the answer is yes—absolutely. Date palms (Phoenix dactylifera) germinate surprisingly well when given the right combination of warmth, depth, and time. With just a bit of preparation and patience, you can grow your own “palm babies” right at home.
This guide covers everything you need—from seed prep to sprouting, potting, outdoor planting, long-term care, and problem-solving. Whether you live in a warm climate or a cooler one with frosty winters, you’ll learn how to nurture date palms successfully.
Select and prepare seeds: clean, soak, and optionally scarify before pre-sprouting.
Sprout in warmth: use a baggie or vermiculite method at 28–32°C.
Plant deep: date palms need tall pots for their long taproots.
Provide heat, light, and careful watering: especially during early growth.
Up-pot several times: always increase depth as the palm develops.
Harden off: gradually acclimate to outdoor sun and wind.
Plant outside: only after warm nights and in very well-drained soil.
Seed-grown palms are unique. They won’t look exactly like the fruit variety you ate.
Date palms are dioecious: male and female flowers grow on separate trees. For fruit, you’ll eventually need one of each.
Climate matters: Date palms love hot, dry summers and mild winters. Young palms can be damaged or killed by frost.
If your winters fall below –5°C, plan to overwinter your palm in a pot or provide strong winter protection.
Seeds from ripe store-bought dates (Medjool, Deglet Noor, etc.)
Warm water
Optional: 3% hydrogen peroxide (for cleaning seeds), nail file (for gentle scarification)
Tall pots or treepots (15–40+ cm deep)
A gritty, draining soil mix:
40% coarse sand + 30% perlite + 30% coco coir/peat
Clear zipper bag or humidity dome
Seed heat mat (highly recommended)
Palm fertilizer with magnesium and micronutrients
Avoid seeds that are cracked or crushed. Even dried dates usually contain viable seeds.
Rinse away all fruit residue—it encourages mold.
Soak seeds in 3% hydrogen peroxide for 10 minutes, then rinse.
Place seeds in 35–40°C water for 24–48 hours.
Refresh the water once during the soak.
Lightly scuff one tip of each seed with a nail file to dull the glossy surface. Don’t cut deeply—just break the outer shine to speed water absorption.
You can use either method:
Wrap seeds in a barely damp paper towel.
Place inside a zip bag, but leave one corner open for airflow.
Keep at 28–32°C continuously.
Check every 2–3 days for root emergence.
Fill a cup with moist (not wet) vermiculite.
Bury seeds 1–2 cm deep.
Maintain steady warmth (heat mat ideal).
Once the root reaches 1–3 cm, transfer the seed to a pot.
Don’t wait longer—fragile roots can snap easily.
Date palms send down a strong taproot before producing leaves, so depth matters more than width.
Later upgrades: 30–40 cm, then larger.
40% coarse sand
30% perlite
30% coco coir or peat
The mix should feel airy, gritty, and fast-draining.
Lay the seed on its side, root pointing downward.
Cover with 2–3 cm of soil.
Water once thoroughly, then let excess drain.
Pro tip: Fabric pots help prevent root circling and improve drainage.
Keep soil temperatures between 26–32°C until several leaves appear.
First leaf: bright, indirect light
After that: gradually increase to several hours of direct sun
New leaves scorch easily—go slowly.
Let the top 2–3 cm of soil dry out.
Water deeply, then let it drain.
Never leave water sitting in the saucer.
After the second leaf forms, feed lightly every 2–3 weeks with a palm fertilizer containing magnesium and micronutrients.
Yellow stripes → Magnesium deficiency (add small monthly dose of Epsom salts).
Pale leaves with green veins → Iron deficiency (apply chelated iron).
Brown tips → Salt or drought stress (flush the soil).
Roots circling at the bottom
Slow growth
Soil drying too fast
Don’t jump to a huge pot—move up one size at a time.
Never bury the crown.
Keep the inner spear safe—damaging it can kill the palm.
Resume deep-but-infrequent watering after repotting.
Over 10–14 days, gradually increase:
Sun exposure
Wind exposure
Outdoor temperature variation
Start only when night temps stay above 12–15°C.
Late spring to early summer, once soil is warm (around 18°C).
Full sun
Wind protection
A south-facing wall or heat-reflective area
Zero winter shade if possible
Build a raised mound for drainage
Mix native soil with sand, grit, and perlite to create a sandy loam
Dig a hole just wider than the rootball
Set the palm at the same depth as in its pot
Water once deeply
Mulch lightly (but keep mulch away from the trunk)
Water: Deeply once weekly in hot weather, less during cool spells.
Feed: Palm fertilizer 2–3 times during the growing season.
Weeds: Keep the base mulched and clean.
Monitor: Look for spear rot, nutrient deficiencies, or pests.
Keep crown dry
Light frost cloth during cold snaps
Wrap trunk and crown in breathable frost fleece
Add dry leaves or straw inside the wrap
Use deep mulch to insulate the root zone
If very cold: Bring palm indoors to a cool, bright 5–12°C space
Water sparingly through winter
Seed-grown palms take 7–10+ years to flower.
You’ll only know male vs female once flowering begins.
Hand pollination ensures better fruiting if you have both sexes.
No germination after weeks: refresh medium, apply warmth, resoak briefly.
Mold: rinse, dip in hydrogen peroxide, use fresher medium.
Spear pull (rot): flush crown with 3% hydrogen peroxide; keep warm and dry.
Yellow leaves: fix Mg or Fe deficiencies.
Brown tips: flush salts, improve watering schedule.
Warmth speeds germination dramatically.
Deep pots always outperform wide pots.
Avoid hard tap water—rotate with rainwater if possible.
Never bury the crown.
Harden off slowly before full sun exposure.
Build microclimates (south wall, gravel mulch).
Start multiple seeds to increase chances of getting both sexes.
Week 0: Clean + soak + pre-sprout
Weeks 2–8: Root emerges
Month 2–3: First leaf
Month 4–6: Up-pot
Late spring–summer: Harden off and transplant
Years 2–3: Establishment
Year 7–10+: Flowering and potential fruiting