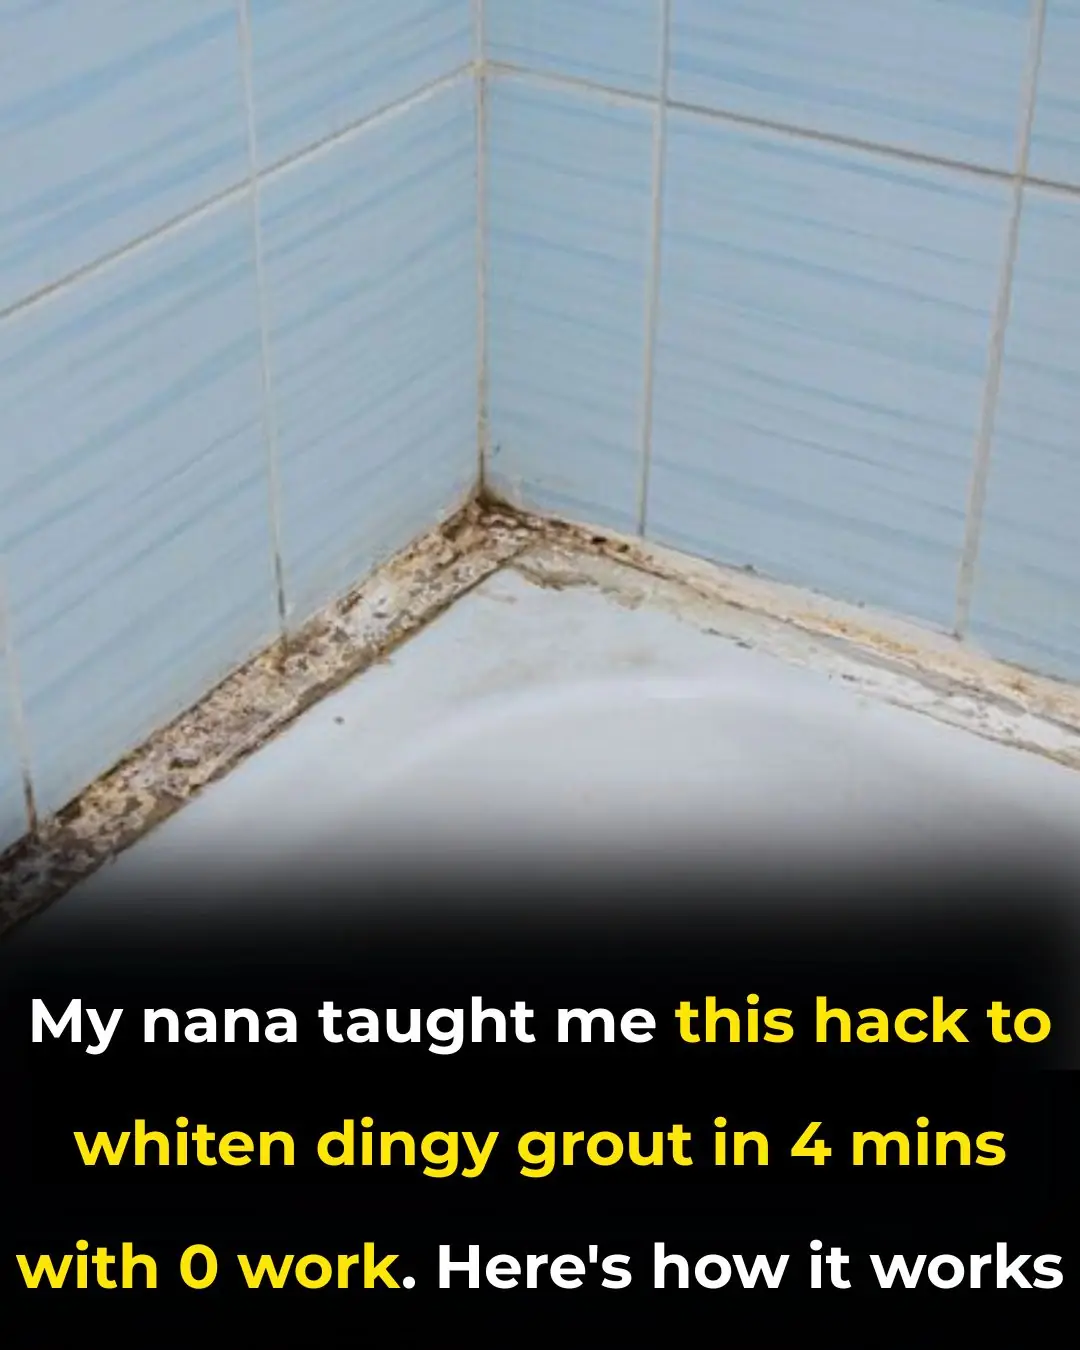
Grout is often the unsung hero of our tiled surfaces, providing the structural integrity that keeps our tiles in place while also contributing to the overall aesthetic of our spaces. However, over time, grout can become dingy and stained, detracting from the beauty of the tiles and making even the cleanest of kitchens or bathrooms appear grimy. The good news is that restoring grout to its former glory doesn't have to be a time-consuming or labor-intensive task.
My nana, a fountain of practical wisdom and household tips, shared a grout-whitening hack with me that takes only four minutes and requires virtually no work. This simple yet effective method has been a game-changer in maintaining the cleanliness and appearance of my home, and today, I am excited to share it with you.
Advertisement
1. The Magic Ingredient: What Makes This Hack Work
The secret to this grout-whitening hack lies in the use of hydrogen peroxide. Hydrogen peroxide is a mild antiseptic commonly found in first aid kits, but its oxidizing properties make it a powerful cleaning agent as well. When applied to grout, hydrogen peroxide works to break down and lift stains, brightening the grout's appearance without the need for harsh chemicals or scrubbing.
For this hack, you will need hydrogen peroxide with a concentration of 3%, which is readily available at most pharmacies and supermarkets. This concentration is safe for household use and effective enough to tackle even stubborn grout stains. By allowing the hydrogen peroxide to sit on the grout, it penetrates and reacts with the stains, effectively removing them and leaving the grout looking as good as new.
2. Step-by-Step: How to Prepare the Mixture
To prepare the mixture for this grout-whitening hack, you'll need a small spray bottle, hydrogen peroxide (3% concentration), and a few drops of dish soap for added cleaning power.
Start by filling the spray bottle with hydrogen peroxide, leaving a little space at the top. Add 2-3 drops of dish soap to the bottle and gently swirl to combine the ingredients. The dish soap helps to break down any grease or grime on the grout, enhancing the cleaning action of the hydrogen peroxide. This simple mixture is now ready to whiten your grout in just minutes.
3. Application Process: Letting the Mixture Do the Work
Once your mixture is ready, generously spray it onto the grout lines, ensuring that the grout is thoroughly saturated. There's no need to scrub or apply pressure; simply let the mixture sit and work its magic.
Allow the mixture to sit on the grout for about 4 minutes. During this time, the hydrogen peroxide will penetrate the grout and lift the stains, while the dish soap helps to loosen any surface grime. After the time is up, wipe away the mixture with a damp cloth or sponge. You'll be amazed at how much brighter and cleaner your grout appears, all with minimal effort.
4. The Science Behind Grout Stains and Whitening
Grout is porous, which means it easily absorbs dirt, grease, and moisture, leading to discoloration over time. Stains can be caused by a variety of factors, including spills, mildew, and everyday foot traffic.
The hydrogen peroxide works as a bleaching agent, breaking down the molecular structure of the stains and lifting them from the grout. Its oxidizing properties make it especially effective against organic stains, such as those caused by mold or mildew. By reacting with the stains, hydrogen peroxide effectively whitens the grout without damaging its surface.
5. Comparing Traditional Methods: Why This Hack Stands Out
Traditional grout cleaning methods often involve harsh chemicals, intensive scrubbing, or professional cleaning services, all of which can be time-consuming, costly, and potentially damaging to the grout.
This hack stands out because it uses a gentle, household ingredient that is both effective and non-toxic. There's no need for vigorous scrubbing or expensive cleaning solutions. The ease, affordability, and effectiveness of this method make it a superior choice for anyone looking to maintain clean and bright grout lines.
6. Time-Saving Benefits: Achieve Clean Grout in Minutes
The most significant benefit of this hack is its time efficiency. With traditional methods, cleaning grout can easily become a multi-hour task, requiring scrubbing and rinsing. This hack simplifies the process, allowing you to achieve clean grout in just four minutes.
By letting the mixture do the work for you, you can focus on other tasks or simply take a break while your grout brightens before your eyes. It's a perfect solution for busy households or anyone looking to maintain a clean home without spending hours on household chores.
7. Safety First: Ensuring the Hack Is Non-Toxic
Safety is a top priority, and this grout-whitening hack is both effective and safe for regular use. Hydrogen peroxide at a 3% concentration is non-toxic and safe for use in households, including those with children and pets.
Unlike bleach or other harsh chemicals, hydrogen peroxide does not produce harmful fumes or require protective gear. It breaks down into water and oxygen, leaving no toxic residues behind. This makes it an environmentally friendly option for keeping your grout clean and bright.
8. Success Stories: Testimonials from Happy Users
Many users have found success with this simple and efficient grout-whitening hack. Jane, a busy mother of two, shared that she was amazed at how quickly and effectively the mixture worked, saving her time and effort in keeping her kitchen tiles pristine.
John, a homeowner who had struggled with stubborn bathroom grout stains, reported that after using this hack, his grout looked as good as new, without the need for professional cleaning services. These testimonials are just a few examples of how this method has brought satisfaction and clean, bright grout to homes everywhere.
9. Common Mistakes to Avoid During Application
While this hack is straightforward, there are a few common mistakes to avoid. First, be sure to use the correct concentration of hydrogen peroxide (3%) to ensure effectiveness without damage.
Another mistake is not allowing the mixture enough time to work. Make sure to let it sit for the full four minutes before wiping away. Lastly, avoid using too much dish soap, as this can leave a residue or create excessive suds. A few drops are sufficient to aid in cleaning without overwhelming the mixture.
10. How Often Should You Use This Hack?
The frequency of use will depend on the level of traffic and staining your grout experiences. For most households, applying this hack once a month is sufficient to maintain clean and bright grout lines.
In high-traffic areas or spaces prone to spills and stains, such as kitchens or bathrooms, you may choose to use the hack more frequently, such as every two weeks. Regular maintenance will prevent the buildup of stains and keep your grout looking its best.
11. Extending the Results: Keeping Grout Clean Longer
To extend the results of your clean grout, consider applying a grout sealant after whitening. A sealant acts as a barrier, protecting the grout from moisture and stains, making it easier to clean in the future.
Additionally, regular sweeping and mopping of tiled surfaces can help prevent dirt and grime from settling into the grout lines. Using this grout-whitening hack as part of your regular cleaning routine will ensure that your grout remains bright and beautiful for the long term.