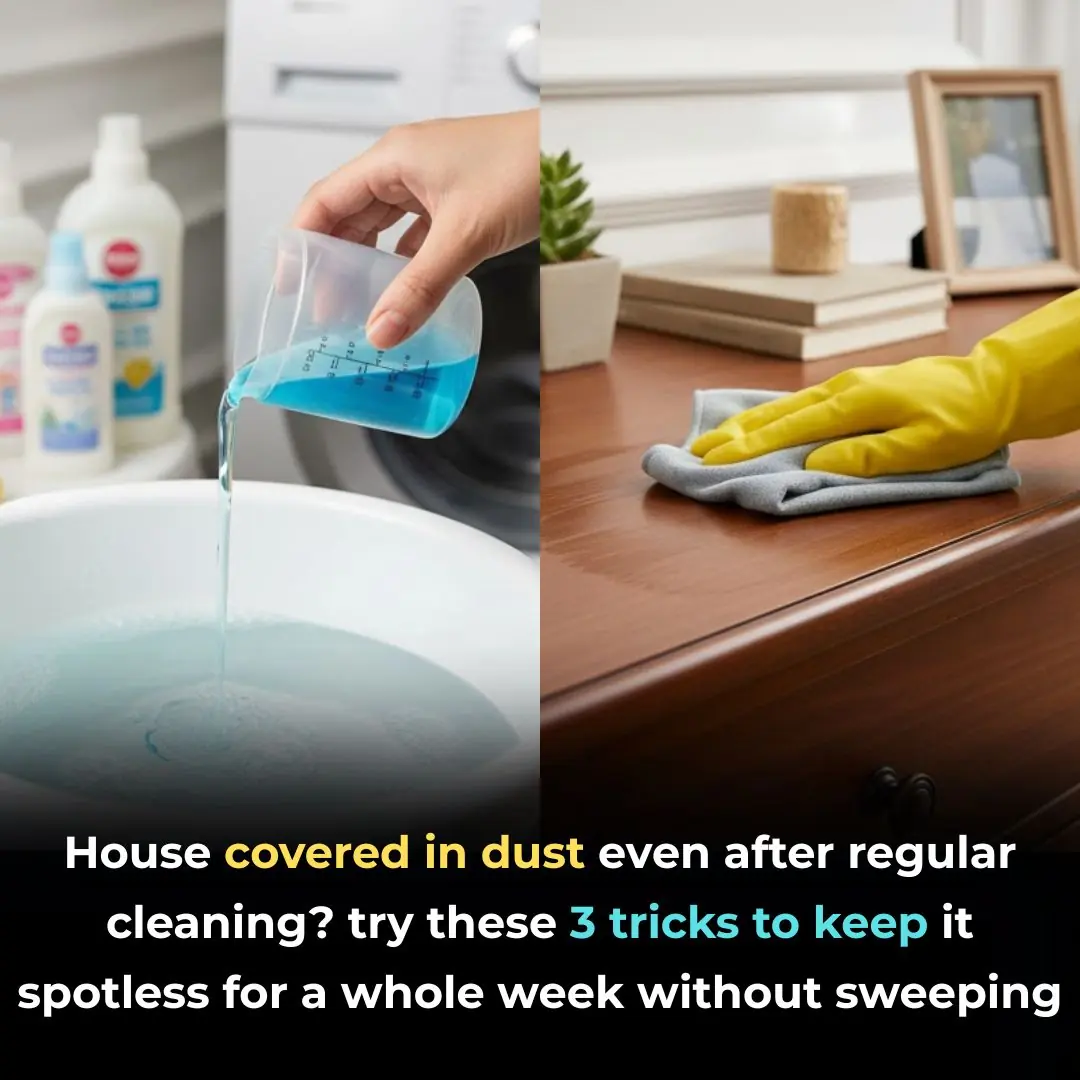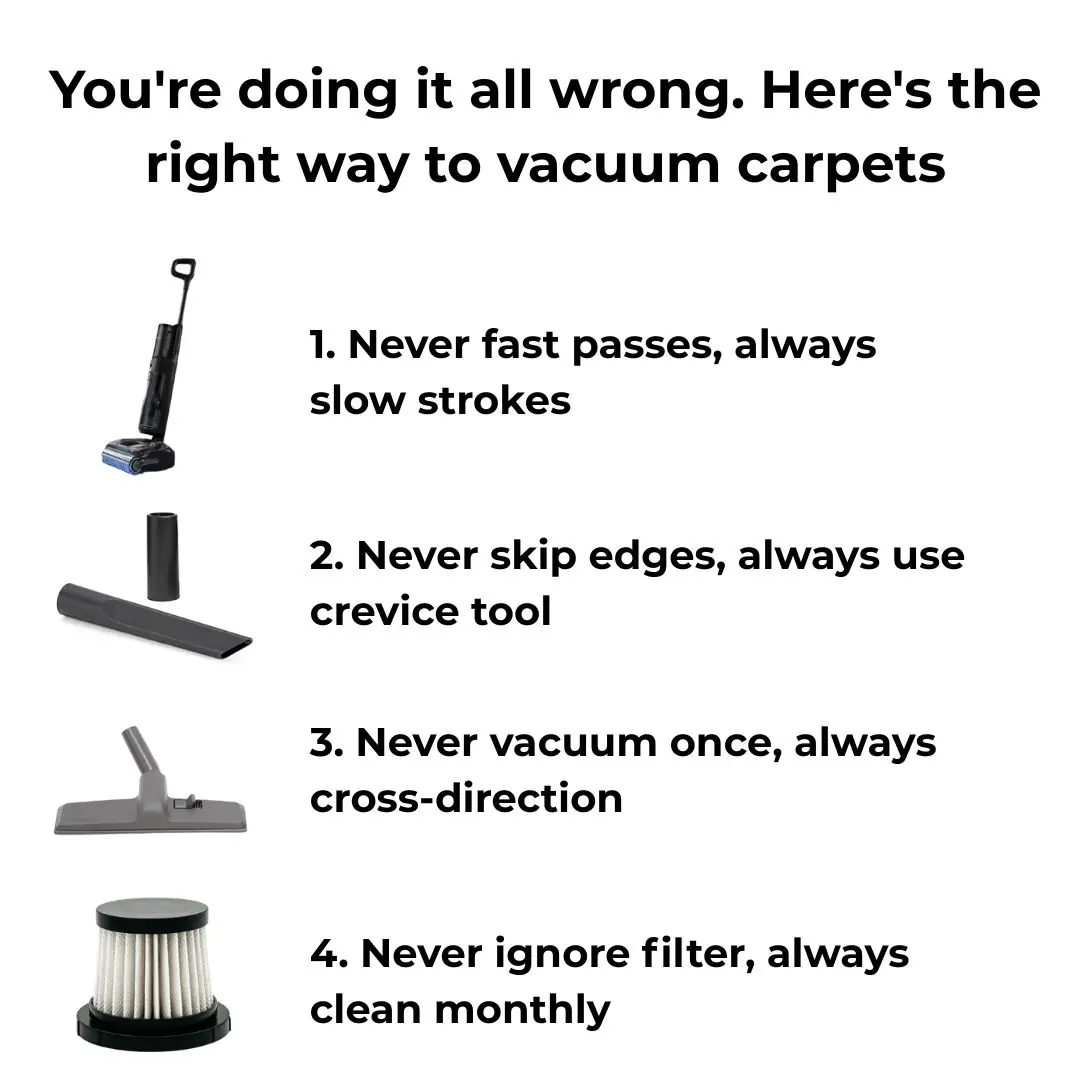
The 'divine' secret to frying
Tips 02/11/2025 23:12
Bathroom upkeep can sometimes feel like an endless chore, especially when faced with cracked caulking around tubs, sinks, or showers. These small imperfections may seem minor at first, but if ignored, they can allow moisture to seep into walls and floors, leading to costly water damage or mold growth.
Fortunately, you don’t always need to strip out all the old caulk to make your bathroom look new again. My dad — a lifelong DIY enthusiast — taught me a simple yet surprisingly effective way to repair cracked caulking without removing it completely. It’s fast, inexpensive, and perfect for homeowners who want to preserve their bathroom’s appearance and integrity without undertaking a major renovation project.
Cracked caulking is one of the most common maintenance issues in bathrooms. The constant exposure to water, humidity, and temperature changes causes the material to expand and contract over time. Eventually, even high-quality caulk can become brittle and start to separate from the surface.
When this happens, you’ll notice small lines or gaps forming along the edges of your bathtub, shower, or sink. While they might seem harmless, these cracks can allow water to sneak behind tiles or fixtures, potentially leading to mold, mildew, and structural damage.
That’s why addressing the problem early — before the caulk deteriorates completely — is key. A quick repair can restore a watertight seal and extend the life of your bathroom surfaces for years.
You won’t need professional tools for this repair — just a few affordable supplies from your local hardware store:
Silicone caulk (choose a color that matches your existing caulk)
Caulking gun (if your caulk isn’t in a squeeze tube)
Caulk smoothing tool or a plastic spoon
Utility knife or razor blade
Rubbing alcohol and a clean cloth
Painter’s tape for clean edges
Optional: You can also keep a small bowl of warm, soapy water and paper towels nearby for quick cleanup.
Step 1: Clean the Area Thoroughly
Before applying new caulk, clean the cracked area well. Use rubbing alcohol and a soft cloth to remove soap scum, dirt, or mildew. This step is critical — if the surface isn’t clean, the new caulk won’t adhere properly.
Step 2: Tape Off the Area
Apply painter’s tape on both sides of the crack. This ensures a neat, professional-looking finish and prevents excess caulk from spreading onto nearby tiles or fixtures.
Step 3: Apply the New Caulk
Using a caulking gun or squeeze tube, carefully apply a thin, even bead of silicone caulk directly over the crack. Make sure it fills the entire gap but avoid over-applying — too much caulk can create lumps or an uneven surface.
Step 4: Smooth the Surface
Immediately smooth the caulk line using a caulking tool or the back of a plastic spoon dipped in water. This step helps create a uniform seal and improves adhesion to the old caulk.
Step 5: Let It Cure
Allow the caulk to dry for at least 24 hours before exposing it to water or steam. Keep the area well-ventilated to speed up curing and ensure the best results.
This quick-fix method works because it seals the surface from the top down, rather than relying on a full removal and reapplication. By applying a fresh layer of flexible silicone caulk, you effectively create a new watertight barrier that locks out moisture and hides hairline cracks.
Silicone caulk is ideal for bathrooms because it remains elastic and durable, even in high-humidity environments. It expands and contracts with temperature changes, resisting cracking far longer than standard latex-based products.
Additionally, this approach saves time and effort — there’s no need for scraping, chiseling, or deep cleaning of all the old material. For minor to moderate cracking, this solution can extend the lifespan of your existing caulking by several years.
Ventilate the space: Always keep a window or fan running while applying caulk to avoid strong fumes and speed up drying.
Use matching colors: If you can’t find an exact color match, opt for a translucent or white silicone for a clean, universal look.
Avoid over-layering: If your old caulk is severely peeling or moldy, remove it completely instead of layering over it.
Prevent future cracks: Keep your bathroom dry when not in use. After showers, wipe down surfaces to reduce moisture buildup.
For extra precision, you can also run a gloved finger dipped in warm soapy water along the caulk line after smoothing. This gives you a sleek, even finish similar to what professionals achieve.
While this method works wonderfully for hairline cracks and surface-level damage, it’s not suitable for every situation. If the existing caulk is soft, moldy, or peeling away entirely, it’s best to remove it completely before reapplying. You can test this by pressing gently on the caulk — if it feels spongy or flakes off easily, full replacement is the only way to ensure a lasting seal.
Fixing cracked caulking doesn’t have to be a messy, time-consuming job. With this simple technique — passed down from my dad’s practical DIY wisdom — you can restore your bathroom’s watertight protection and aesthetic appeal in less than an hour.
Not only does this method save time, money, and effort, but it also helps prevent long-term water damage and mold growth. By maintaining your caulking regularly, you’ll keep your bathroom looking fresh, functional, and inviting for years to come.
Sometimes, the simplest fixes truly make the biggest difference — especially when it comes to keeping your home clean, safe, and stress-free.