
You are doing it all wrong. Here's the right way to clean your windows
Cleaning windows can feel like a daunting chore for many homeowners and often leaves even the most meticulous person frustrated. Despite careful effort, windows frequently end up streaked, spotted, or smudged. The secret to achieving sparkling clean windows is not just in the tools or solutions you use—it’s also about the technique, timing, and attention to detail.
In this guide, we’ll walk you through the most common mistakes people make and share the right methods for cleaning windows effectively. Whether you’re preparing for a special event, trying to improve your home’s curb appeal, or simply want to let more natural light into your space, following these steps will help ensure your windows are spotless and streak-free.
1. Avoid Cleaning on a Sunny Day
It might seem logical to clean windows on a bright, sunny day since sunlight can highlight smudges and dirt. However, the heat from direct sunlight causes cleaning solutions to dry too quickly, leaving streaks and residue behind. Instead, choose a cloudy day with mild temperatures—ideally between 50 and 70°F (10–21°C)—to give the cleaning solution enough time to work without evaporating prematurely.
Cleaning in cooler, indirect light ensures a streak-free finish and reduces frustration. It also allows you to focus on technique without racing against the clock. For best results, start early in the morning or later in the afternoon when the sun isn’t directly hitting your windows.
2. Use Microfiber Cloths Instead of Paper Towels
Paper towels are a common go-to for window cleaning, but they often leave lint behind and aren’t as absorbent as microfiber cloths. Microfiber cloths feature ultra-fine fibers that trap dirt and moisture efficiently, ensuring streak-free results. They can absorb up to seven times their weight in water, making them ideal for glass cleaning.
Additionally, microfiber cloths are reusable and machine washable, which is both eco-friendly and economical. After use, simply toss them in the laundry to prepare for your next cleaning session. Investing in a set of high-quality microfiber cloths is a small step that makes a big difference over time.
3. The Perfect Window Cleaning Solution
You don’t need expensive commercial cleaners to achieve sparkling windows. A simple homemade solution can be made by mixing one part white vinegar with two parts distilled water in a spray bottle. For particularly grimy windows, add a small drop of dish soap to boost cleaning power.
This solution is cost-effective, environmentally friendly, and free from harsh chemicals, making it safe for both your family and pets. Vinegar effectively cuts through grease and grime, while distilled water ensures no mineral deposits are left behind, preventing spots and streaks. For extra shine, you can even add a few drops of lemon juice, which leaves a pleasant scent and enhances the cleaning effect.
4. Why Top-to-Bottom Is the Right Direction
Always clean windows from top to bottom. This prevents drips from running over areas you’ve already cleaned and ensures that any excess solution or dirt moves downward, allowing you to capture it as you go.
This simple technique minimizes streaks and guarantees even coverage. It’s especially useful for larger windows, sliding glass doors, or multi-pane windows, where gravity can work for you instead of against you. Pairing this method with a squeegee ensures an almost professional-quality finish every time.
5. The Importance of Pre-Cleaning Dust and Dirt
Before applying any cleaning solution, remove loose dust and dirt using a soft brush, vacuum with a brush attachment, or a dry microfiber cloth. Pre-cleaning prevents dirt from mixing with the cleaning solution and forming a muddy residue that’s hard to remove.
Taking this extra step allows your solution to work effectively on remaining grime and keeps your tools, like squeegees and cloths, from getting clogged. It also extends the lifespan of your cleaning tools by reducing wear from abrasive particles.
6. The Magic of Squeegees for Streak-Free Windows
A good-quality squeegee is an essential tool for streak-free windows. After applying your cleaning solution, glide the squeegee smoothly from top to bottom in straight, overlapping strokes. Wipe the blade with a clean cloth after each pass to prevent streaks.
Squeegees efficiently remove both solution and loosened dirt in a single motion, leaving the glass dry and clear. Investing in a well-balanced, sturdy squeegee can dramatically improve your results, especially on large or high windows.
7. Mastering the Circular Motion Technique
For stubborn spots or caked-on dirt, use a circular motion with a microfiber cloth. This technique, commonly used in car detailing, applies even pressure across the surface and effectively loosens grime.
Use small, overlapping circles to cover the entire window, then finish with a top-to-bottom pass to remove residual solution. This method ensures that every inch of your window is cleaned thoroughly, even in problem areas, and can prevent repeated cleaning sessions.
8. The Role of Distilled Water in Spotless Windows
Tap water contains minerals that can leave spots and streaks as it dries. Using distilled water in your cleaning solution eliminates this problem, ensuring a crystal-clear finish.
Distilled water is especially useful in areas with hard water, where mineral deposits are common. By using it, you maximize the effectiveness of your cleaning solution and keep your windows sparkling longer.
9. How to Handle Window Corners and Edges
Corners and edges often harbor the most dirt and grime. Use a cotton swab, small brush, or even an old toothbrush to reach these tight spaces. Dampen the tool with your cleaning solution and gently scrub the corners and edges.
This attention to detail prevents dirt from spreading to the rest of the window and ensures a truly comprehensive clean. It’s a small but essential step that elevates the overall quality of your window cleaning.
10. The Benefits of a Regular Cleaning Schedule
Establishing a regular window cleaning routine reduces buildup and makes each session quicker and more efficient. Aim to clean your windows at least twice a year, or more frequently if you live in areas with high dust, pollution, or pollen.
Regular cleaning keeps your windows looking their best, maximizes natural light, and enhances your home’s appearance. Over time, consistent maintenance prevents tough grime from accumulating and helps preserve the condition of your windows.
11. Common Mistakes to Avoid for Crystal Clear Windows
Some common mistakes can sabotage even careful window cleaning. Avoid using too much solution, which can leave streaks, and don’t neglect the window frames and sills, as dirt in these areas can make the whole window look dirty.
Never use abrasive pads or harsh chemicals that can scratch or damage the glass. Stick to soft microfiber cloths and gentle, homemade solutions for the safest and most effective results. Paying attention to these pitfalls ensures your windows remain truly clear and gleaming.
Extra Tips for Advanced Window Cleaning:
-
Use newspaper for a final buff; it can help remove any tiny streaks and leaves a shine.
-
For high or hard-to-reach windows, consider a telescopic squeegee or hiring a professional for safety.
-
Consider adding a small amount of rubbing alcohol to your solution for extra fast-drying properties.
-
Always dry sills and frames after cleaning to prevent water damage or mold.
By following these techniques and avoiding common mistakes, you’ll transform window cleaning from a frustrating chore into a satisfying, even enjoyable, part of home maintenance.
News in the same category

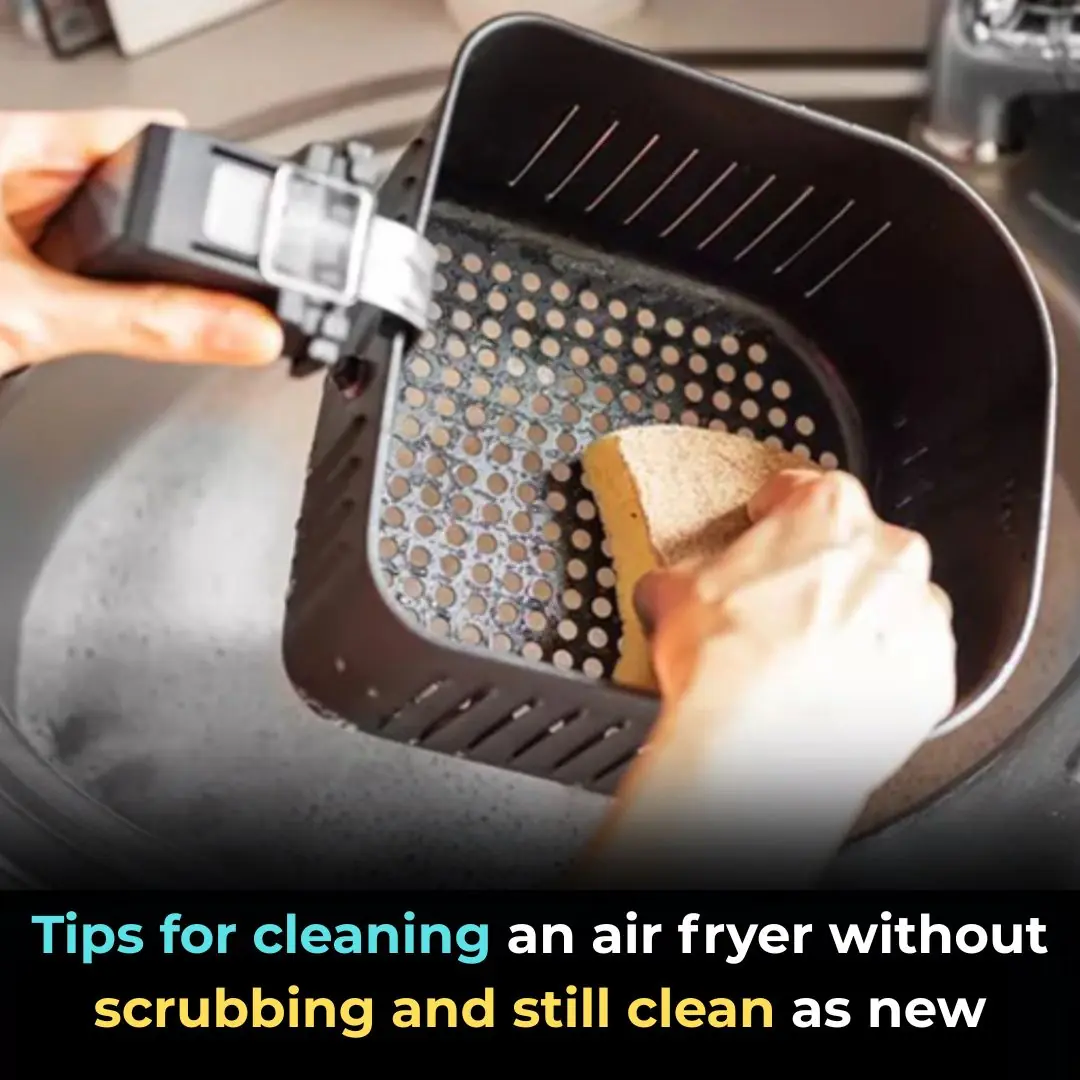
Tips for cleaning an air fryer without scrubbing and still clean as new

The water pipe is clogged, just blame this and it will be solved easily, no need to waste money calling a plumber.
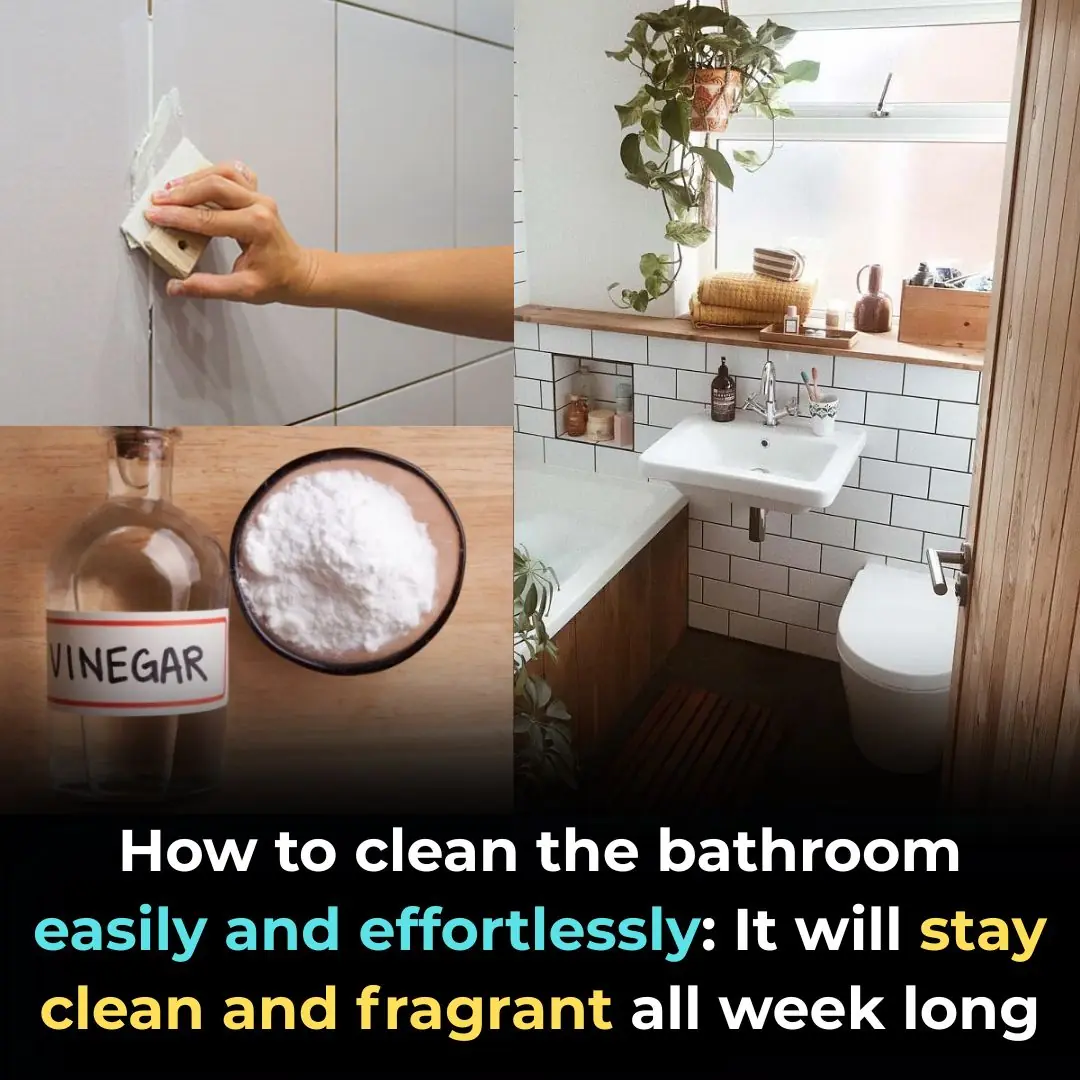
How to clean the bathroom easily and effortlessly: It will stay clean and fragrant all week long

Simple tips for making crispy roast pork skin without much effort: Golden brown, crispy skin like in restaurants
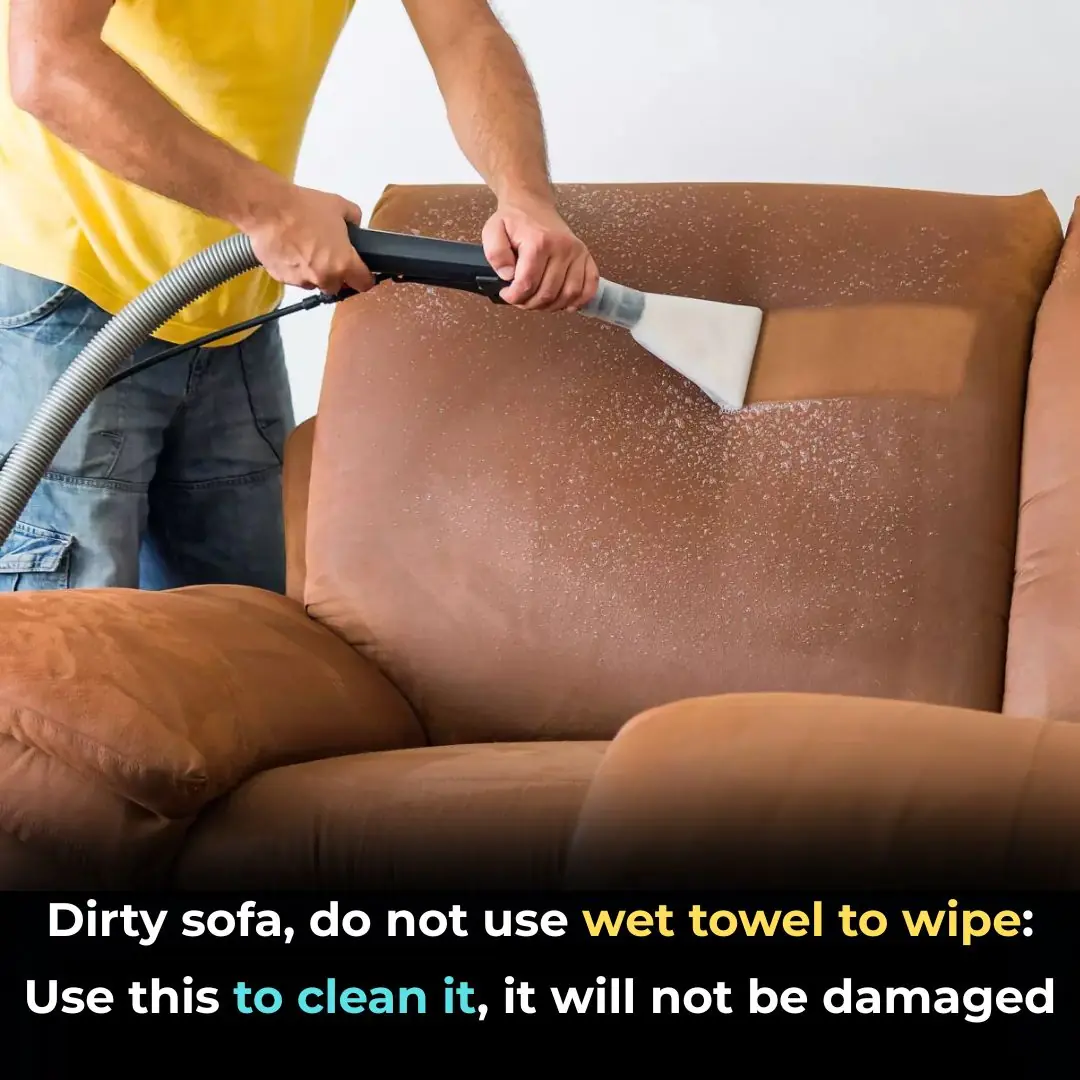
Dirty sofa, do not use wet towel to wipe: Use this to clean it, it will not be damaged

Drop this into the basin, clams and snails will release all the mud and dirt, making them 5 times more fattening.

Tips to avoid blackening pots when using gas stoves: Very simple, everyone should know

Learn from the Japanese by soaking bananas in this water: Get a longevity food, not everyone knows

See why and how to choose melon effectively...
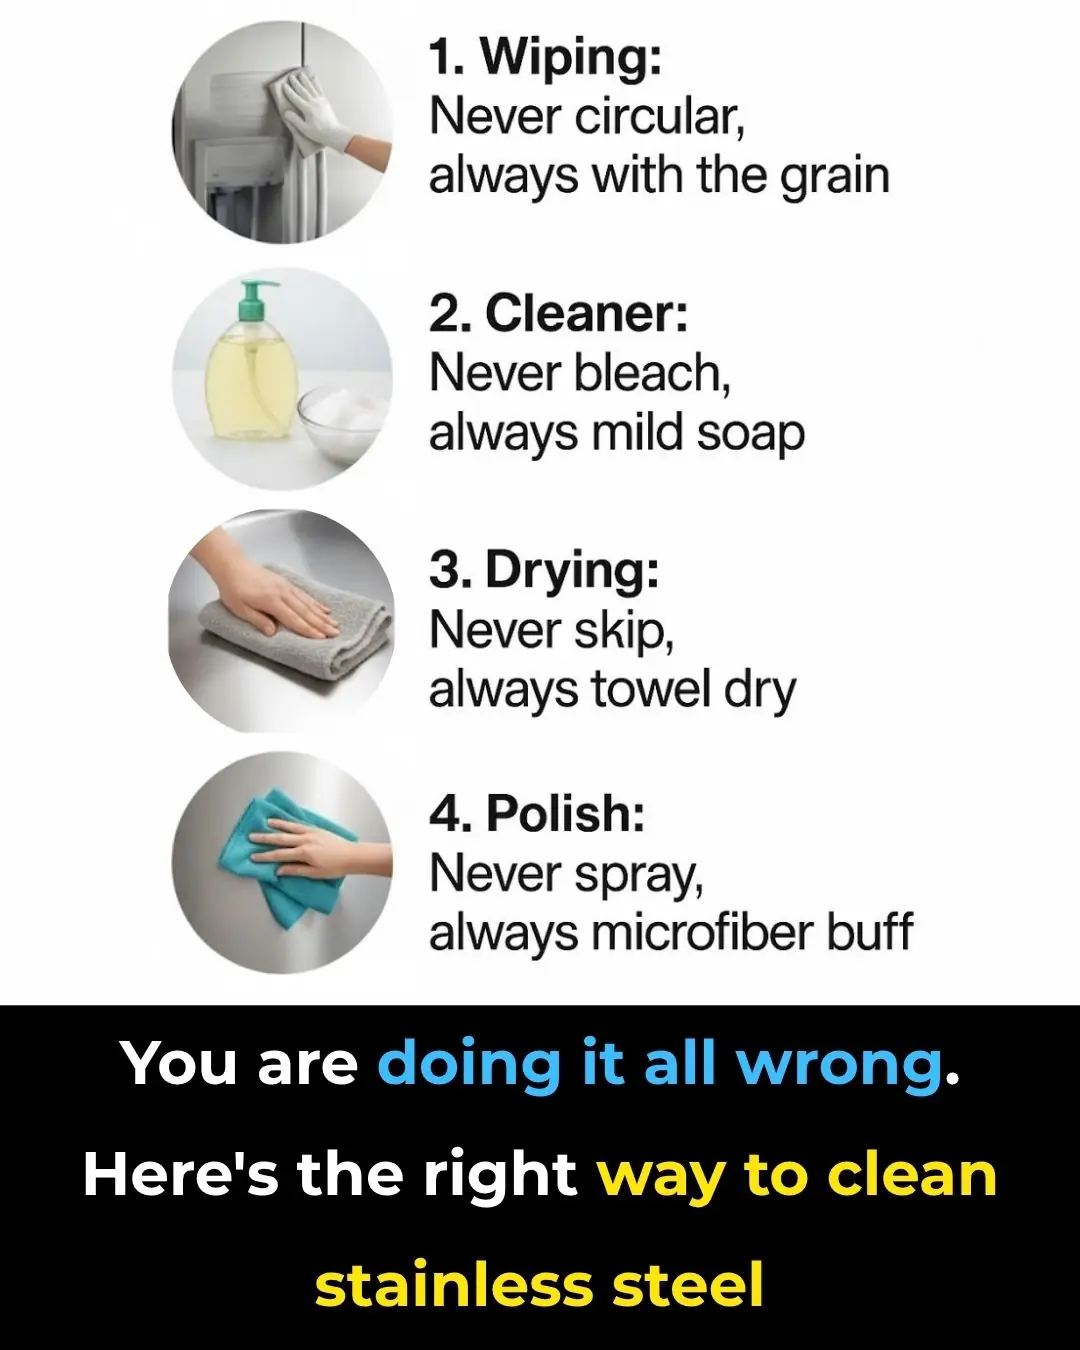
You are doing it all wrong. Here's the right way to clean stainless steel
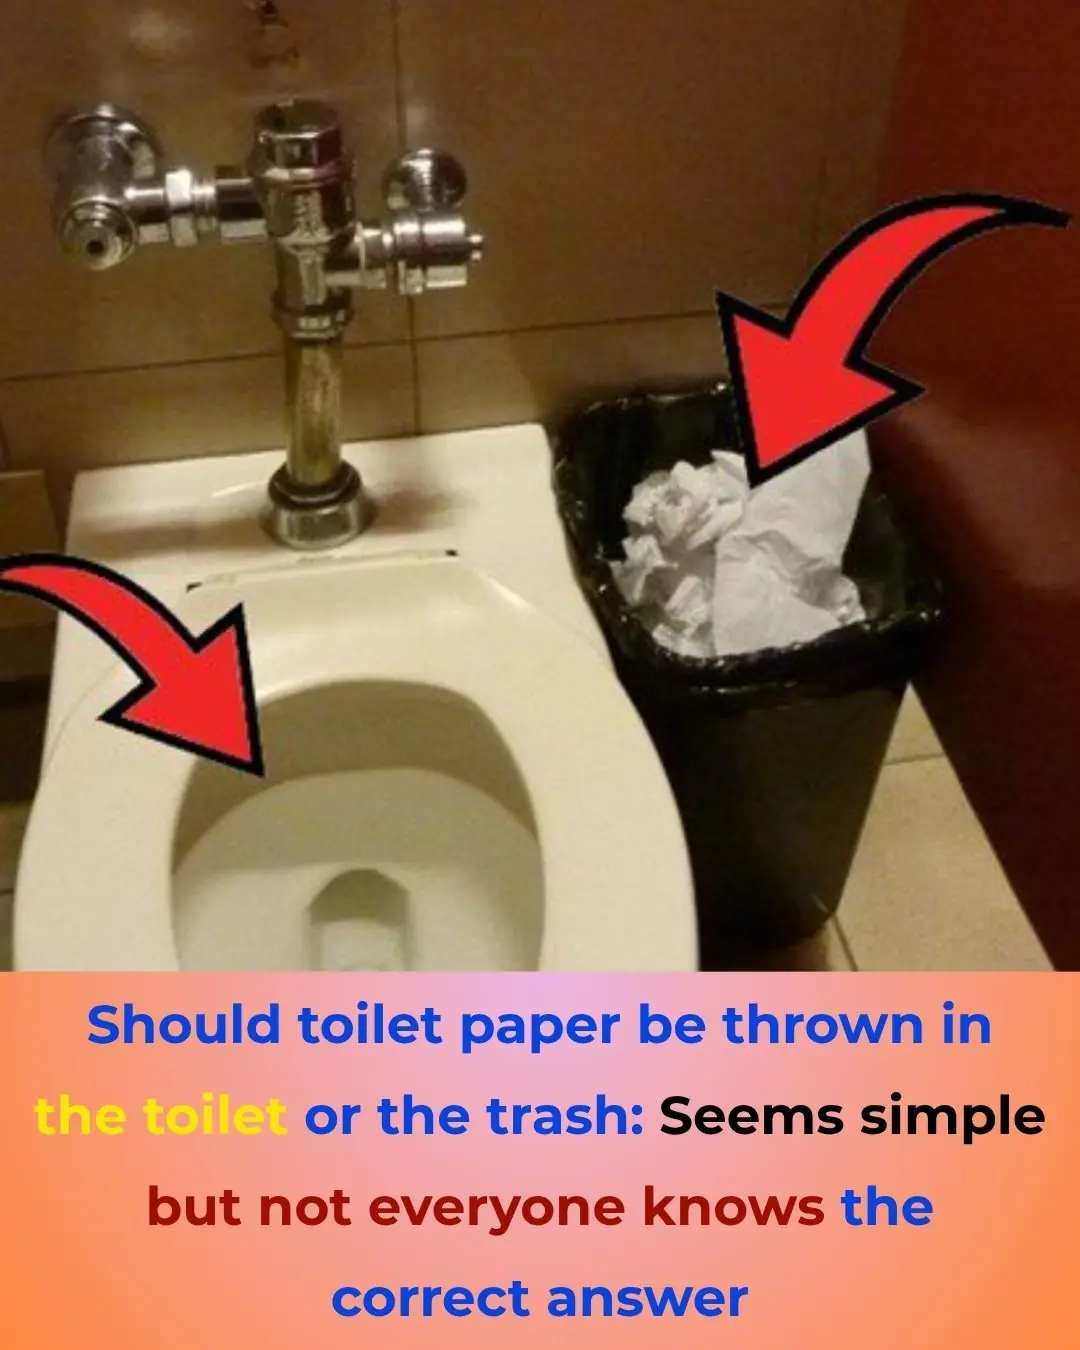
Should You Throw Toilet Paper in the Toilet or in the Trash?
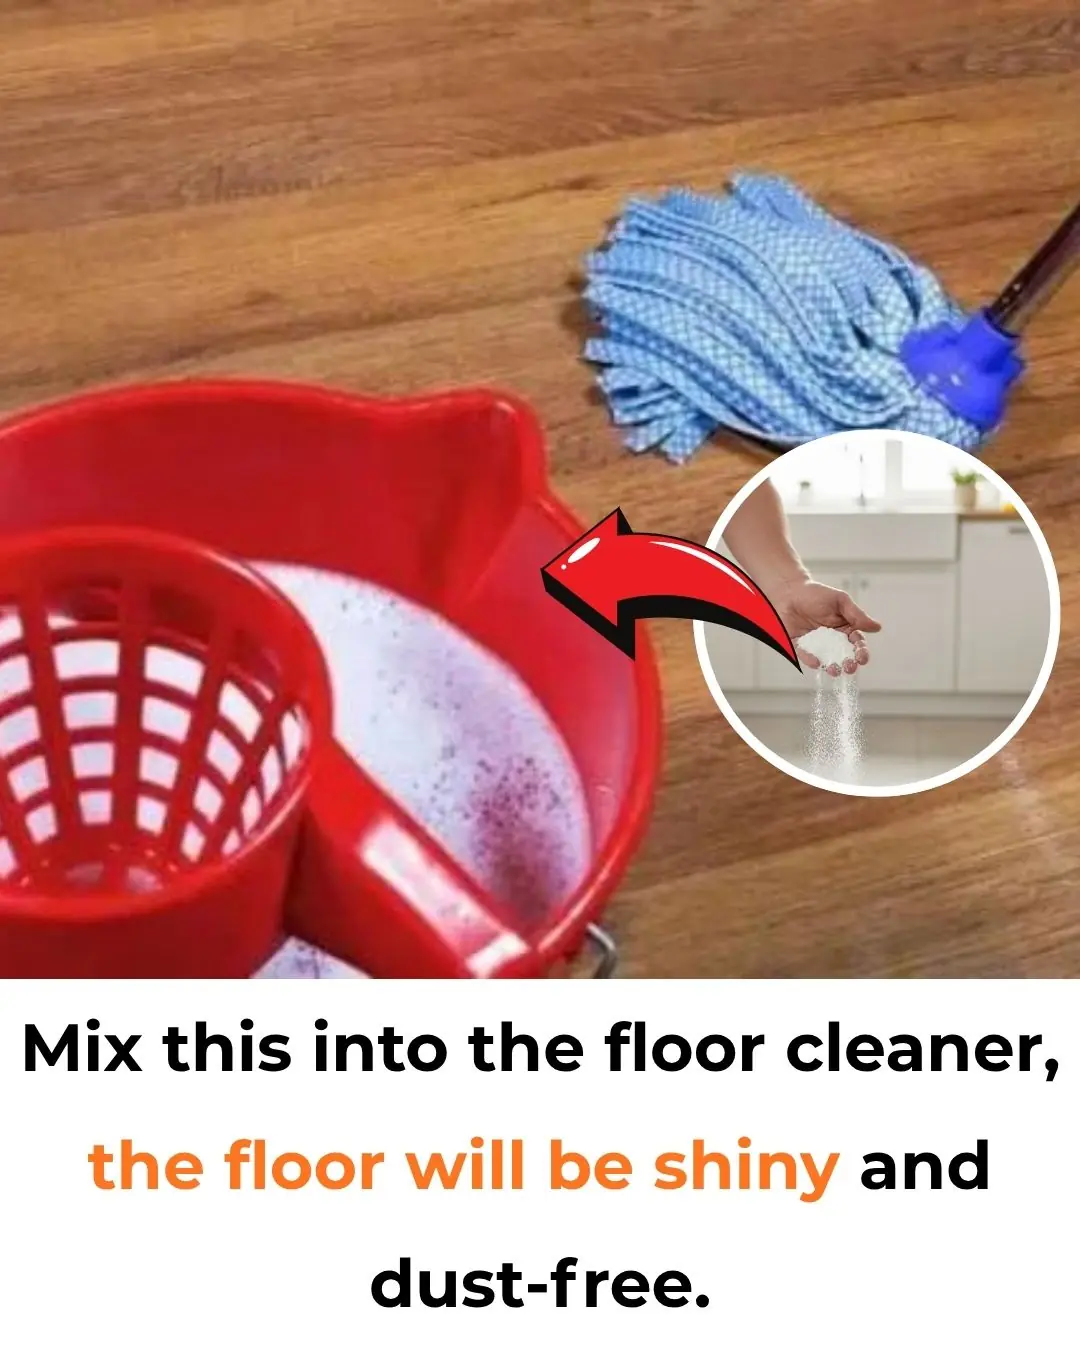
Add This to Your Mopping Water – Your Floors Will Shine Like New and Stay Dust-Free for a Whole Week

Hidden Smartphone Tricks You Didn’t Know About
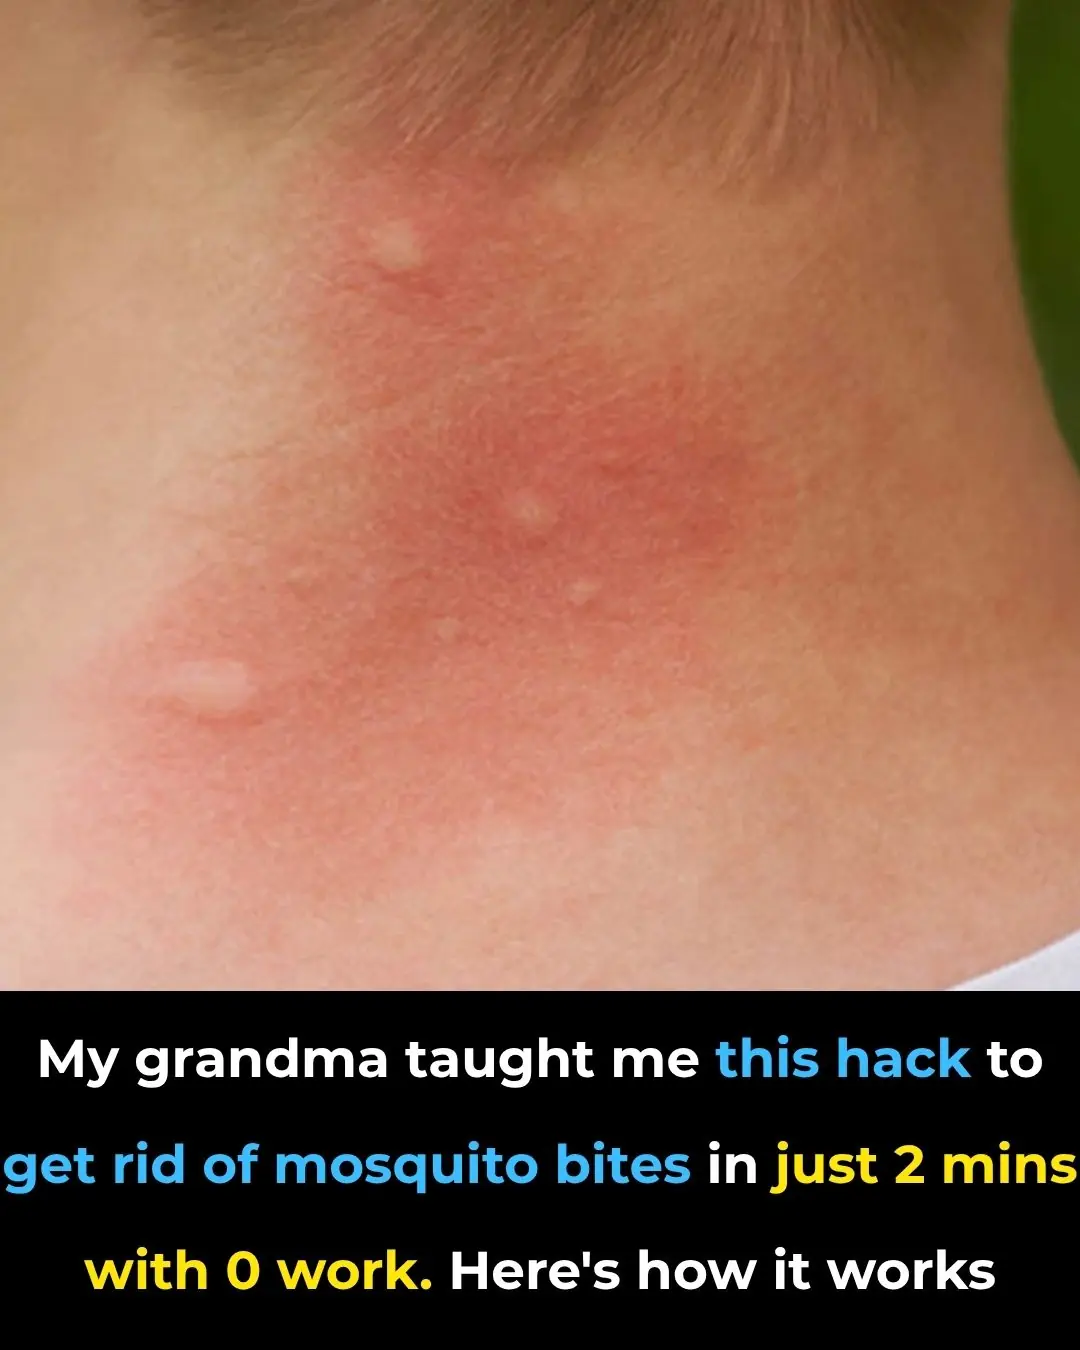
Were you aware of this? Wow, I discovered something new!

The Uses Of This Small Hole On a Padlock
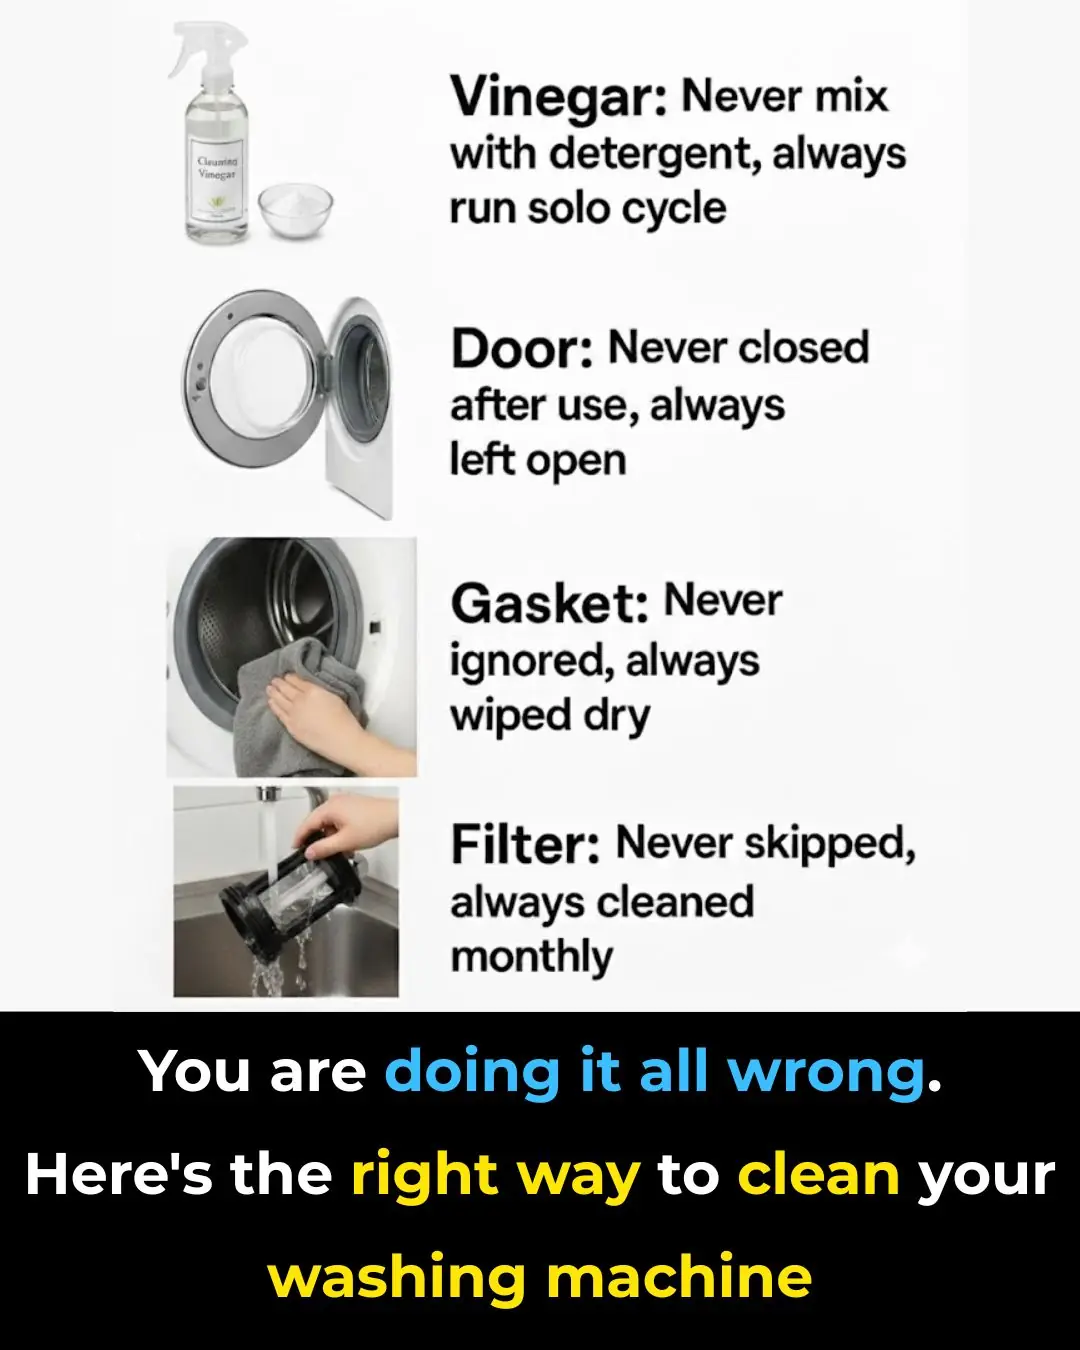
You are doing it all wrong. Here's the right way to clean your washing machine

You are doing it all wrong. Here's the right way to store spices
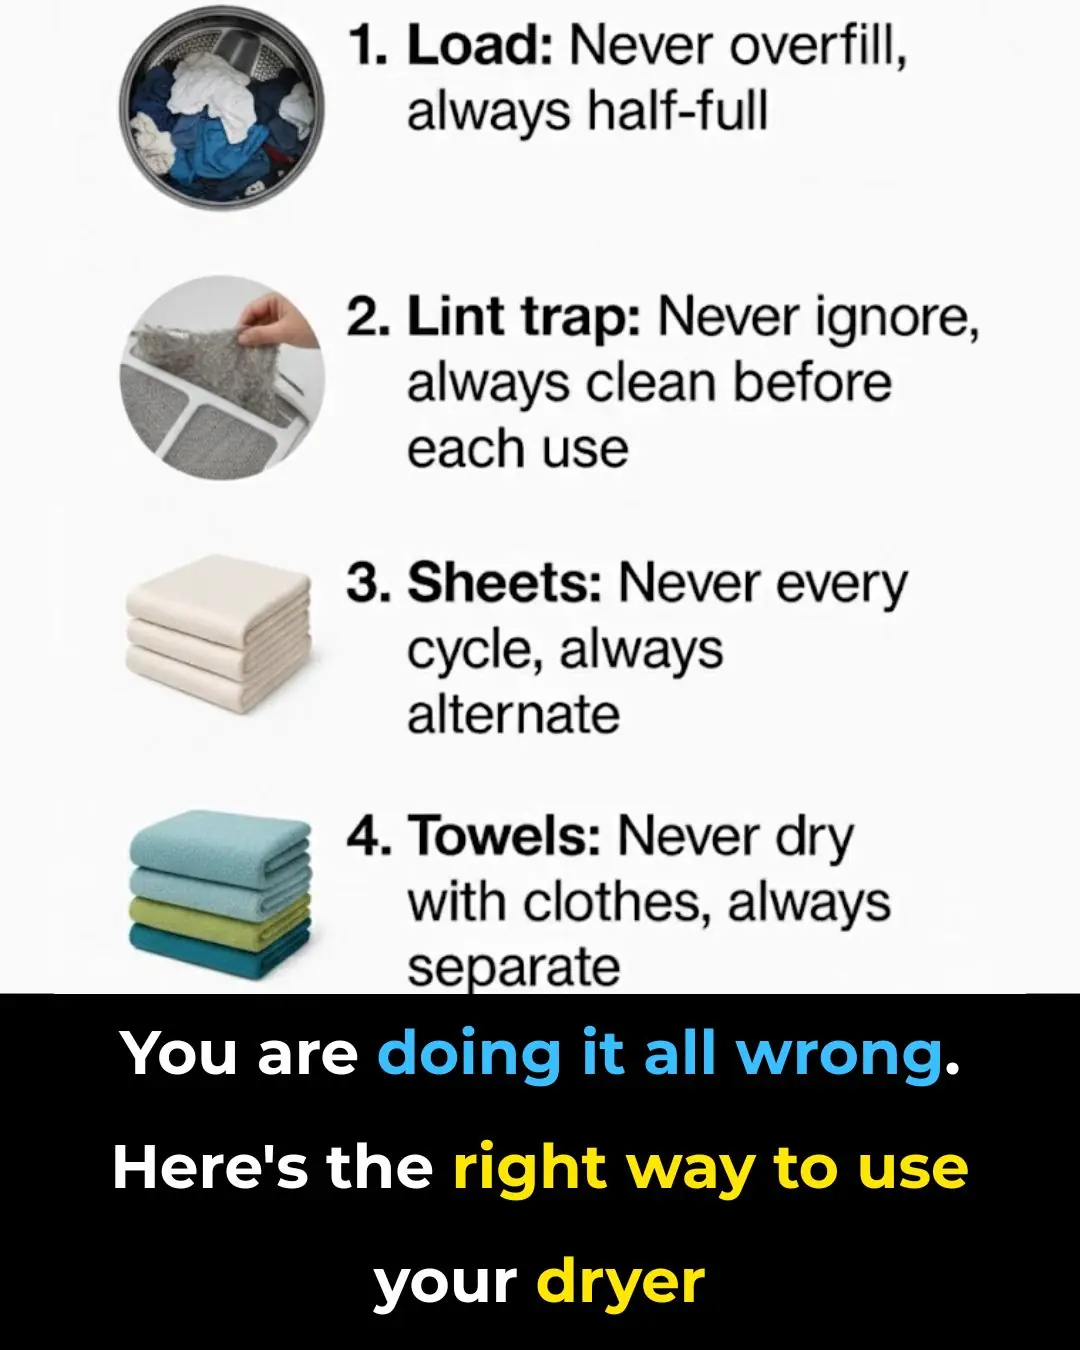
You are doing it all wrong. Here's the right way to use your dryer
News Post

The #1 Food for Detoxifying and Supporting Kidney Health

Dark Chocolate and Tea Found to Significantly Lower Blood Pressure

Why This Doctor Refuses to Prescribe Statins for High Cholesterol

Top 5 Foods to Avoid if You Have High Blood Pressure
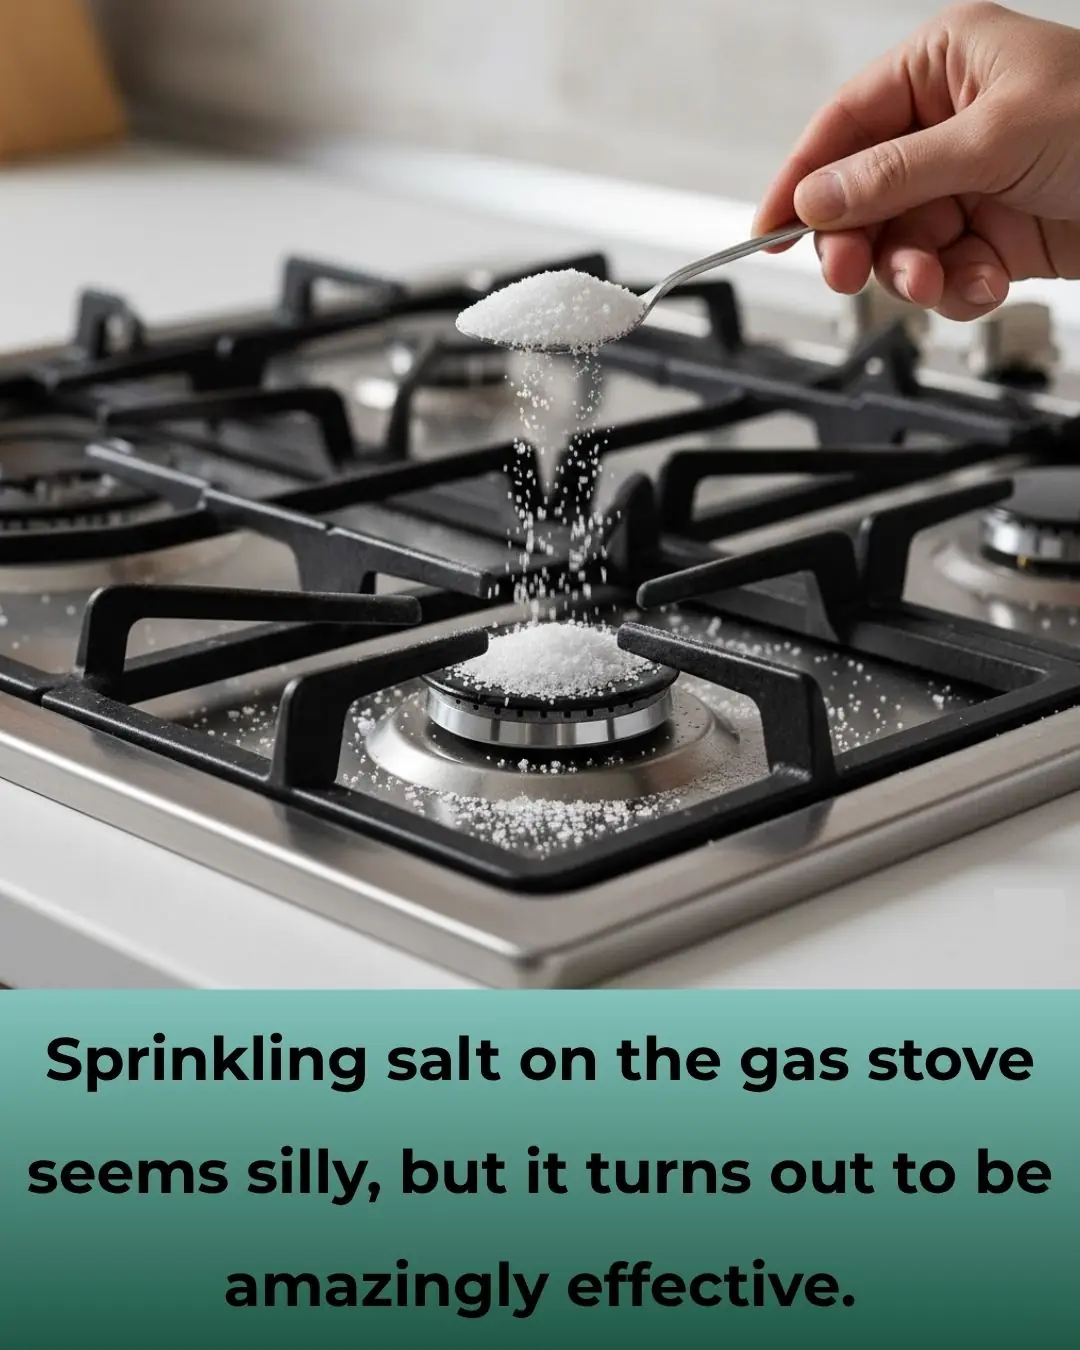
Why You Should Sprinkle Salt on Your Gas Stove

3 Flowers That Make Snakes Tremble — Natural Repellents You Can Grow at Home
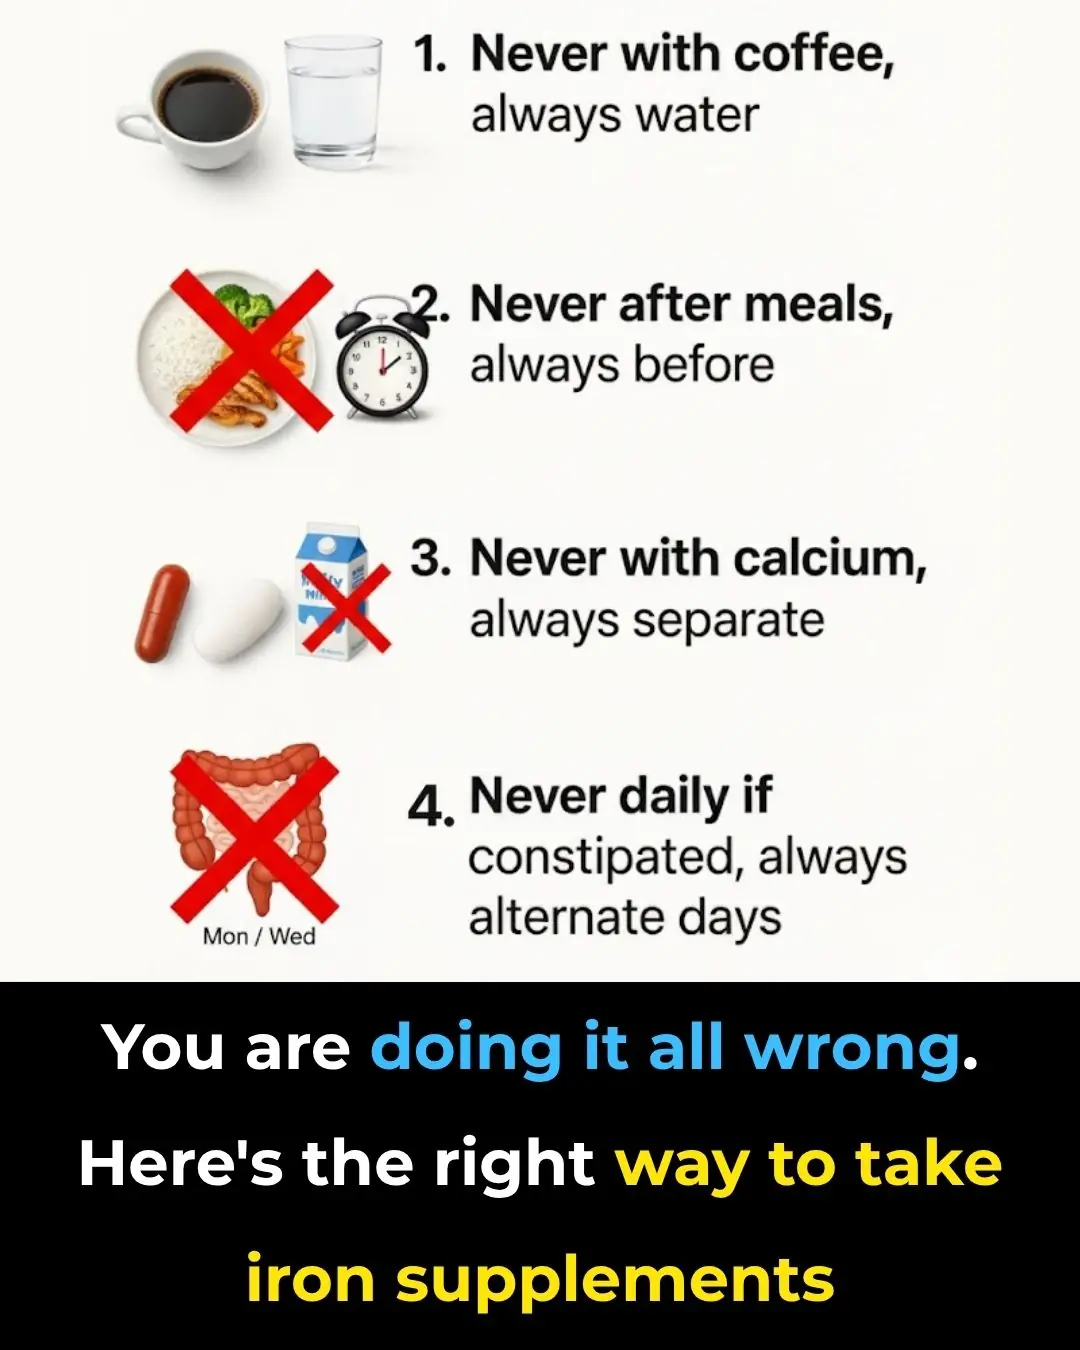
You’re Taking Iron Supplements Wrong — Here’s the Science-Backed Way to Do It Right

Nana’s Baking Soda Hack: The Surprisingly Effective Trick to Soften and Thin Thick Toenails

Never Mix Medications in One Box: 10 Serious Risks Most People Don’t Know

The Right Way to Take Ashwagandha: A Science-Backed Guide to Unlock Its Full Potential

Shrimp injected with impurities is easy to distinguish: Smart people will see this point

Tips for cleaning an air fryer without scrubbing and still clean as new

25 Incredible Health Benefits of Goosegrass

The water pipe is clogged, just blame this and it will be solved easily, no need to waste money calling a plumber.

How to clean the bathroom easily and effortlessly: It will stay clean and fragrant all week long

Simple tips for making crispy roast pork skin without much effort: Golden brown, crispy skin like in restaurants

How bathing too often can affect your health

Dirty sofa, do not use wet towel to wipe: Use this to clean it, it will not be damaged

Drop this into the basin, clams and snails will release all the mud and dirt, making them 5 times more fattening.
