❗Avoid Cloves If You Have These Health Issues – What Doctors Rarely Warn You About
Garden Healthy 14/09/2025 17:23
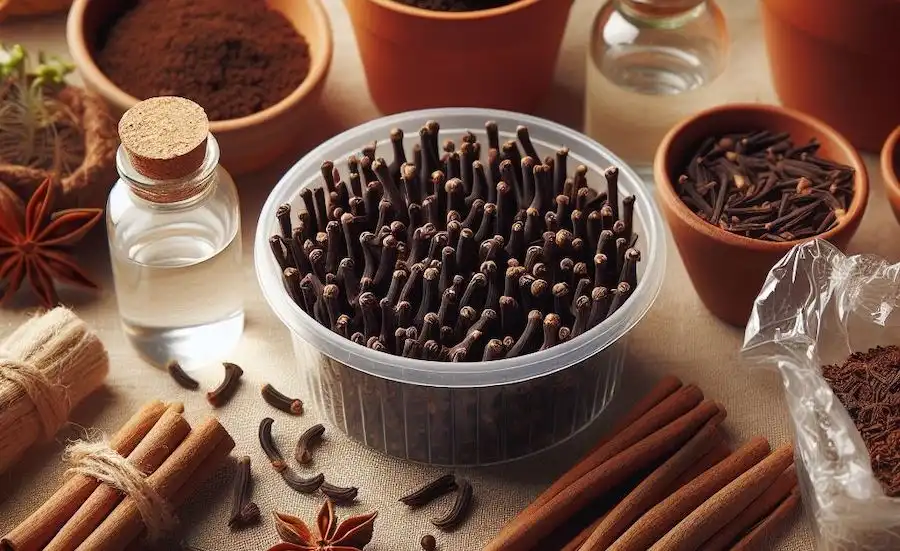
Growing a clove plant from cloves is a rewarding yet patient process that involves several essential steps—from germinating the seeds to planting and caring for the young plants. While cloves are most commonly known as a spice, they are actually the dried flower buds of the Syzygium aromaticum tree. If you're interested in growing your own clove tree, here’s a comprehensive and expanded guide to get you started.
Fresh, healthy clove seeds (not dried cooking cloves)
Small pots or seed trays
Well-draining potting soil
Warm water
Plastic wrap or a transparent humidity dome
Spray bottle (optional)
Step 1: Selecting Viable Clove Seeds
Start by choosing fresh, plump, and undamaged clove seeds. It's important to note that cloves sold as a spice are usually dried and will not germinate. Fresh seeds are typically available from nurseries or tropical plant suppliers.
Step 2: Soaking the Seeds
Soak the clove seeds in warm water for 24 hours. This softens the seed coat and encourages faster germination by initiating internal processes.
Step 3: Preparing the Pots or Trays
Fill small pots or seed trays with a well-draining potting mix. Coconut coir mixed with perlite or sand is ideal, as it provides both moisture retention and drainage.
Step 4: Planting the Seeds
Plant each soaked seed about 1 inch (2.5 cm) deep into the soil. If using trays, space the seeds at least 2 inches apart to allow root growth.
Step 5: Creating a Greenhouse Effect
Cover the pots or trays with plastic wrap, a clear plastic lid, or place them inside a propagator to maintain humidity and warmth. This mimics tropical conditions where clove trees naturally thrive.
Step 6: Providing Optimal Conditions
Place the covered containers in a warm area with indirect sunlight. Keep the soil consistently moist—never soggy—by misting with a spray bottle or gently watering.
Step 7: Germination Period
Clove seeds can take anywhere from 2 to 6 weeks to sprout. Be patient and avoid uncovering them too soon. Once the seedlings begin to emerge, remove the cover to improve air circulation and reduce the risk of mold.
Larger pots with good drainage holes
Rich, well-aerated potting mix
Organic or balanced slow-release fertilizer
Step 1: Wait for Strong Seedlings
Only transplant when the seedlings have at least two sets of true leaves and appear strong enough to handle the move.
Step 2: Prepare the Growing Containers
Fill larger pots with a fertile, well-draining potting mix. You can enrich the soil with compost or organic matter to support growth.
Step 3: Transplant Gently
Carefully transfer the seedlings into the new pots without disturbing their delicate roots. Water immediately after transplanting to help them settle.
Step 4: Fertilization
Feed the young plants with a diluted organic fertilizer or a balanced slow-release formula every few weeks during the growing season.
Clove trees are native to tropical climates and require consistent warmth, humidity, and gentle care to thrive.
Clove plants prefer partial shade and do best in warm, humid conditions. Ideal temperatures range from 60°F to 90°F (15°C to 32°C). Avoid exposing the plant to frost or sudden temperature drops.
Maintain moist—but not soggy—soil. Water thoroughly when the top inch of soil feels dry. Using a moisture meter can help prevent overwatering.
Since clove trees are native to humid environments, it's beneficial to maintain high humidity levels. You can:
Mist the plant daily
Group plants together
Use a pebble tray with water
Run a humidifier nearby
Occasional pruning encourages bushier growth and removes any dead or damaged leaves or stems. Use clean, sharp scissors or pruners.
Clove trees are slow-growing and can take at least 6 to 8 years to start flowering and producing cloves. Patience is crucial.
Harvest the flower buds when they turn pink or reddish, just before they open into full flowers.
Pick them by hand and spread them out in a shaded, well-ventilated area to dry.
Once fully dry, the cloves will turn a dark brown color and are ready for storage or use.
Growing a clove plant from seed is a long-term project that requires dedication, patience, and a tropical-like environment. However, the satisfaction of nurturing a spice-producing tree from seed to harvest is incredibly rewarding. With the right care, your clove plant could one day supply you with your own homegrown cloves!
If you found this guide helpful or inspiring, don’t forget to share it with fellow garden enthusiasts or aspiring growers!