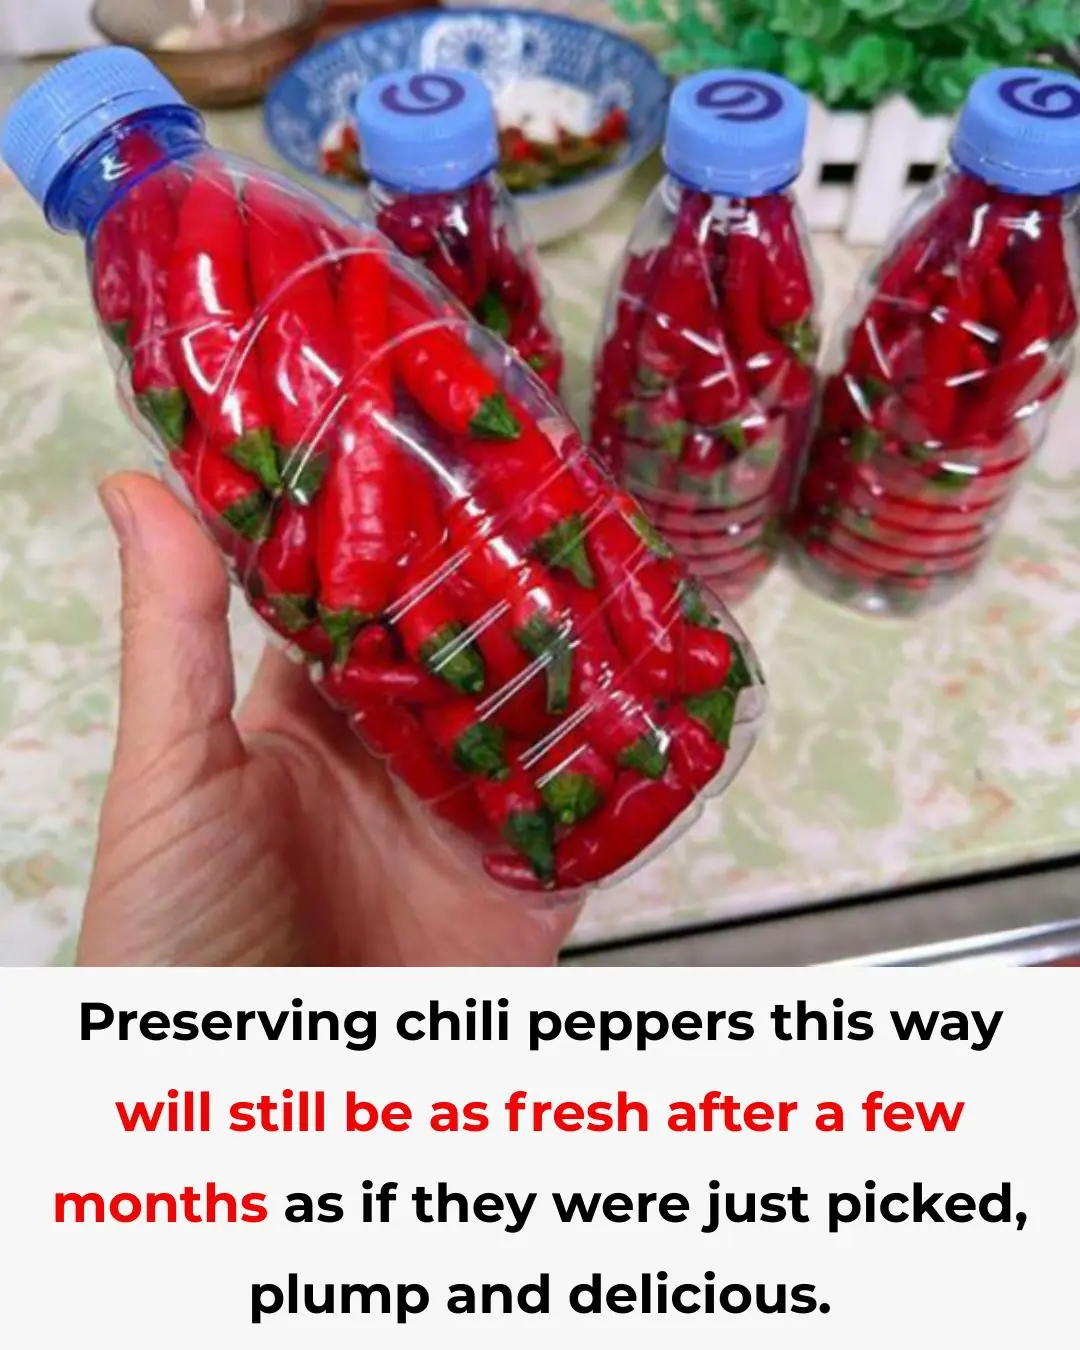
How to Store Chili Peppers So They Stay Fresh, Juicy, and Flavorful for Months
Tips 31/10/2025 21:38

A blender is one of the most versatile and beloved tools in the kitchen. From creamy smoothies and hearty soups to nut butters and sauces, it can create an impressive range of dishes in mere seconds. Yet, despite its convenience, one task continues to frustrate many home cooks — cleaning it afterward.
Residue, odors, and stains can quickly build up if the blender isn’t cleaned properly, shortening its lifespan and compromising hygiene. Fortunately, cleaning your blender doesn’t have to be tedious or time-consuming. With the right approach, you can keep it spotless, odor-free, and running smoothly for years.
Let’s dive into the best practices for cleaning your blender, common mistakes to avoid, and clever tricks to make maintenance effortless.
Keeping your blender clean isn’t just about aesthetics — it’s a matter of hygiene, safety, and performance. Leftover food particles can harbor bacteria, causing unpleasant smells and potential health risks. This is especially true if you use your blender for raw foods, like leafy greens, eggs, or protein shakes.
Over time, residue buildup can dull the blades, cloud the jar, and even affect motor performance. Proper cleaning ensures your blender stays sharp, smooth, and efficient. It also prevents flavor cross-contamination, so your refreshing mango smoothie doesn’t carry traces of yesterday’s garlic pesto.
In short: a clean blender equals better taste, better hygiene, and longer life for your appliance.
One of the most common — and dangerous — cleaning mistakes is scrubbing the blades with a sponge or brush. Blender blades are razor-sharp, and direct contact can easily cause cuts.
Beyond safety concerns, scrubbing can wear down the blade’s edges, reducing their sharpness and making your blender less effective. Instead, let the machine do the work for you using the self-cleaning method (explained below). It’s safer, faster, and better for your blades.
💡 Pro Tip: If stubborn residue builds up around the blades, pour in a small amount of warm vinegar-water solution and blend for 15 seconds before rinsing. It breaks down grease without damaging the metal.
This is hands down the easiest and safest way to clean your blender after every use.
Here’s how to do it:
Fill the jar halfway with warm water.
Add a few drops of dish soap.
Secure the lid tightly.
Run the blender on high speed for 30 seconds.
The swirling action scrubs every corner — blades, lid, and sides — removing stuck-on food without you lifting a finger.
Afterward, pour out the soapy water and rinse thoroughly with clean water until all residue is gone. Your blender will look and smell brand new.
💧 Extra Step: For an even deeper clean, blend a mixture of warm water and a teaspoon of white vinegar once a week. This helps dissolve mineral buildup and eliminates lingering odors.
Timing is everything. The best way to avoid stubborn residue is to rinse your blender immediately after use.
Fill the jar with warm water, swirl it around, and pour it out. This prevents ingredients — especially sticky ones like nut butter, banana, or protein powder — from drying and adhering to the blades.
Taking 20 seconds to rinse now saves 10 minutes of scrubbing later. It’s the easiest way to make cleaning effortless.
While some blender jars are labeled dishwasher-safe, it’s best to avoid dishwashers for plastic jars. The combination of high heat and harsh detergents can cause clouding, warping, or cracking over time.
Instead, wash your blender by hand with warm soapy water and a soft sponge. Focus on the lid, handle, and corners where residue tends to hide. Rinse well and dry immediately.
💡 If your blender has a glass jar, check the manufacturer’s instructions — glass models are often more dishwasher-tolerant but still benefit from gentle hand cleaning.
Never immerse the blender base in water — it houses the motor. To clean it:
Unplug the blender first for safety.
Wipe down the exterior with a damp cloth and mild detergent.
For sticky residue around buttons, use a soft toothbrush or cotton swab.
Make sure no moisture seeps into the electrical components. Regular cleaning of the base keeps your blender looking sleek and prevents grime from building up around controls.
Water can cause mold, rust, or odor if not properly dried. After cleaning:
Wipe the jar and lid with a clean, dry cloth.
Leave the jar upside down on a drying rack to drain moisture.
Use a dry towel to clean the base and power cord.
Ensure every part is fully dry before reassembling or storing your blender. Moisture trapped under the lid or blades can cause mildew or mineral spots.
If you frequently blend strong-smelling foods like garlic, turmeric, or onions, your blender might develop stains or odors over time. Fortunately, natural solutions work wonders:
Baking soda soak: Fill the jar with warm water and add 1 tablespoon of baking soda. Let it sit for 15–20 minutes, then rinse.
Lemon cleanse: Blend a few lemon slices with warm water to naturally deodorize and brighten the jar.
Repeat as needed — both remedies are safe, eco-friendly, and highly effective.
Even the best blenders need occasional maintenance. Every few months, check the following:
Blades: If blending feels sluggish or uneven, the blades may need sharpening or replacement.
Rubber seals and gaskets: These prevent leaks; replace them if they show signs of cracking or wear.
Power cord: Ensure there are no frays or exposed wires.
Taking a few minutes to inspect these components keeps your blender in peak condition and prevents costly repairs down the line.
The internet is full of viral blender-cleaning hacks — some genius, others risky. Let’s separate fact from fiction:
❌ Using uncooked rice to clean blades — can scratch and dull them.
❌ Harsh chemical cleaners — may damage plastic and leave toxic residue.
✅ Warm soapy water + baking soda + lemon — safe, natural, and effective.
Always stick with methods approved by your blender’s manufacturer. A quick check of your user manual ensures your cleaning routine supports — not harms — your appliance.
Rinse immediately after every use.
Perform a quick self-clean cycle daily, and a deep clean weekly.
Handle blades carefully — never reach inside the jar with your hands.
Store the blender with the lid off to allow airflow and prevent musty odors.
Avoid overfilling — it makes cleaning harder and can damage the motor.
By turning these habits into a routine, you’ll keep your blender sparkling clean, odor-free, and ready to perform every time you need it.
Cleaning your blender doesn’t have to be a chore. With a few smart habits — quick rinsing, gentle washing, and regular maintenance — you can keep it spotless in minutes. Treat your blender well, and it will reward you with years of reliable service, flawless smoothies, and perfectly pureed soups.
✨ A clean blender isn’t just about hygiene — it’s a small act of care that keeps your kitchen efficient, your meals delicious, and your mornings stress-free.