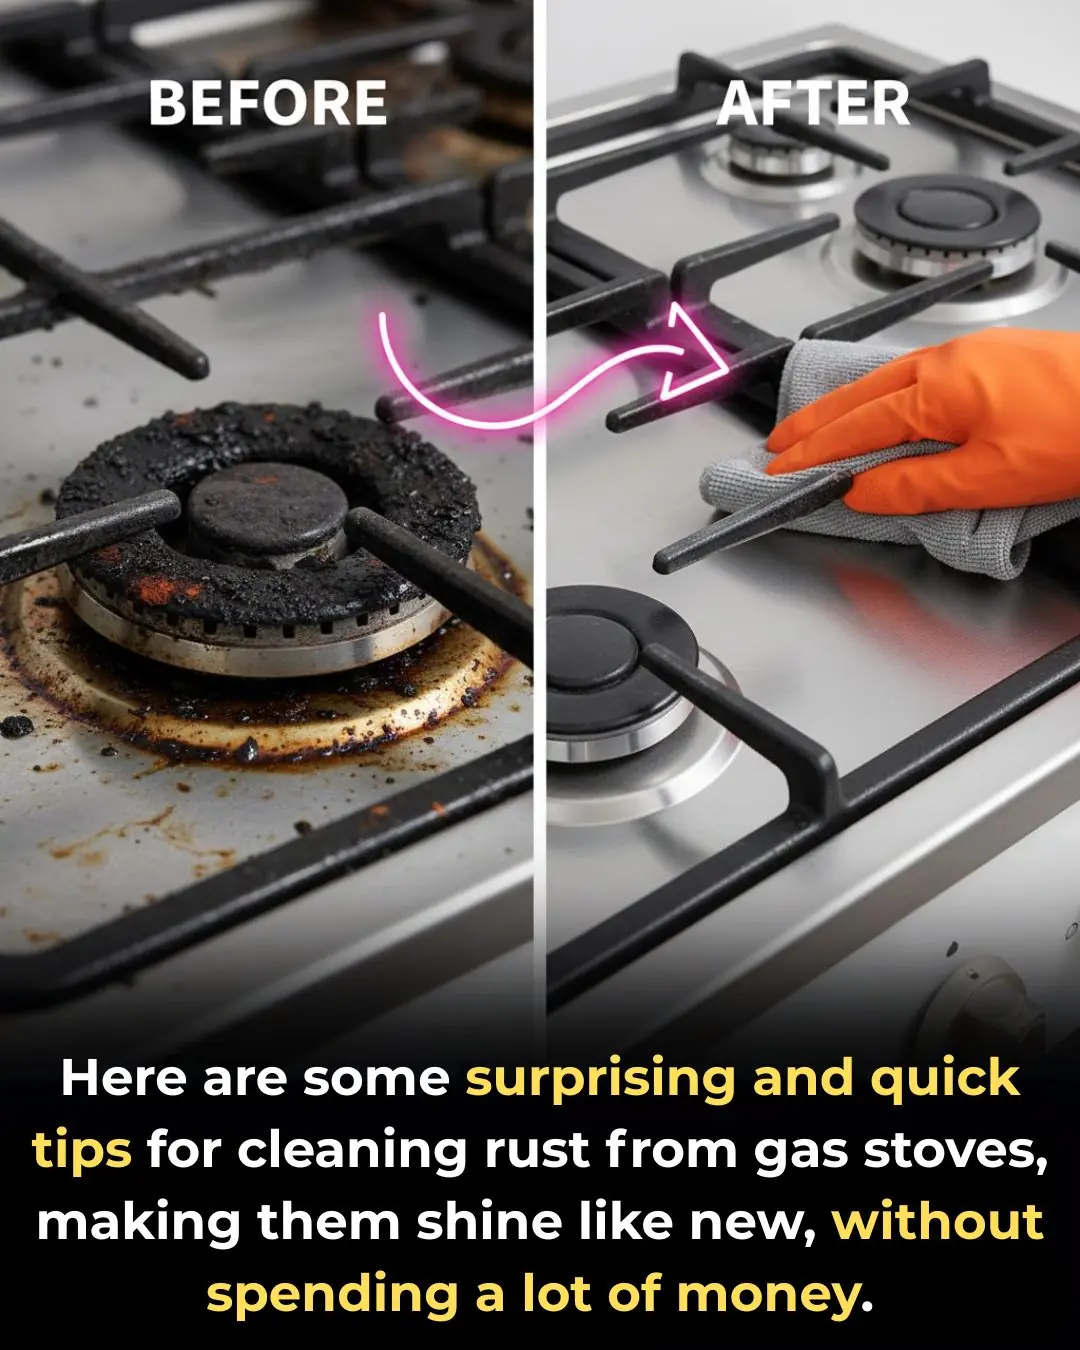
Here are some surprising and quick tips for cleaning rust from gas stoves, making them shine like new, without spending a lot of money.
Tips 24/01/2026 16:45

Boiling a whole chicken might seem like one of the easiest cooking tasks, but achieving a bird that has golden-colored skin, firm texture, and juicy meat without cracks or red bones actually requires a few smart techniques. With the right steps, you can make boiled chicken that looks beautiful and tastes delicious every time.
Before cooking, make sure the chicken is cleaned thoroughly. Remove all feathers and innards, wash the bird inside and out, and trim excess fat. Some home cooks prefer rubbing the chicken with a bit of salt and rinsing again to eliminate any unpleasant smells.
Adding aromatics like fresh ginger, garlic, or even a smashed stalk of lemongrass into the pot enhances the chicken’s flavor. These ingredients also help reduce any gamey or unpleasant odors.
A crucial tip to keep the chicken skin intact and prevent cracking is to immerse the bird in cold water before heating. Starting from cold water allows heat to penetrate slowly and evenly, which helps avoid rapid contraction and tearing of the skin.
Place the pot on the stove and heat gradually until it reaches a gentle boil. Once the water starts bubbling, turn the heat down to low and let it simmer. A vigorous boil can rough up the skin and make it split open.
For a young chicken or one under about 2 kg (4.4 lb), allow it to simmer for about 10–15 minutes after boiling, then turn off the heat and let it sit covered for another 15–20 minutes.
For larger birds, you can simmer for 15–20 minutes then cover and rest for 20–25 minutes. This helps the meat cook through without being overdone while keeping the texture tender.
To check if the chicken is fully cooked, insert a skewer or thin chopstick into the thickest part of the thigh. If the juices run clear (not red or pink), the chicken is done. This method is more reliable than just relying on time.
After cooking, quickly transfer the chicken to a bowl of ice-cold or chilled water. This stops the cooking process and tightens the skin, which makes it firmer and more appealing. It also helps the meat stay juicy inside.
If you want a more attractive color and slightly firmer skin, some cooks brush the chicken with a mixture of chicken fat and a pinch of turmeric after boiling, or even lightly roast or air-fry the skin briefly. These optional steps can add another layer of color and mild crispiness without drying the meat.
Once the chicken has cooled and the skin is firm, carve it into pieces and serve. The result should be a bird that’s visually appealing with golden skin, tender meat, and no cracked or torn areas — perfect for family meals or special occasions alike.
Always start boiling from cold water for even cooking.
Use low to medium heat once water begins to boil to avoid skin damage.
Add aromatics like ginger and salt for better flavor.
Cool the chicken in cold water after cooking to tighten the skin.
Adjust simmering times based on the chicken’s weight for perfect doneness.